Super Mario Odyssey Dog Thing in Hint Art for Lake Kingdom
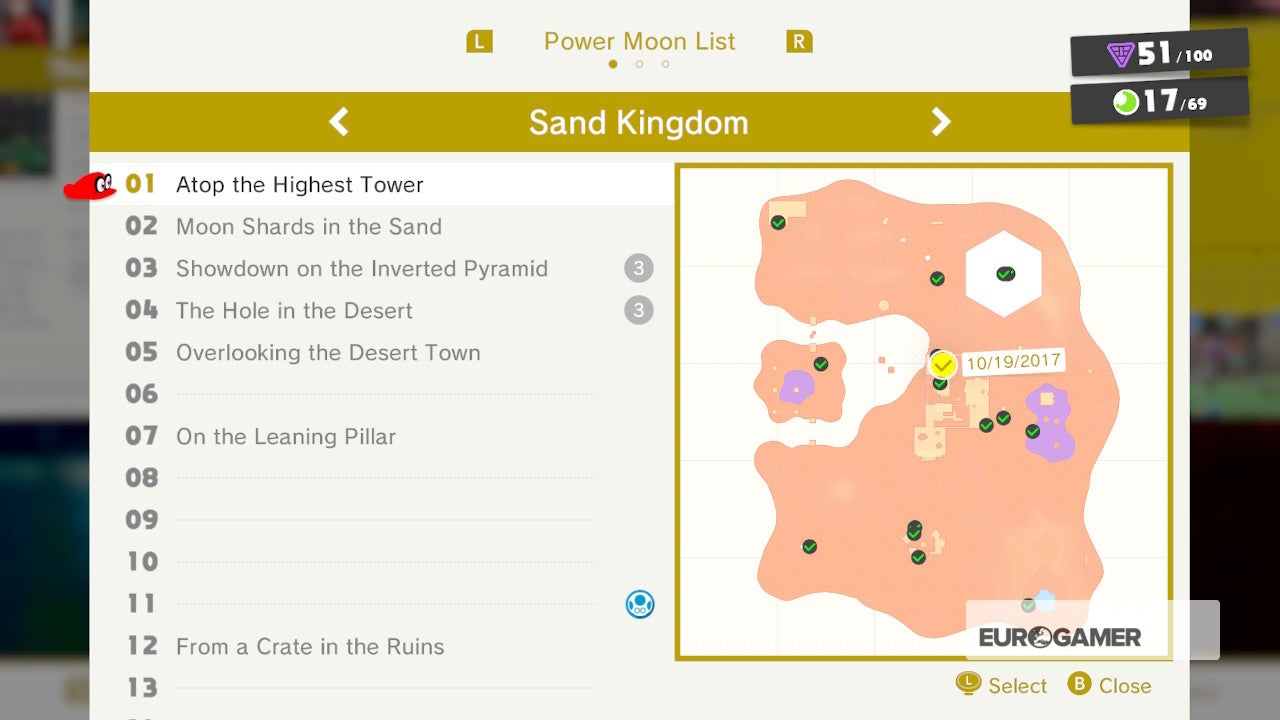
Sand Kingdom Power Moons are what you lot'll find here, where we detail each Power Moon and its location in the region with accompanying screens for extra clarity.
This is where to detect Sand Kingdom Moons then, but for other regions you tin cycle back to our Power Moon locations guide hub, or our main Super Mario Odyssey guide and walkthrough hub for much more.
On this page:
- Super Mario Odyssey Sand Kingdom Power Moons ane to 10
- Super Mario Odyssey Sand Kingdom Power Moons 11 to twenty
- Super Mario Odyssey Sand Kingdom Power Moons 21 to 30
- Super Mario Odyssey Sand Kingdom Ability Moons 31 to 40
- Super Mario Odyssey Sand Kingdom Power Moons 41 to fifty
- Super Mario Odyssey Sand Kingdom Ability Moons 51 to lx
- Super Mario Odyssey Sand Kingdom Power Moons 61 to 69
- Other Sand Kingdom Power Moons you can unlock
Super Mario Odyssey Sand Kingdom Power Moons 1 to ten
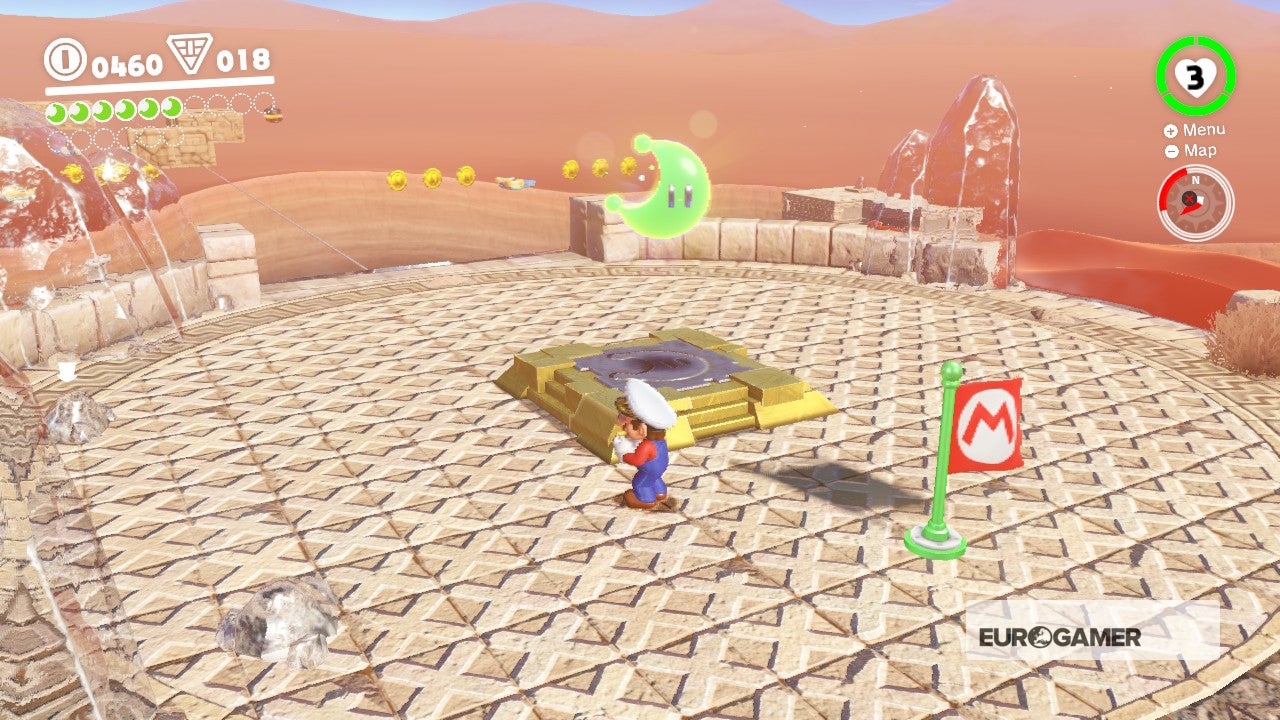
ane. Atop the Highest Tower
Office of the main story'south objectives. Head to the big cylindrical tower in the middle of the map. Enter the Warp Pipe exterior. This 2D level volition follow the curve of the tower. Watch out as Bullet Bills will generally launch in twos and threes, and then time your jumps and crouches well. When you accomplish the top, hit the checkpoint (Tostarena Ruins Round Tower) and collect your Moon.

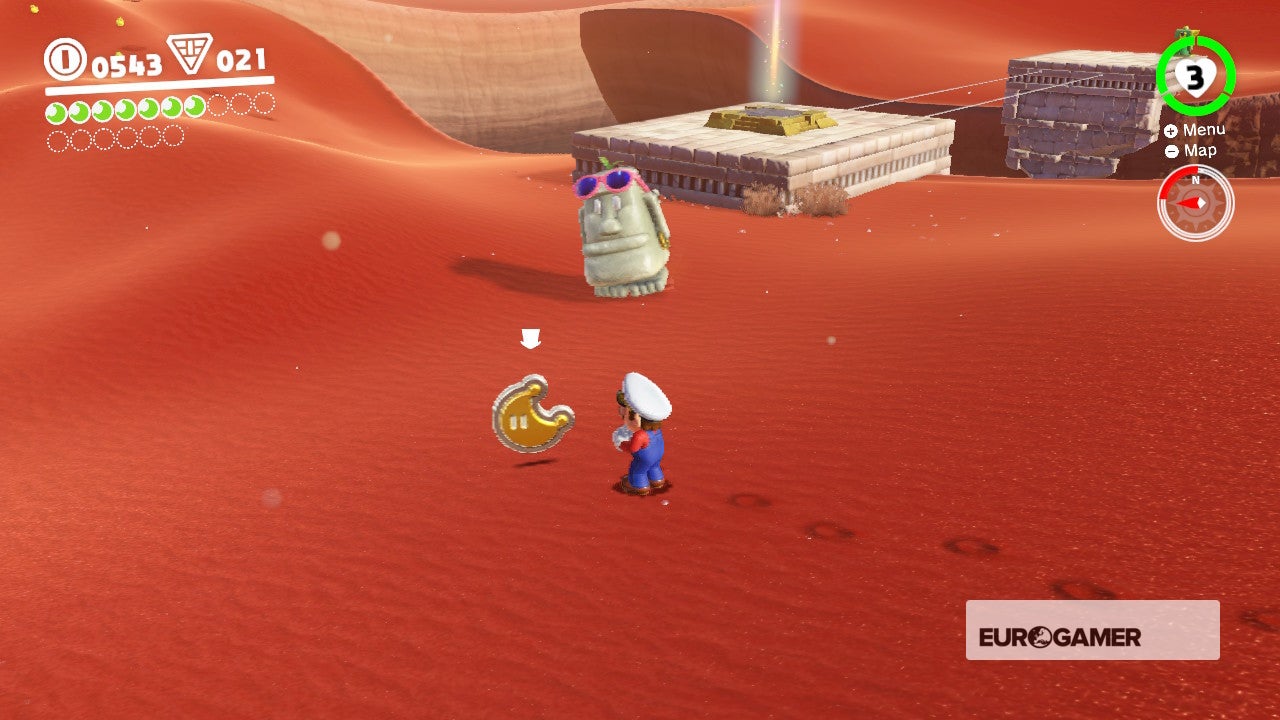
2. Moon Shards in the Sand
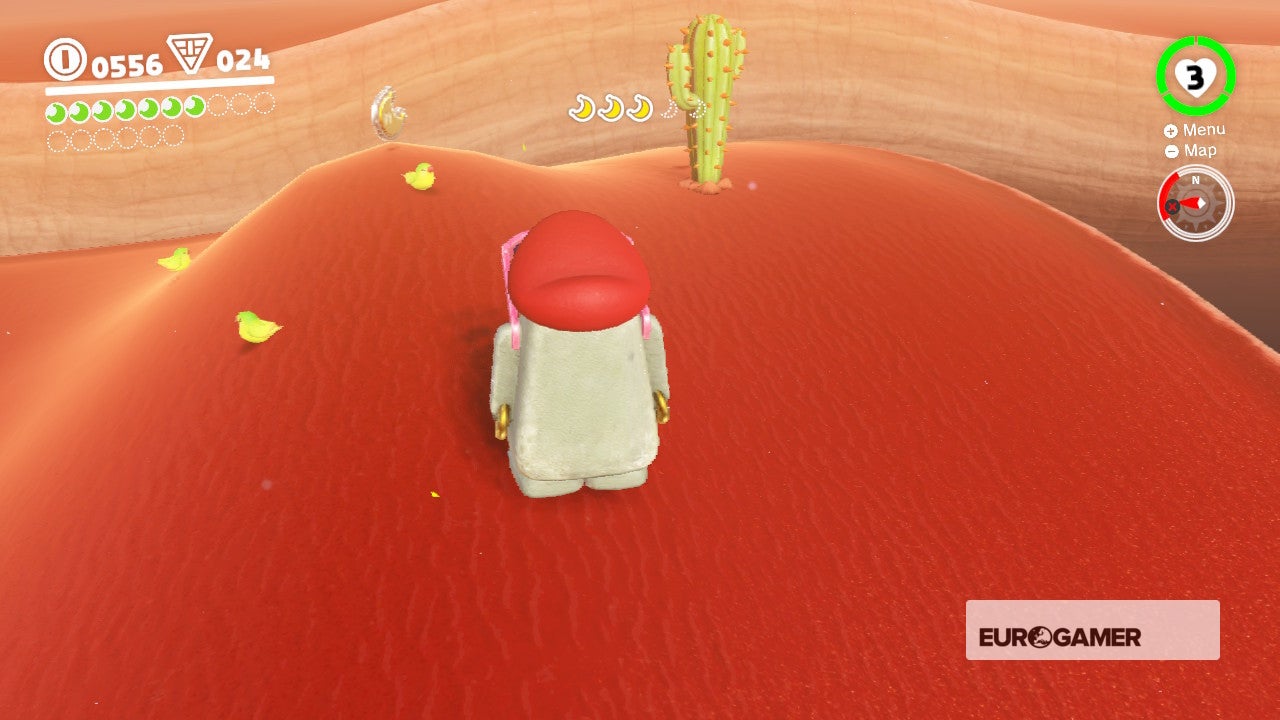
Part of the chief story'southward objectives. After crossing the moving platforms from the circular belfry, possess the Moe-Center and collect the five Shards in this area (two of them will require y'all to press Y and utilise this character's special sunglasses vision). Run across our Walkthrough for exact locations on each shard.


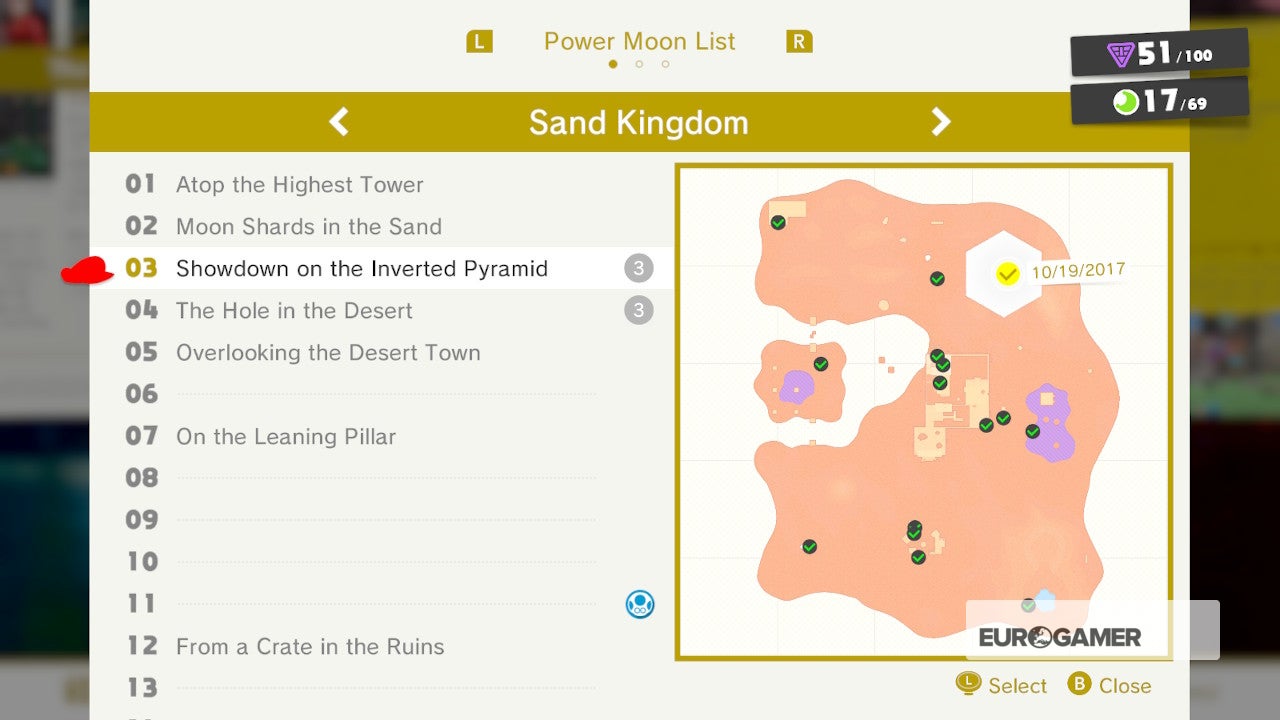
3. Showdown in the Inverted Pyramid (three Moons)
Part of the chief story's objectives. Once ascending to the summit of the Inverted Pyramid (see Walkthrough for our tactical guide), yous'll demand to defeat a Mini Broodal to collect a Multi-Moon. Hit her spiked bombs at her and bound on her head three times to take hold of your Moon multipack.

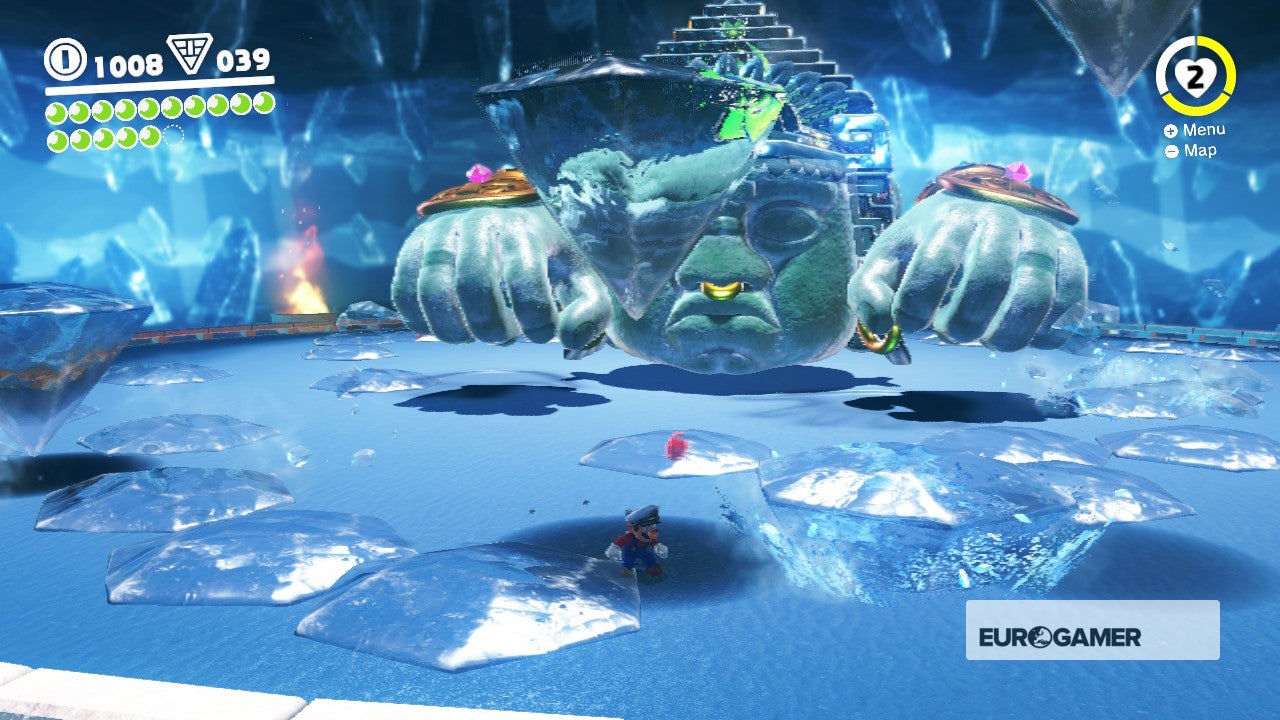
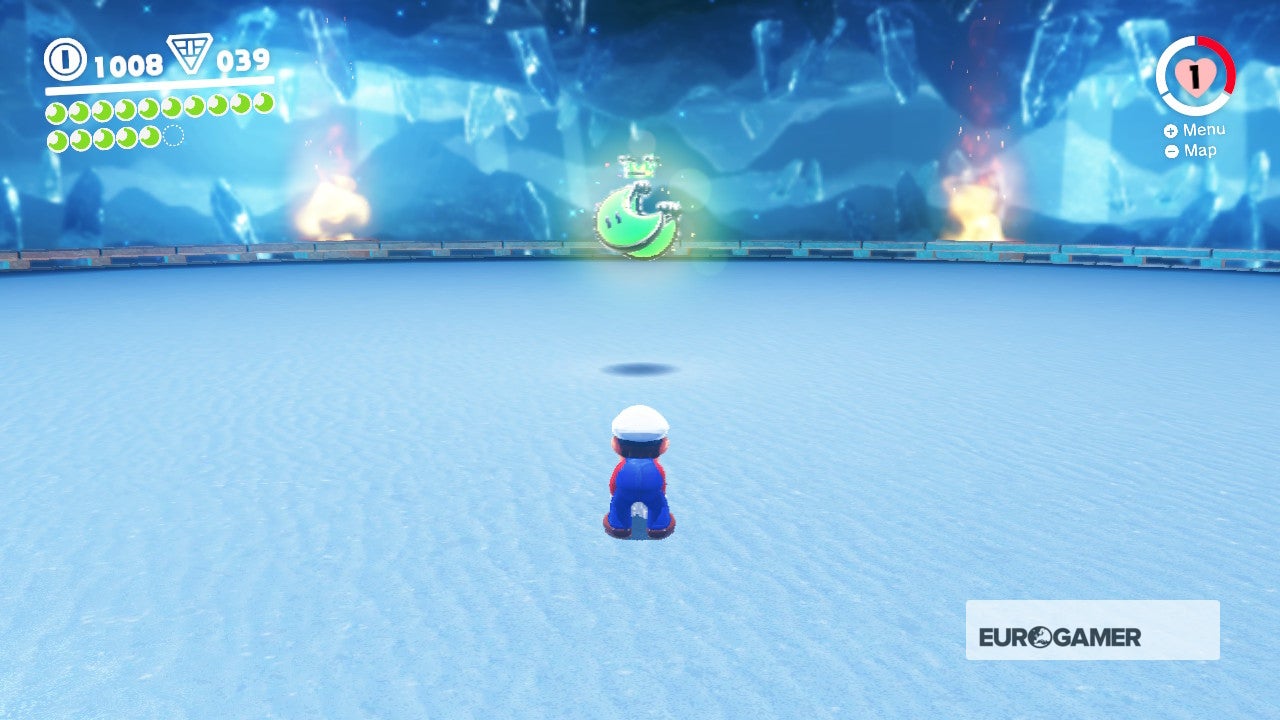
4. The Hole in the Desert (iii Moons)
Part of the primary story's objectives. After leaping into the hole and traversing the slippery depths of the Secret Temple (see our Walkthrough for how to tackle these areas), y'all'll face up off against a giant, godly statue. Possess its easily and punch it in the face up three times and a Multi-Moon is yours.


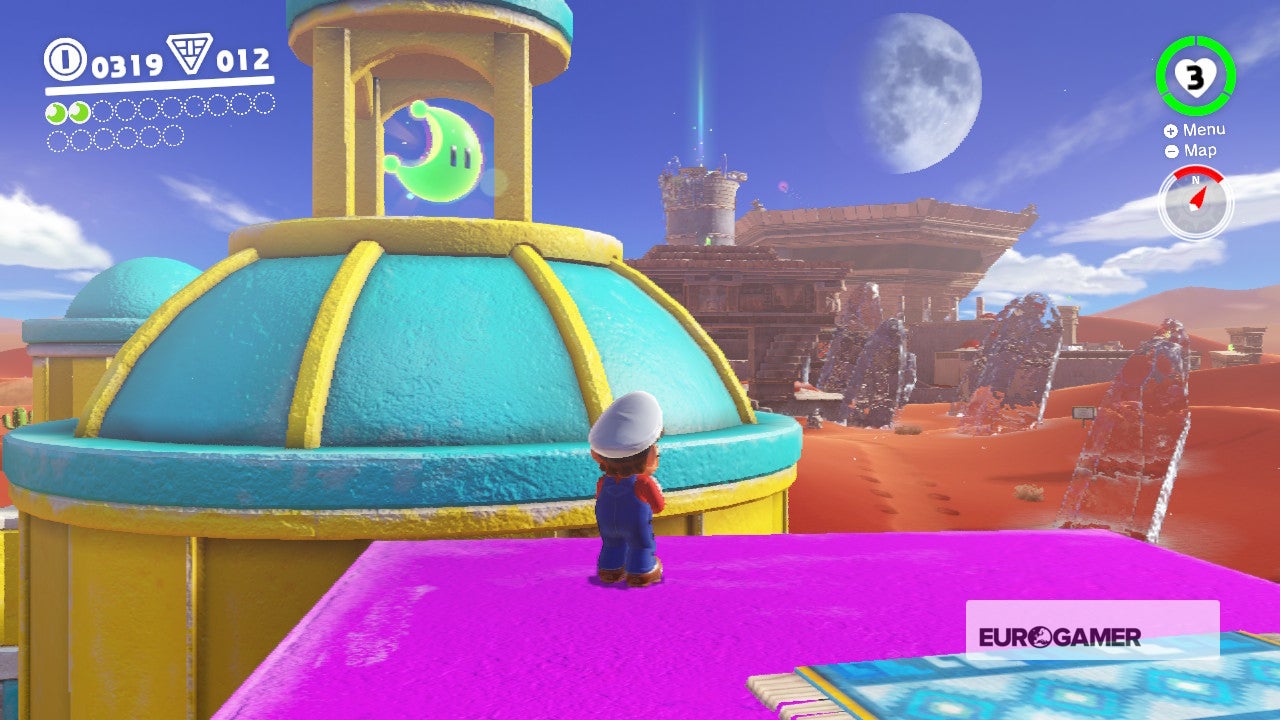
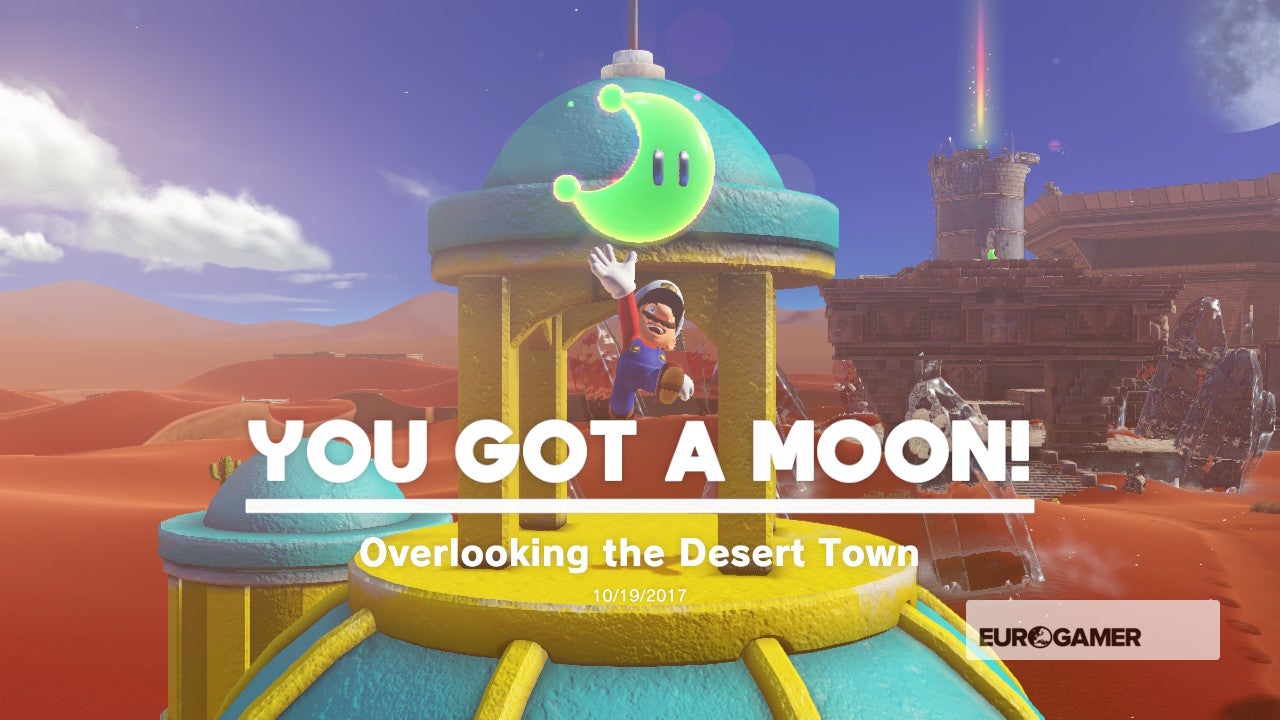
5. Overlooking the Desert Boondocks
In the first town near the Odyssey, look for a large building behind the Cappy Store. It'll have a domed roof with an opening at the top. Climb upward and y'all'll observe a Moon just waiting to exist collected.

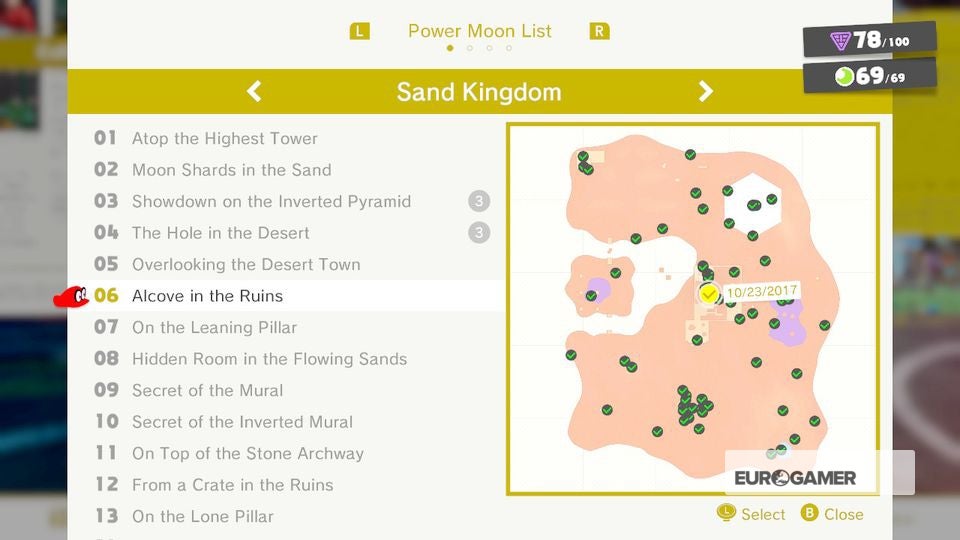
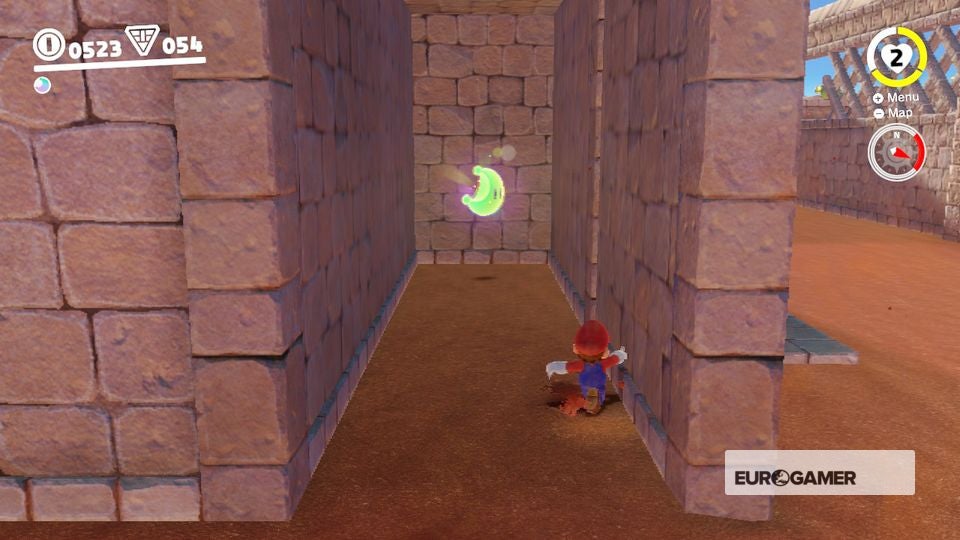
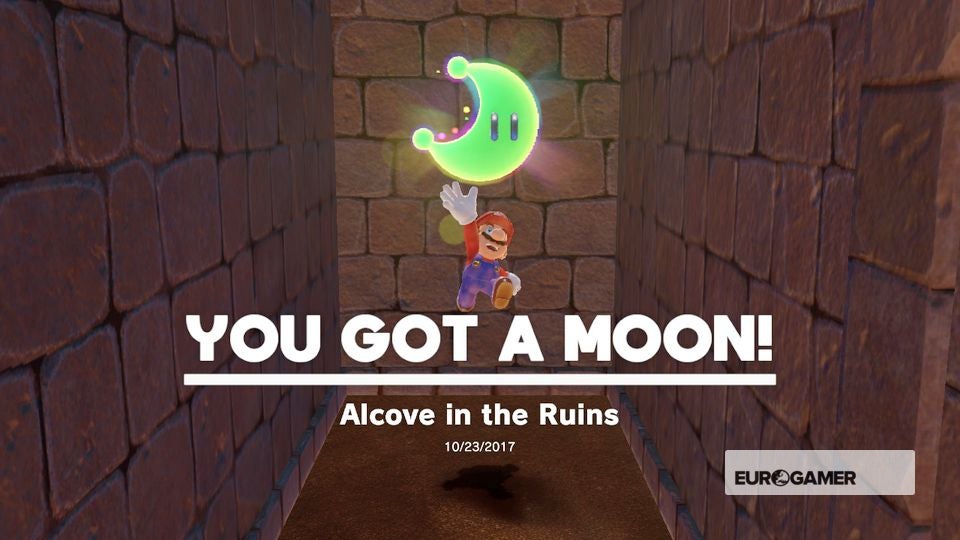
6. Alcove in the Ruins
To find this Moon, caput right from the Tostarena Ruins. Posses a Bullet Neb and head through the gap adjacent to the launcher, plough right, then right again. Unlock the switch, turn effectually and the Moon will be in the apse to your correct.
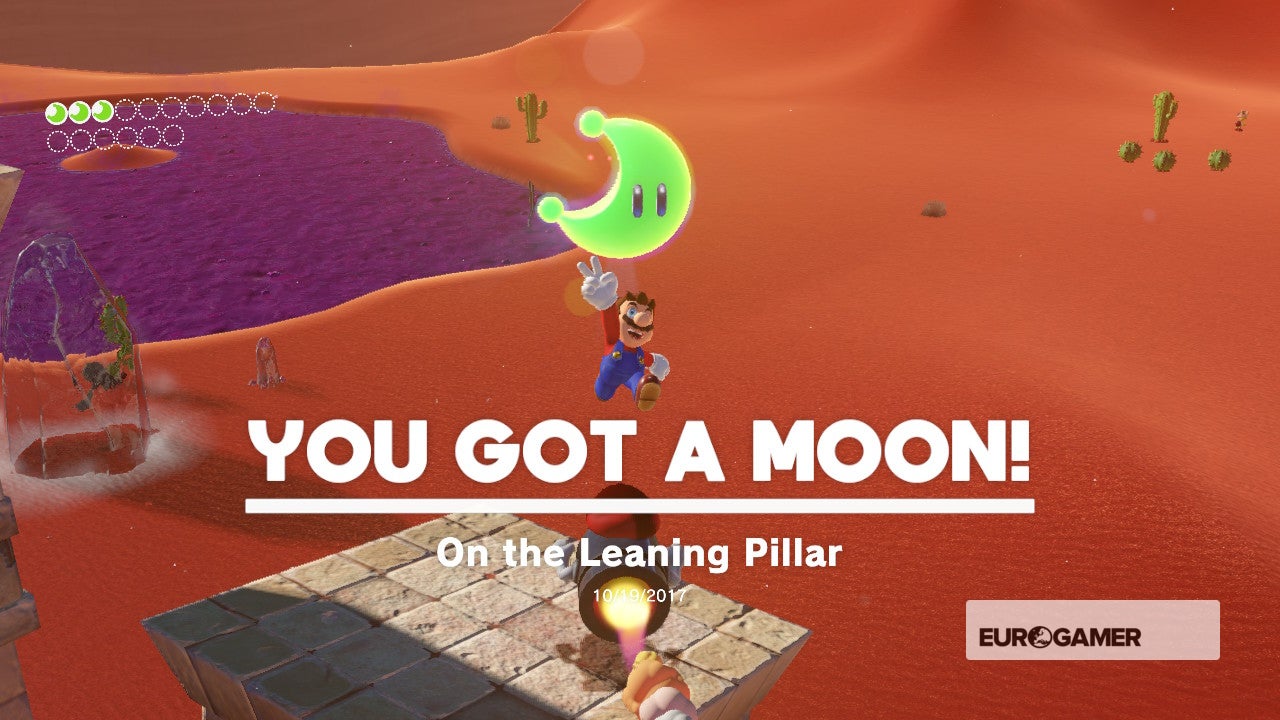
7. On the Leaning Pillar
From the Tostarena Ruins Entrance checkpoint, head up the flight of stairs and turn left. Utilize the Bullet Bill to accomplish the far platform. Bullet Bills only final and so long, then head beyond the dunes on the other side to collect your next Moon, then head back to the platform before you lot explode over the dunes.

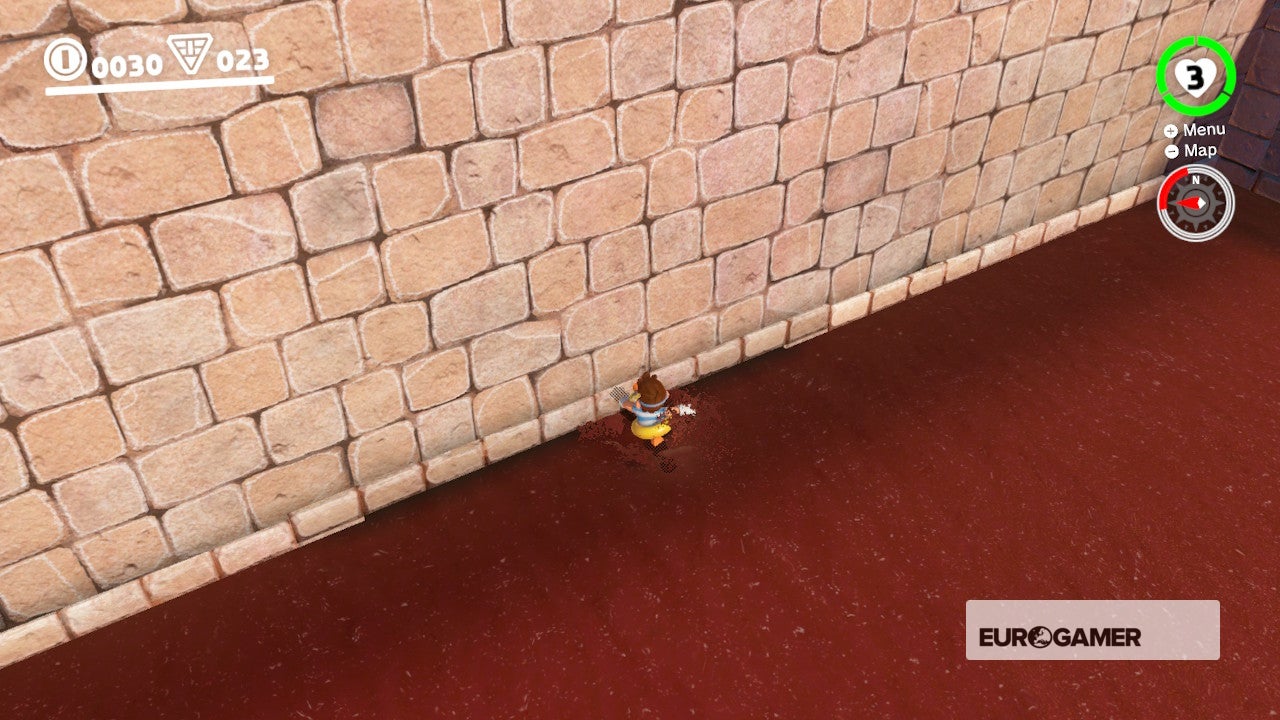
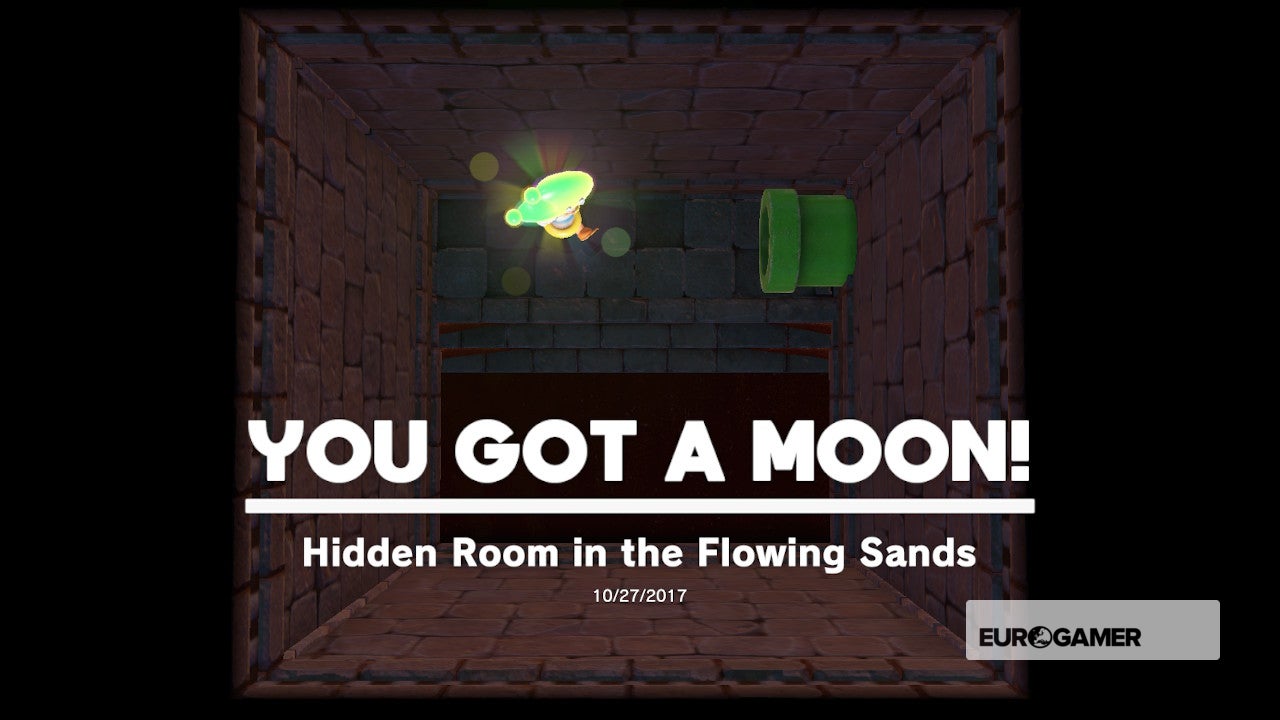
8. Hidden Room in the Flowing Sands
From the Tostarena Ruins Sand Pillar checkpoint, jump into the sand and head towards the point prove in the screenshot. Sink plenty to pass under this obscure gap at the bottom and bound up lots to rise into a secret room. Within, a Moon awaits.

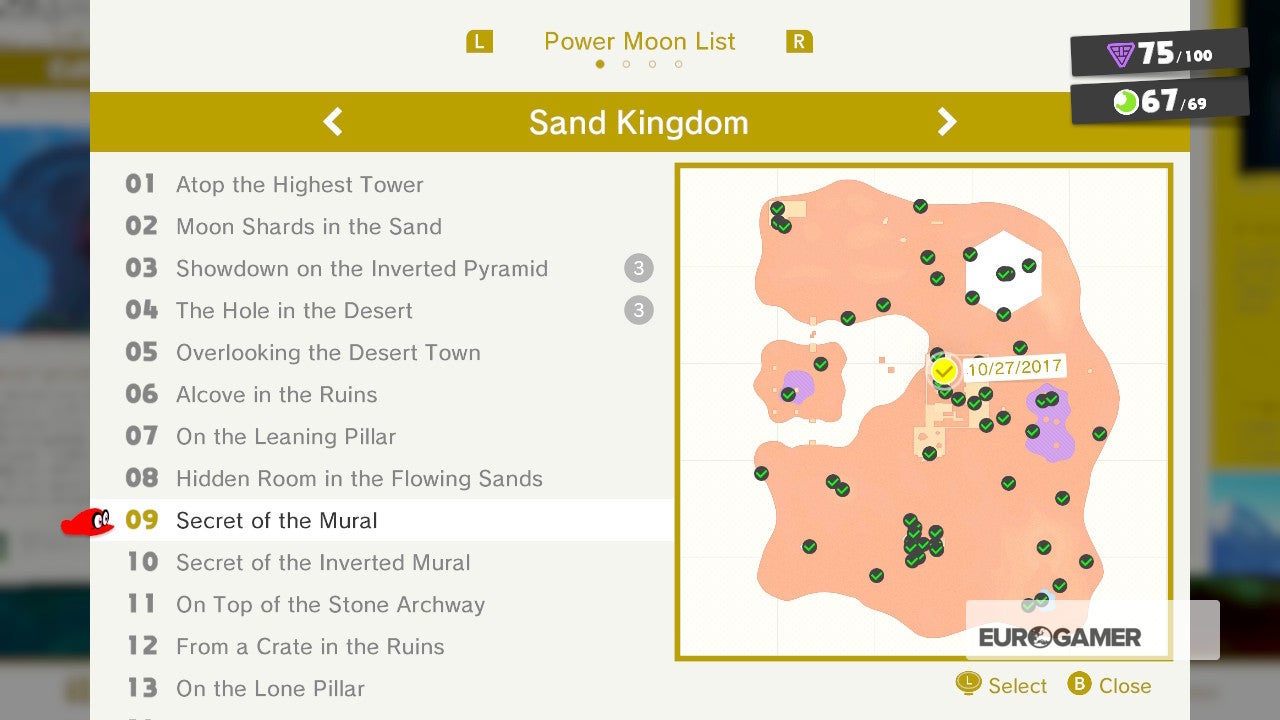
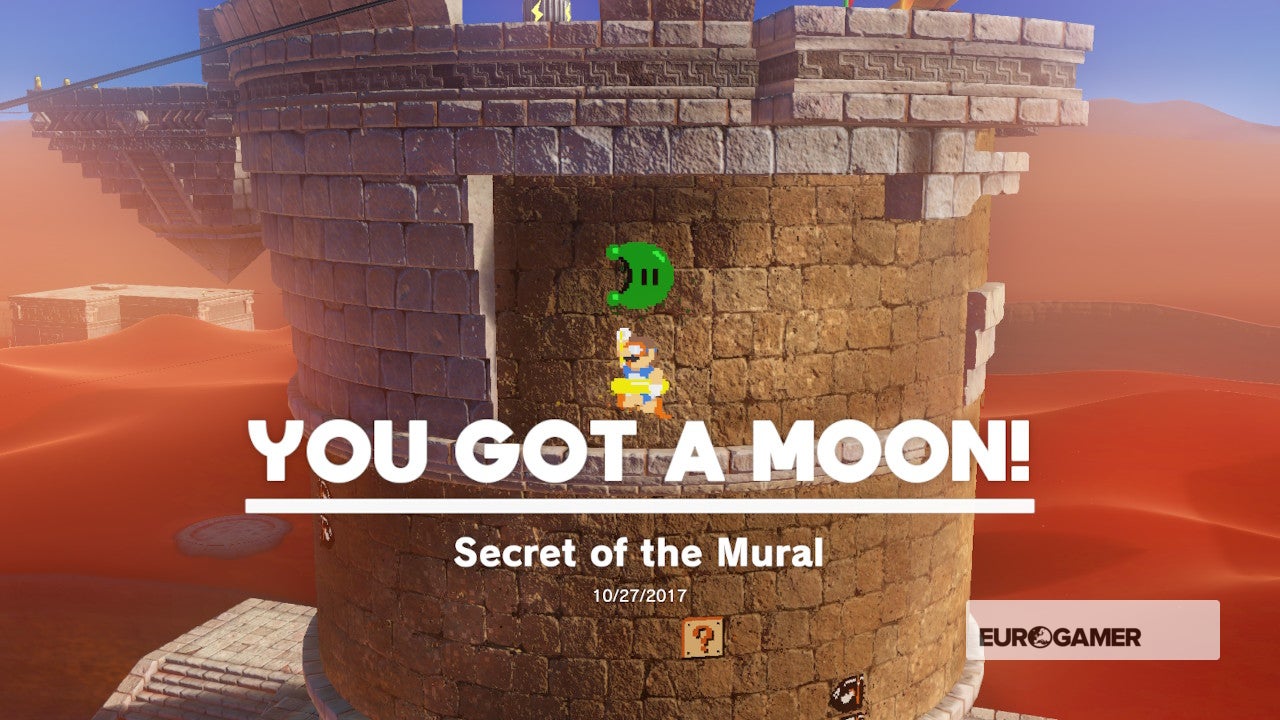
9. Secret of the Mural
From the Tostarena Ruins Circular Belfry, head upwardly to the very last section of the 2D tower level. Ride the ii platforms along to the right, bound onto the ledge, then jump back down to where the platform has stopped earlier it heads back the way information technology came. Apace run to the right and into as secret room with a Moon.
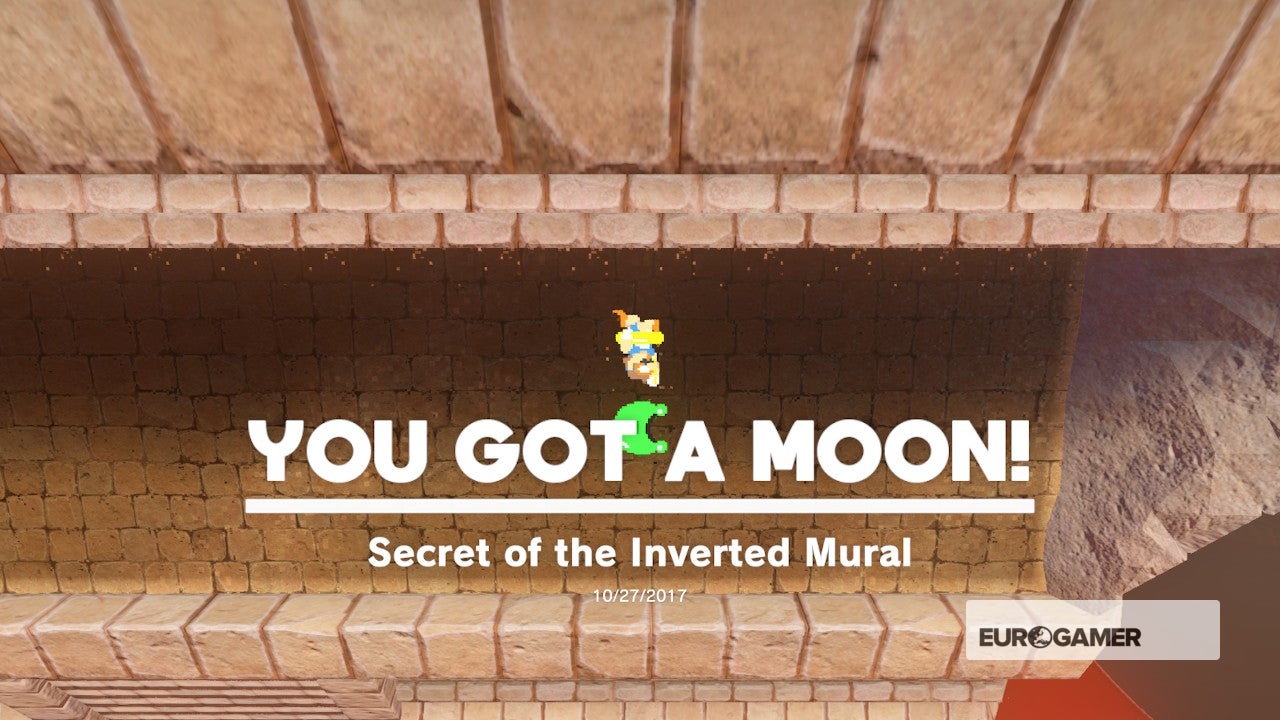
10. Cloak-and-dagger of the Inverted Mural
Either during the story objectives or in post-game, enter the Inverted Pyramid (there'due south a catapult outside to assist you lot reach it post game). Enter the 2D section with, continuing until y'all attain the outdoor section. At the end of the area with the 2 Warp Pipes, jump upwards to the right and take hold of the hidden Moon.

Super Mario Odyssey Sand Kingdom Ability Moons eleven to twenty
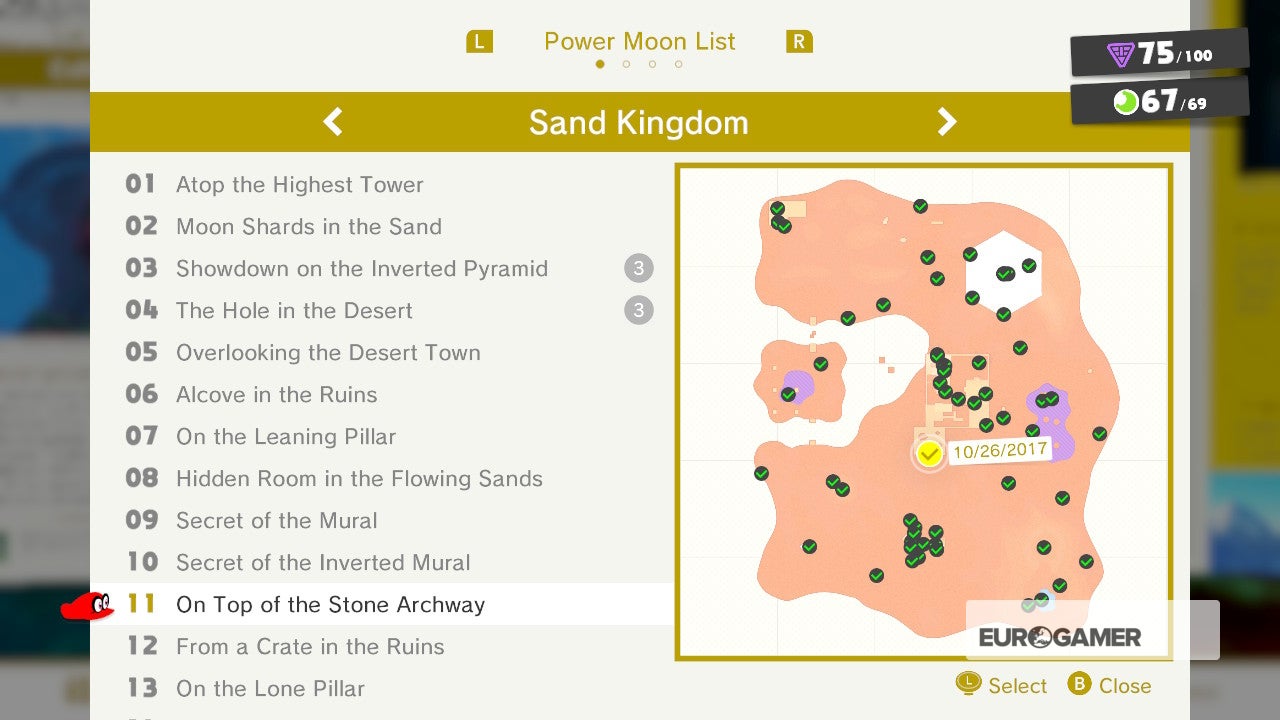
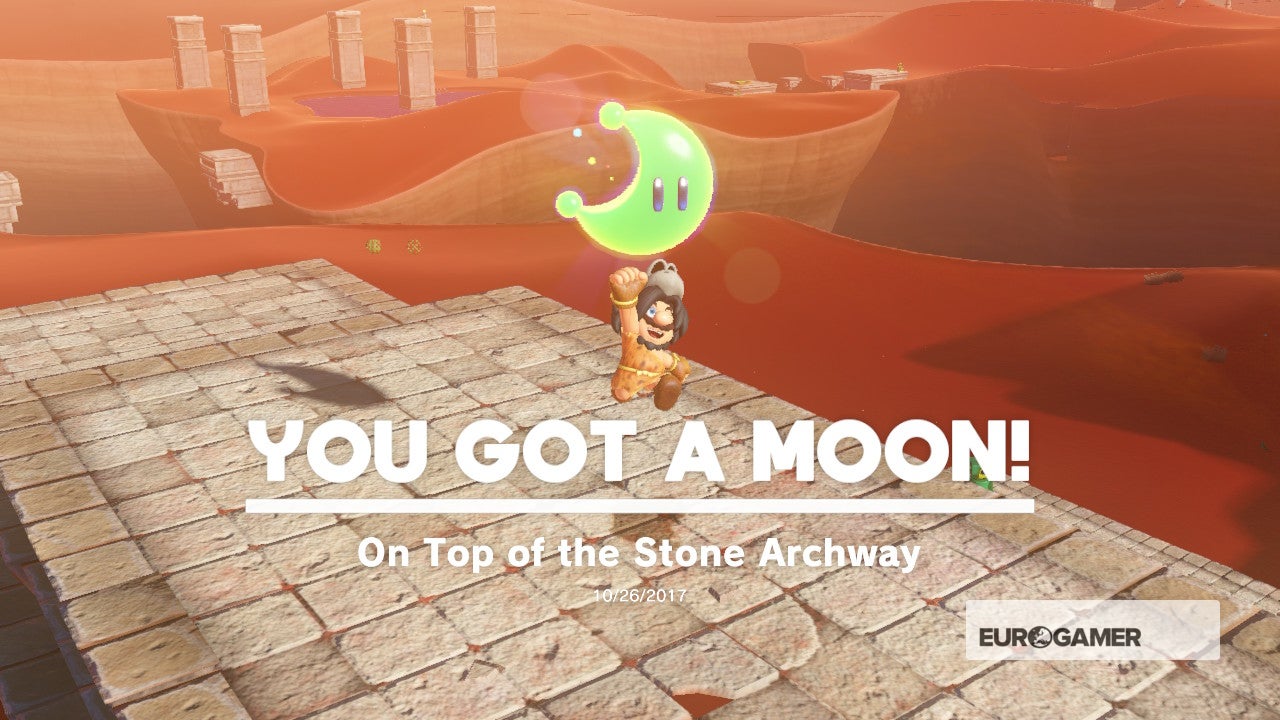
11. On Peak of the Stone Archway
Ride the Spark pylon from the beginning hamlet towards the ruins. Jump off across the showtime stone archway and collect your prize.
12. From a Crate in the Ruins
From the Tostarena Ruins Sand Pillar checkpoint, cross the floating sand platform and arise the 2D level on the wall. When you reach the top, use a Bullet Bill to destroy the glowing crate. The Moon inside volition bounciness to a platform backside y'all. Use another Bullet Bill to attain it.


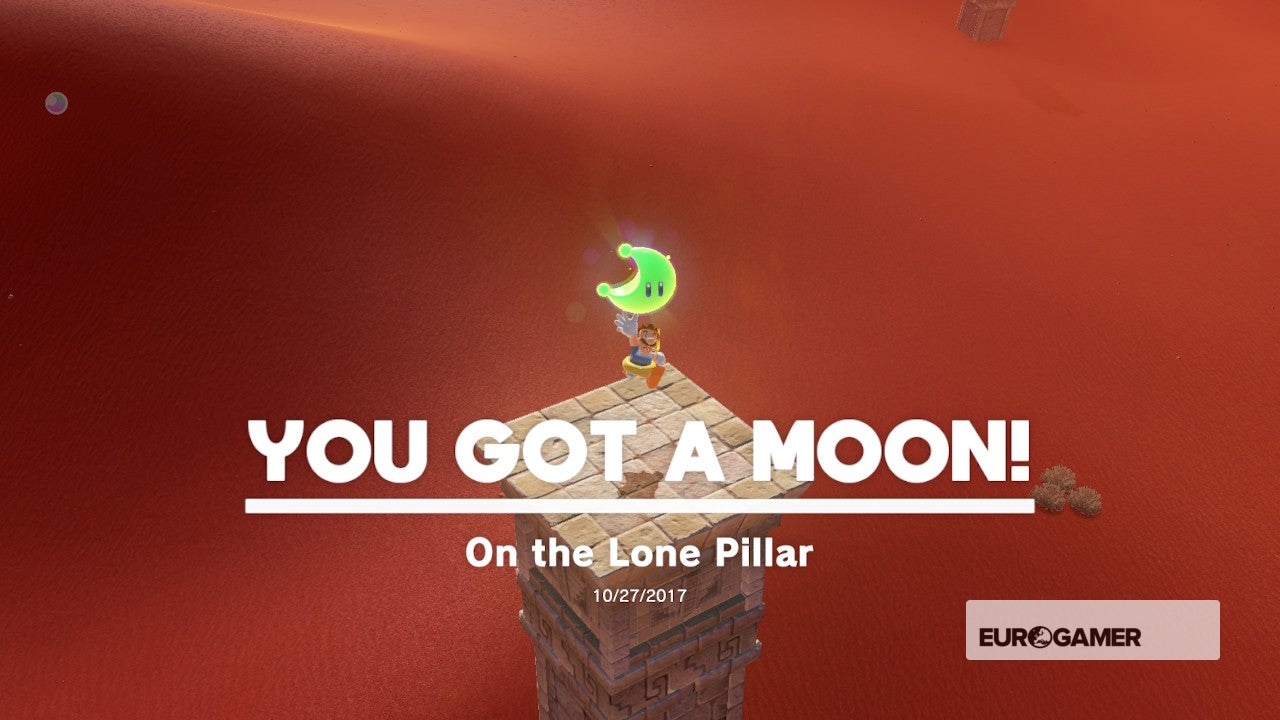
xiii. On the Alone Colonnade
Subsequently you've completed the game, return to the Tostarena Ruins Circular Belfry checkpoint, possess the Glydon and glide to the tower directly in forepart of you lot. The Moon on the pillar is yours.

14. On the Statue'south Tail
From the Tostarena Ruins Circular Belfry checkpoint, ride the Spark pylon up to the meridian of the Inverted Pyramid, so run over to the Jinx statue with the glowing tail. Swing Cappy on it for a Moon surprise.


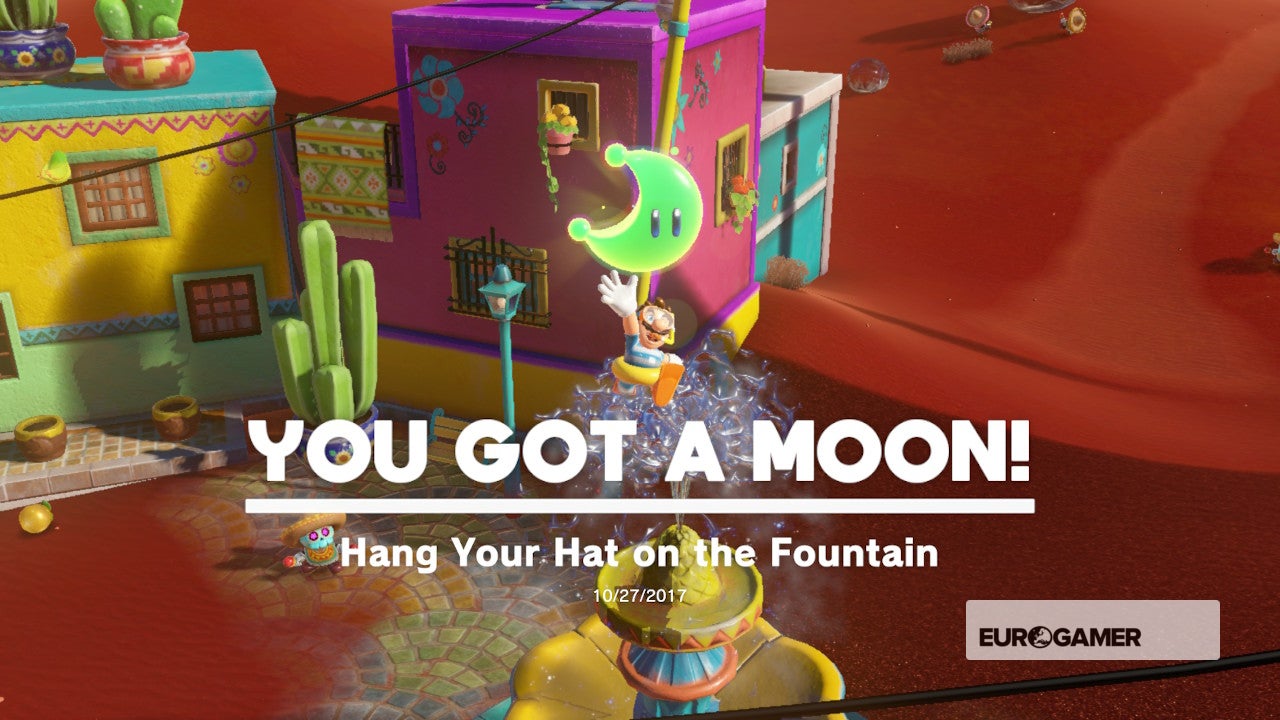
15. Hang Your Chapeau on the Fountain
In Tostarena Boondocks, caput to the fountain and swing your cap on the top of the fountain to reveal a Moon. This can only be done after completing the story objectives in the Sand Kingdom.

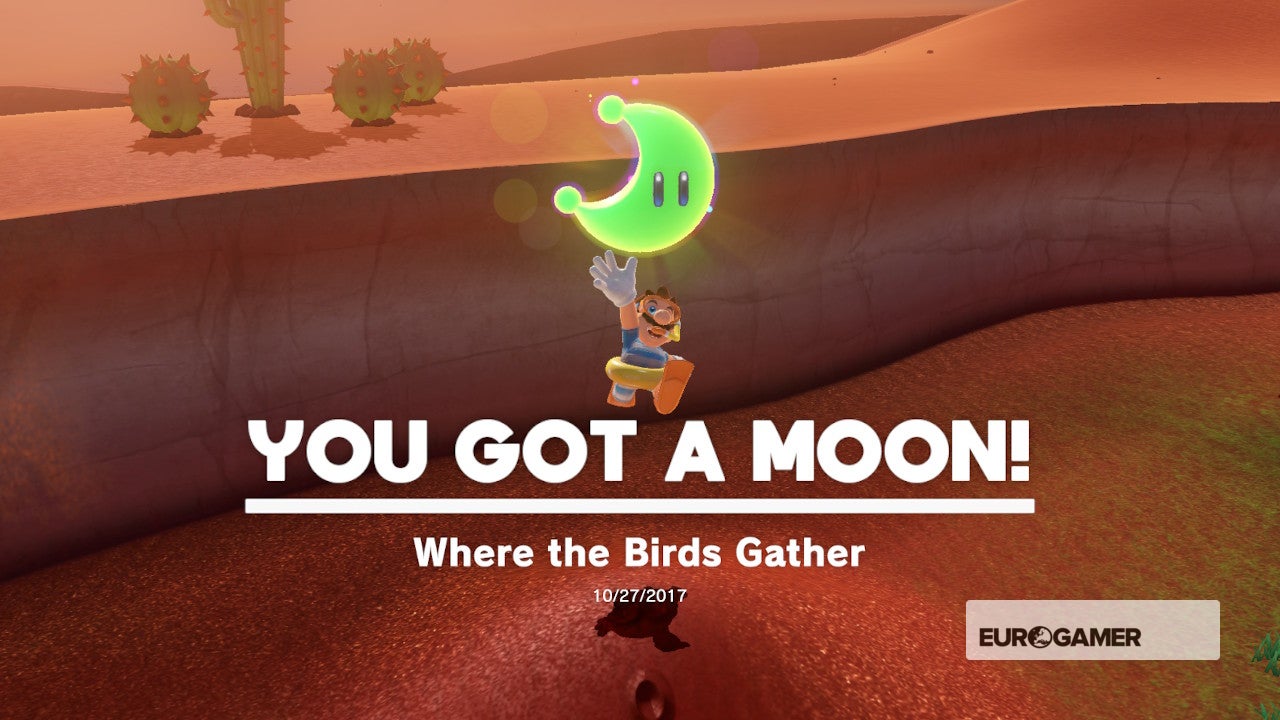
16. Where the Birds Gather
Warp to the Desert Oasis checkpoint and expect for a lump to your left and look for a lump in the ground covered in yellow birds. Footing Pound said lump a receive a Moon.

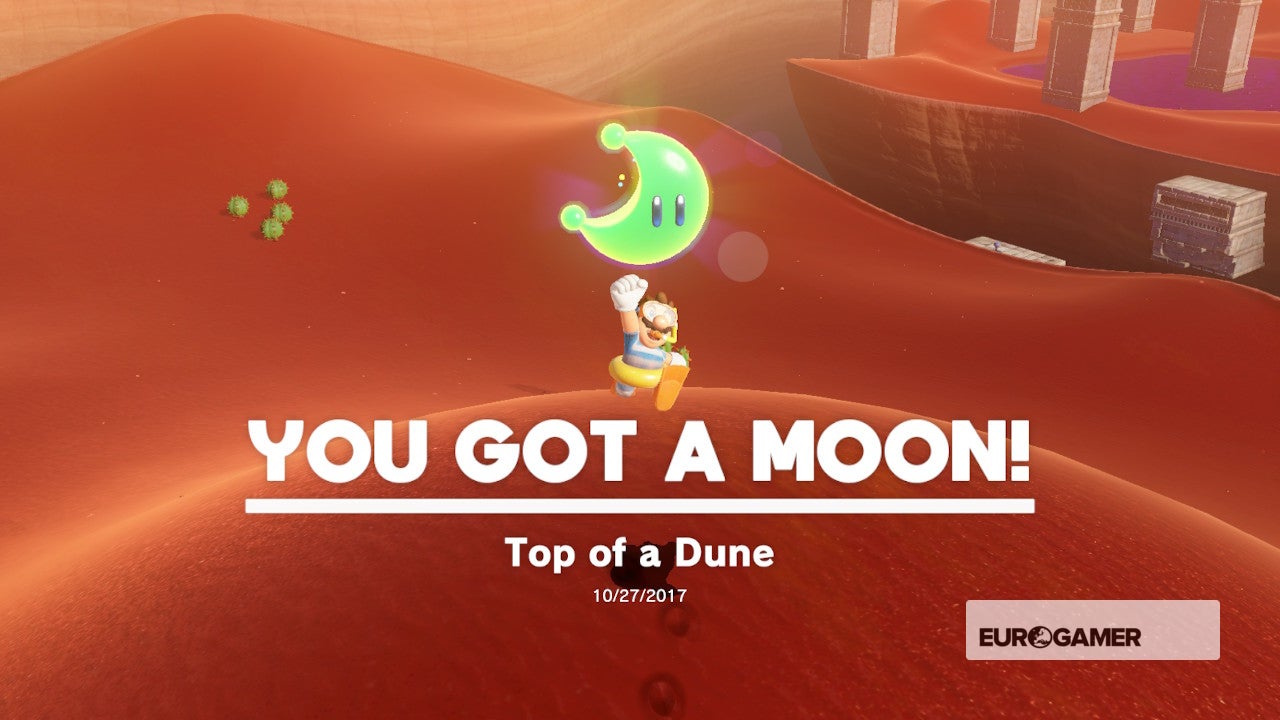
17. Meridian of a Dune
Warp to the Tostarena Towner checkpoint and look for the high dune pictured in the screenshot. Ground Pound the top of said dune for a Moon, dude.

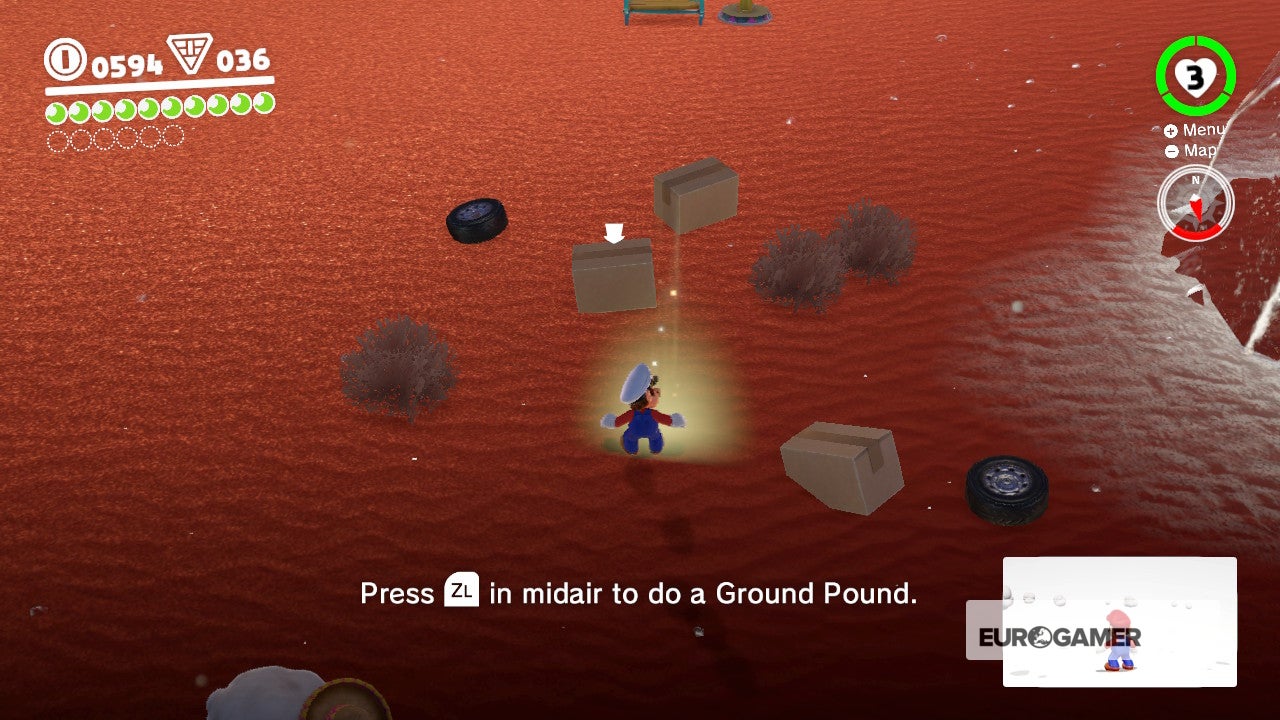
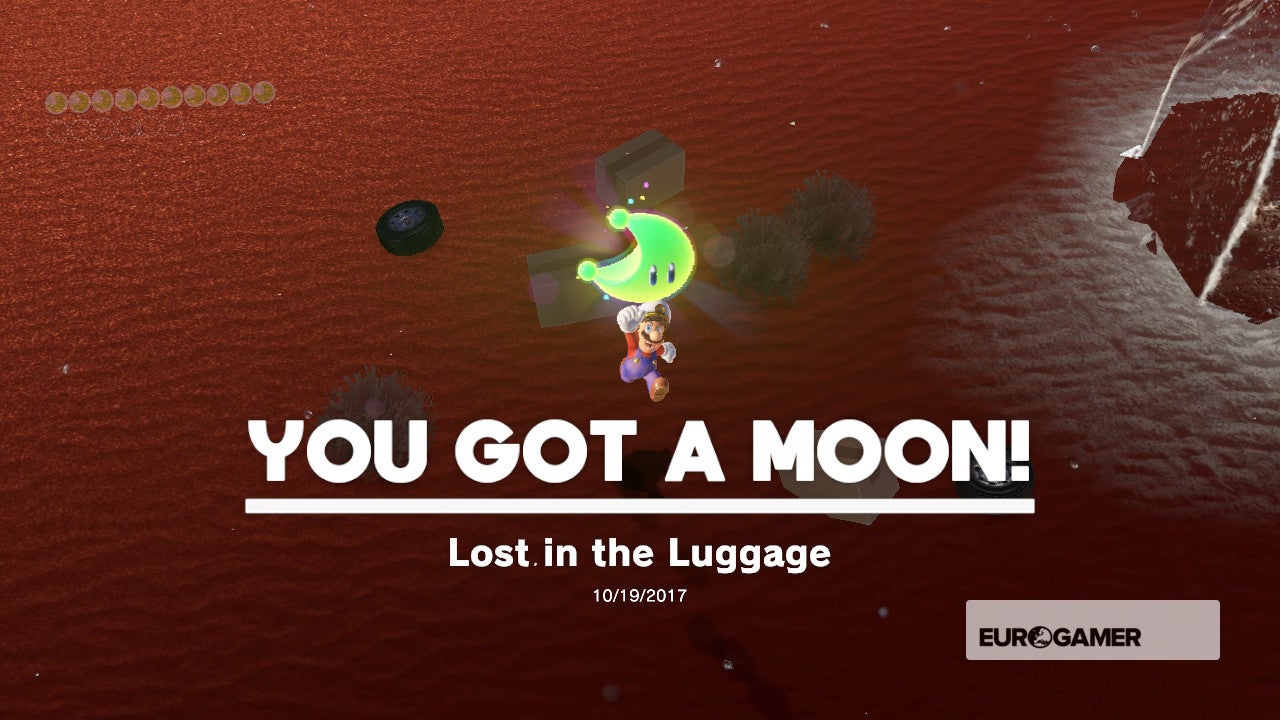
xviii. Lost in the Luggage
A few steps from where you tin drib downwards into the Secret Temple, you'll observe lots of luggage cached in the sand (if you encounter this Moon before you lot complete The Hole in the Desert you'll find it adjacent to a frozen car). Footing Pound the glowing patch of footing to claim your Moon.

19. Bullet Bill Quantum
From the Tostarena Ruins checkpoint, go up the stairs, plow correct, then possess a Bullet Bill. Become through the gap to your left and striking the muzzle to free a Moon.
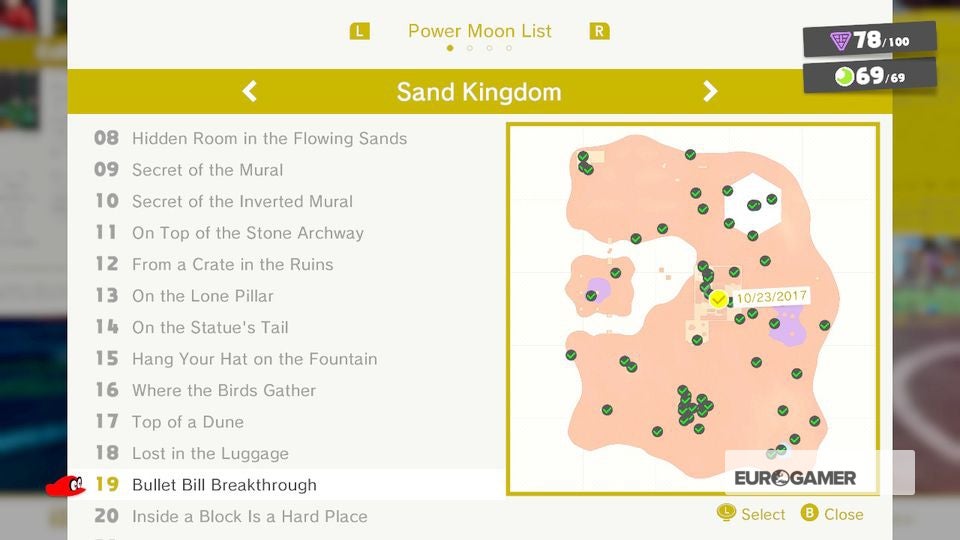

20. Inside a Cake Is a Hard Place
On the aforementioned platform where you possessed a Bullet Beak to attain Moon 7 (about the Tostarena Ruins Entrance checkpoint), you'll find a glowing block of stone nearby. Striking it as Bullet Bill to reveal another Moon.

Super Mario Odyssey Sand Kingdom Ability Moons 21 to 30
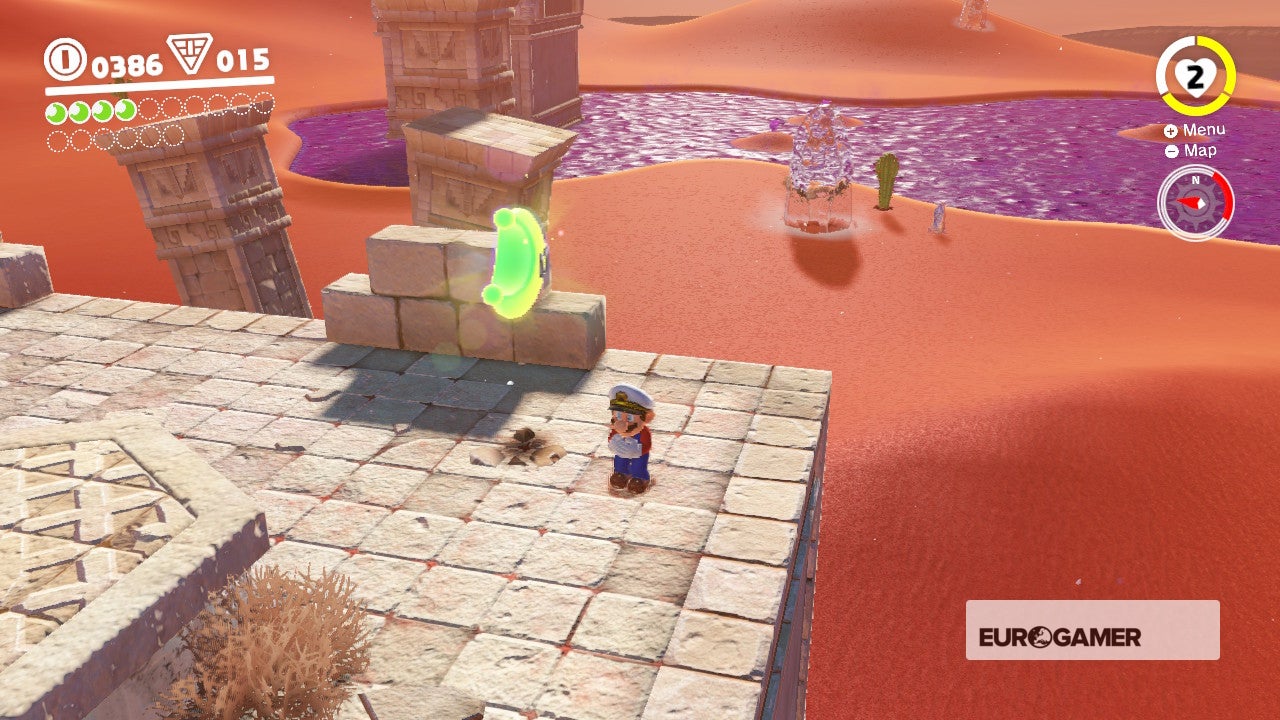
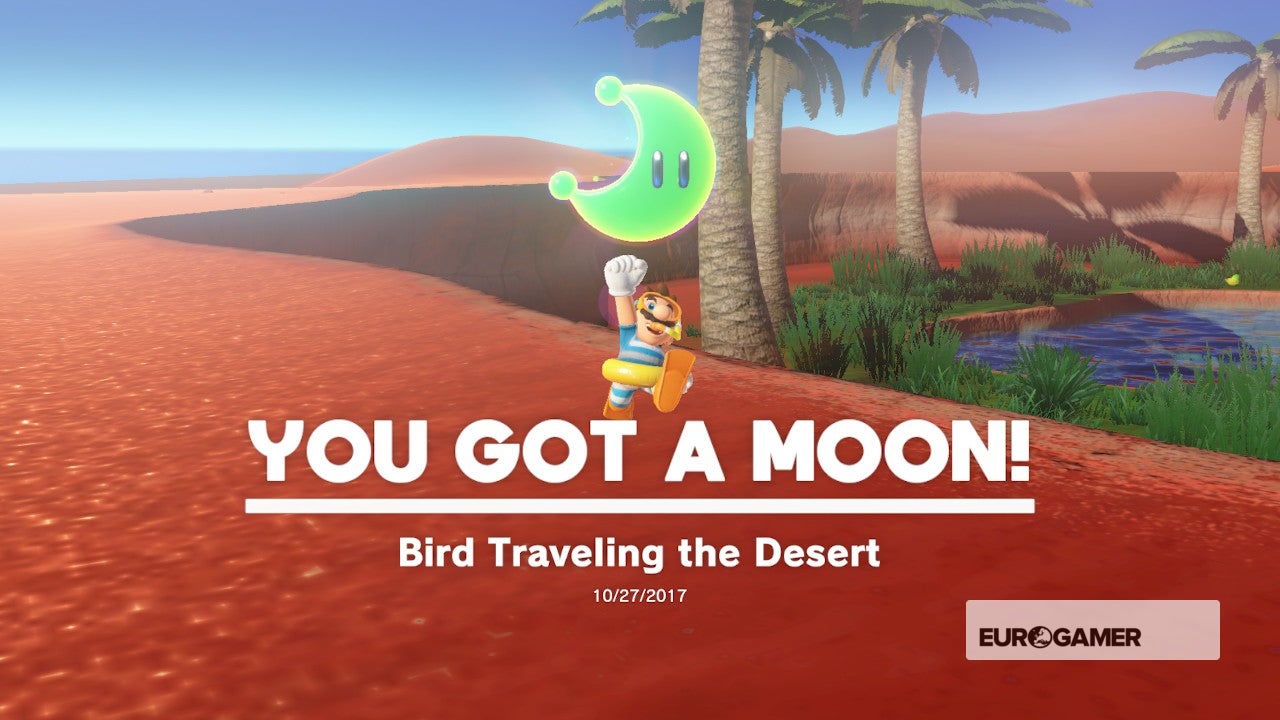
21. Bird Travelling in the Desert
A bird with a glowing aureola circles most of the map on a loop. To take hold of information technology, await on the tree to the left of the Desert Oasis checkpoint. Climb to the pinnacle and wait on one of the leaves. Hit the bird with your cap when information technology passes to get the Moon.

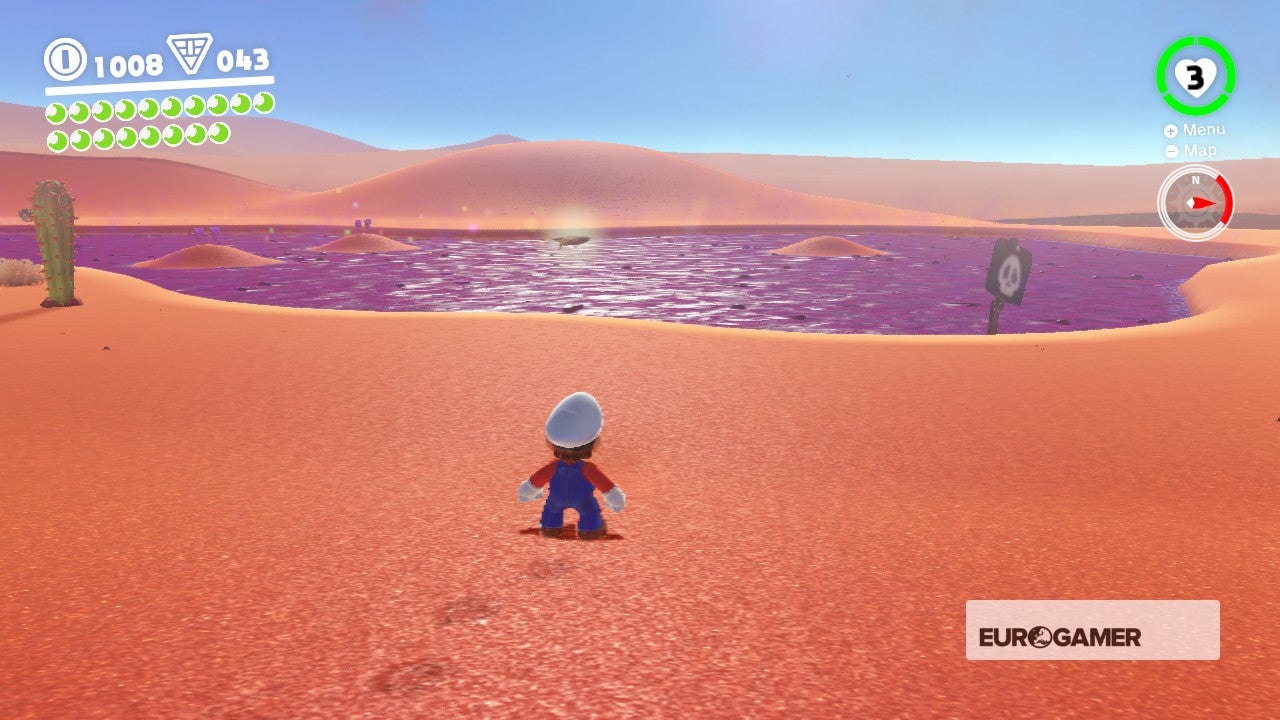
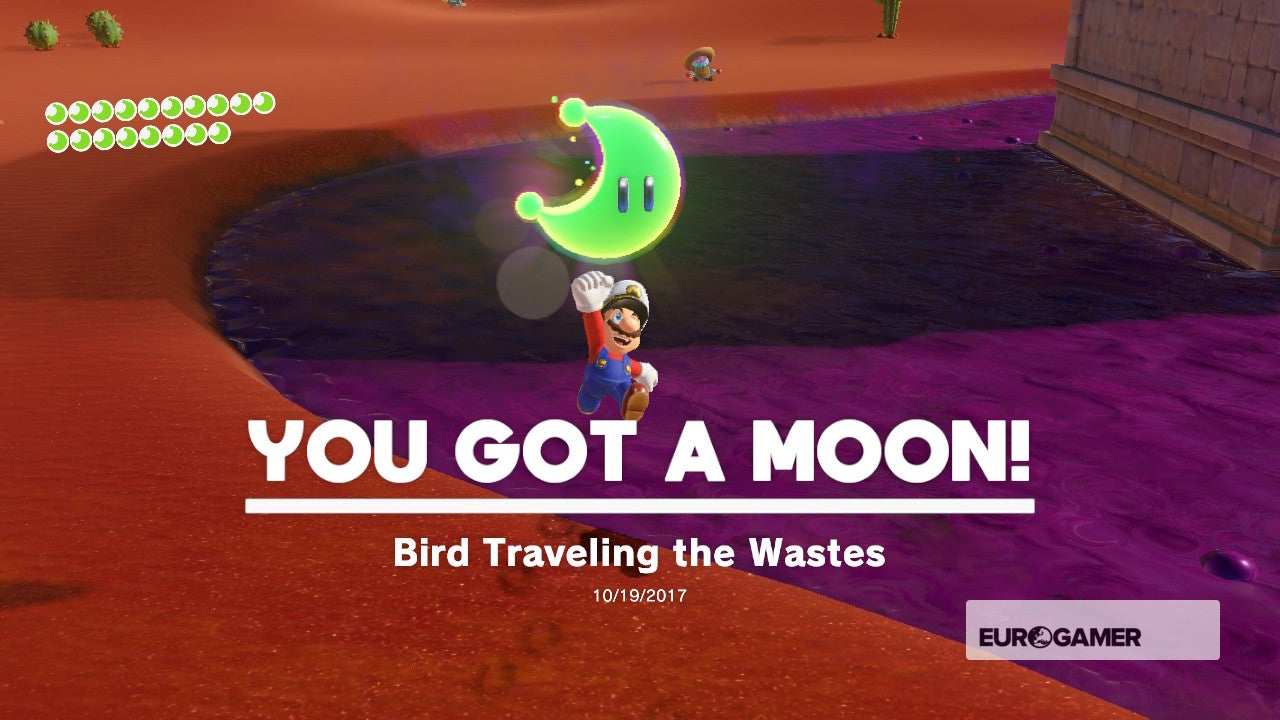
22. Bird Travelling the Wastes
This glowing hawk will exist circling the bubbling purple lake north of the oasis where you lot collected Moon 32 (Taking Notes: Jump on the Palm). The hawk travels in the same pattern, so apply Cappy to hit information technology and reveal a Moon!

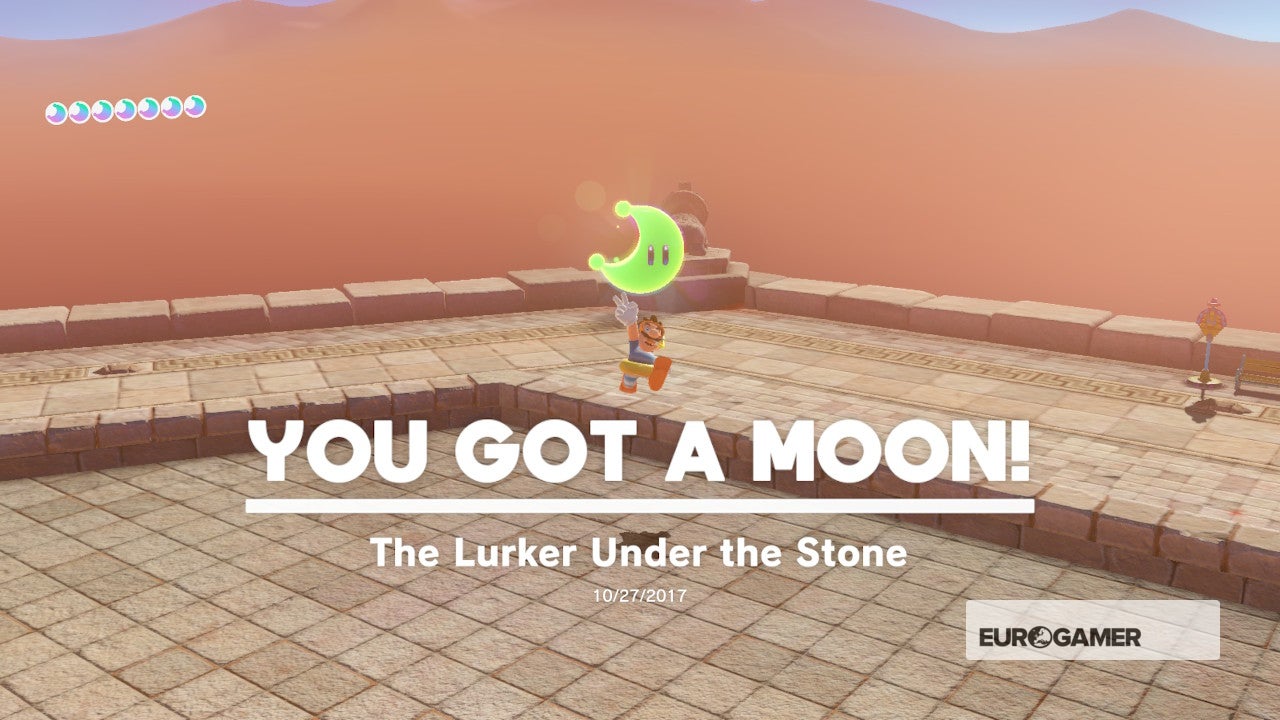
23. The Lurker Under the Stone
Warp to the Tostarena Ruins Round Tower checkpoint, ride the Spark pylon upward to the height of the Inverted Pyramid, now hit the moving lump on the main platform, so Footing Pound it to reveal a Moon.

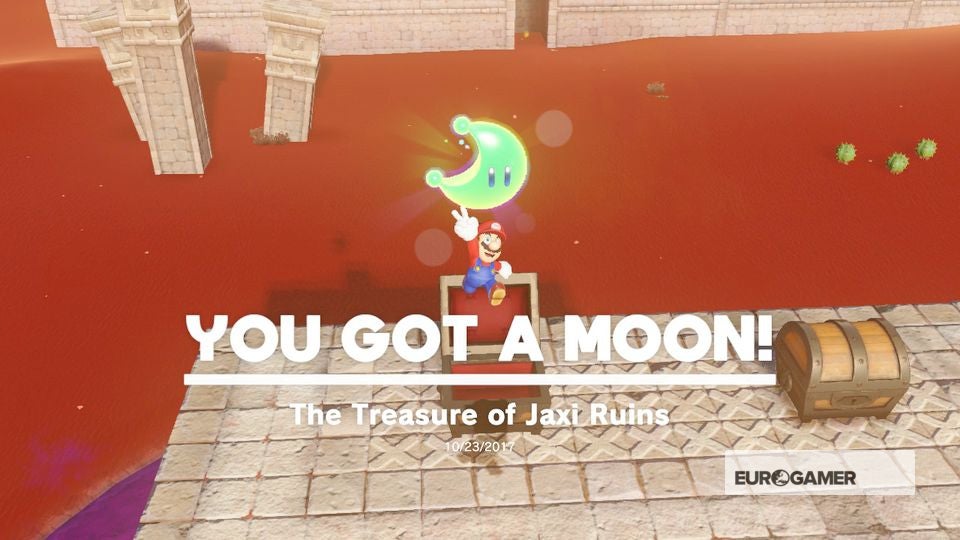
24. The Treasure of Jaxi Ruins
In the top right-hand corner of the ruins is a whirlpool. Bound in to access a bonus level. Be careful of the slippery ice, walk slowly between the crushing columns, and then advisedly make your way to the end to popular out on elevation of the structure in the middle of the royal gloop swamp. Moon is in the breast.

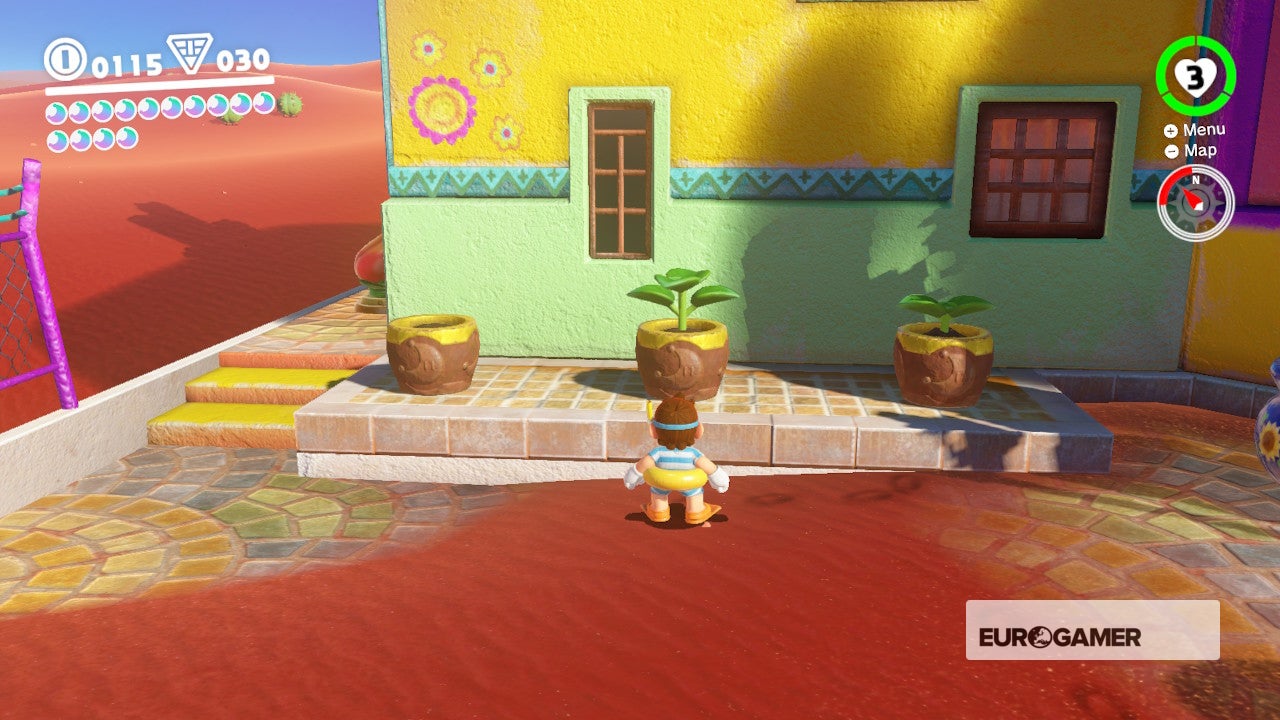
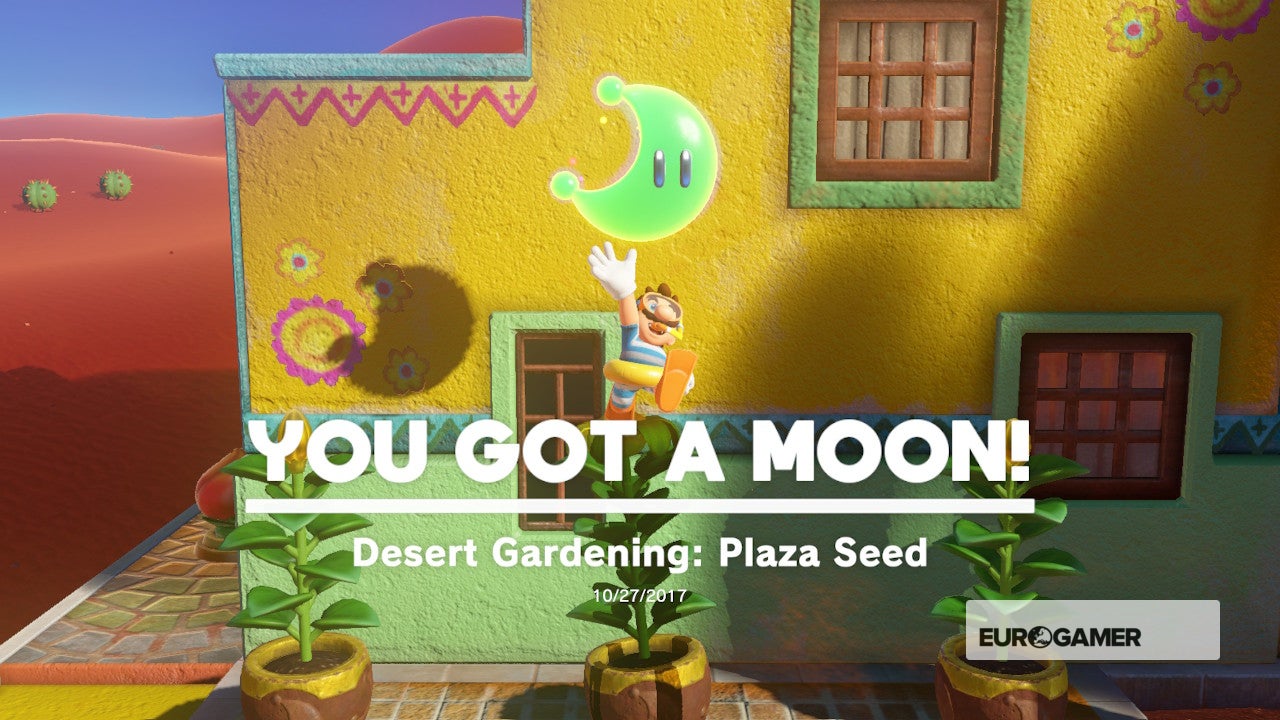
25. Desert Gardening: Plaza Seed
This is Moon best done in conjunction with Moons #26 and #27 as all three require time to abound - and then do one, then follow the instructions for the other ii. Then wait for all three to grow together. From the Tostarena Town checkpoint, by the fountain and expect left. There are 3 pots. Throw the seed into one to start the growth for this Moon.

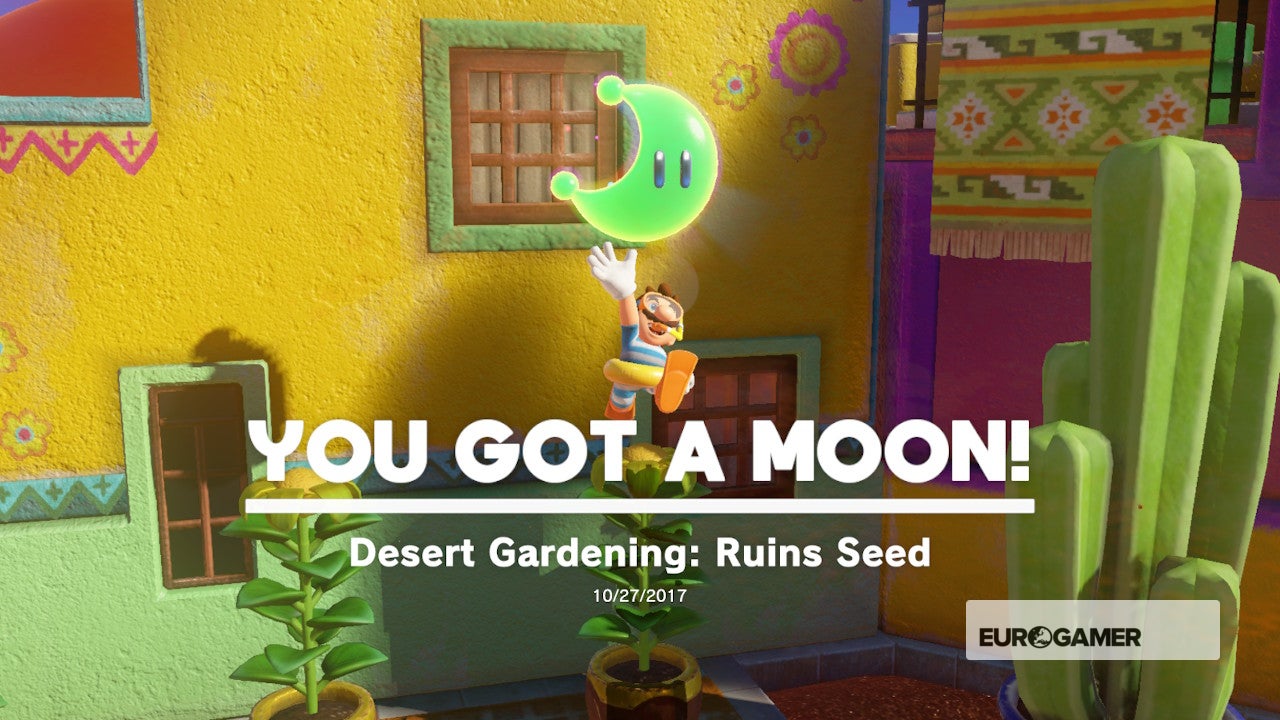
26. Desert Gardening: Ruins Seed
Warp to the Tostarena Ruins Sand Pillar checkpoint, plow 180_degrees and run across the spinning coins and onto the sand below. Turn 180_degrees and you'll observe the seed in an alcove. Run back to the pots in Tostarena Boondocks and plant information technology in 1 of the remaining pots.

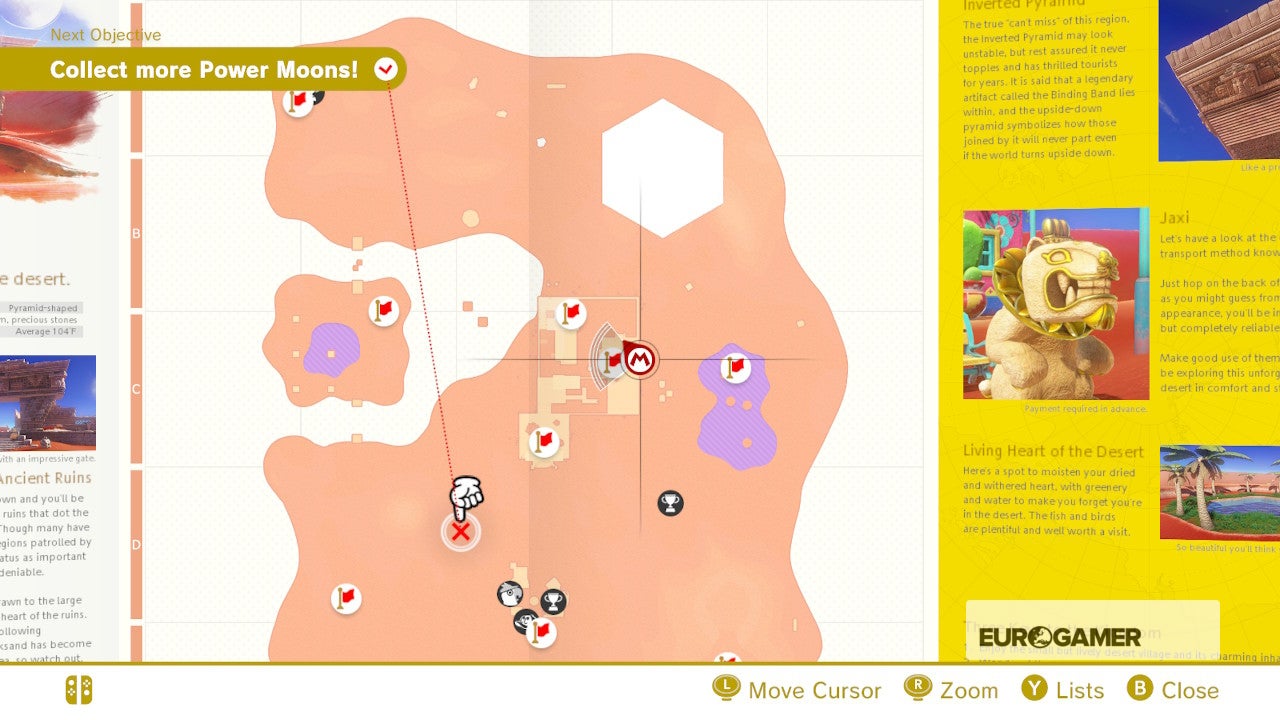
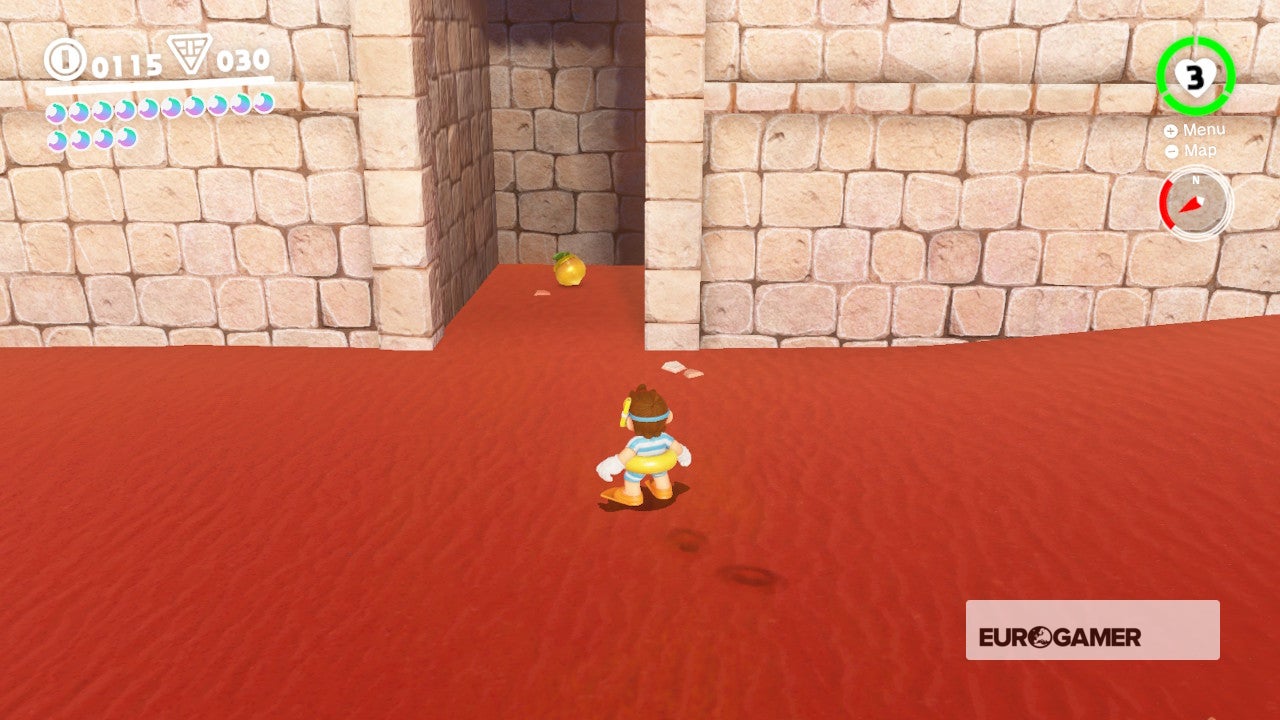
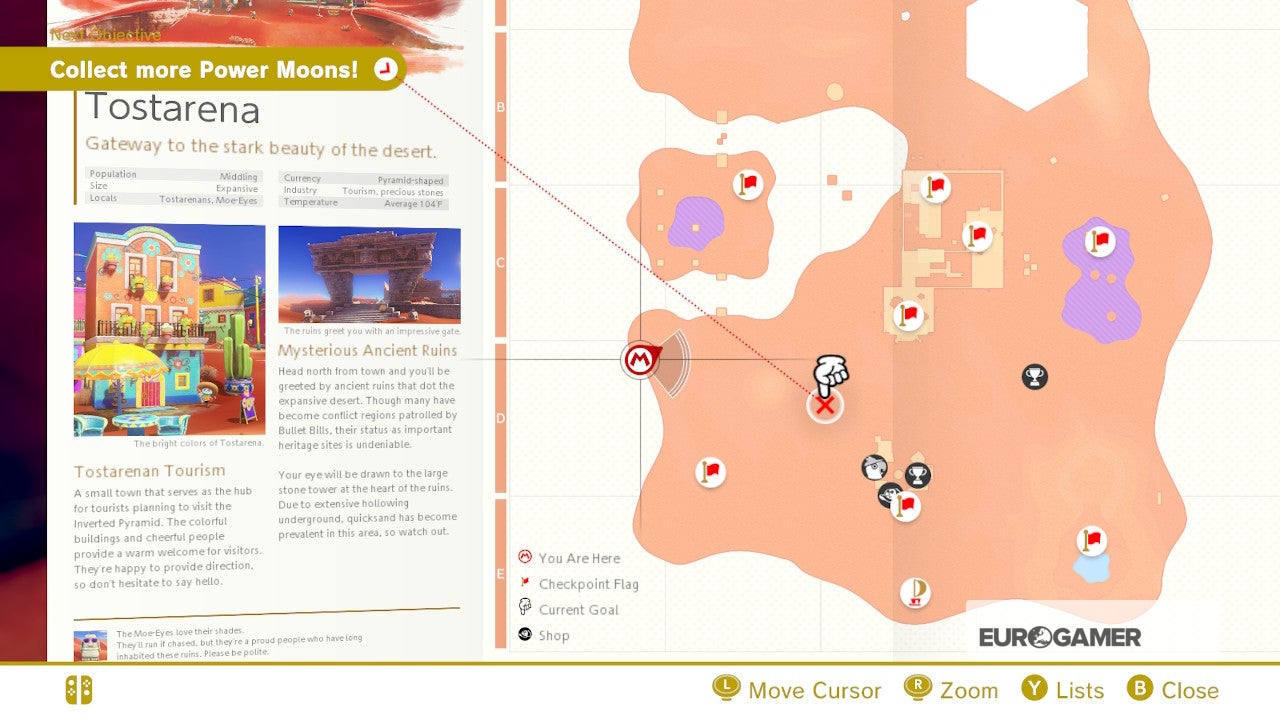
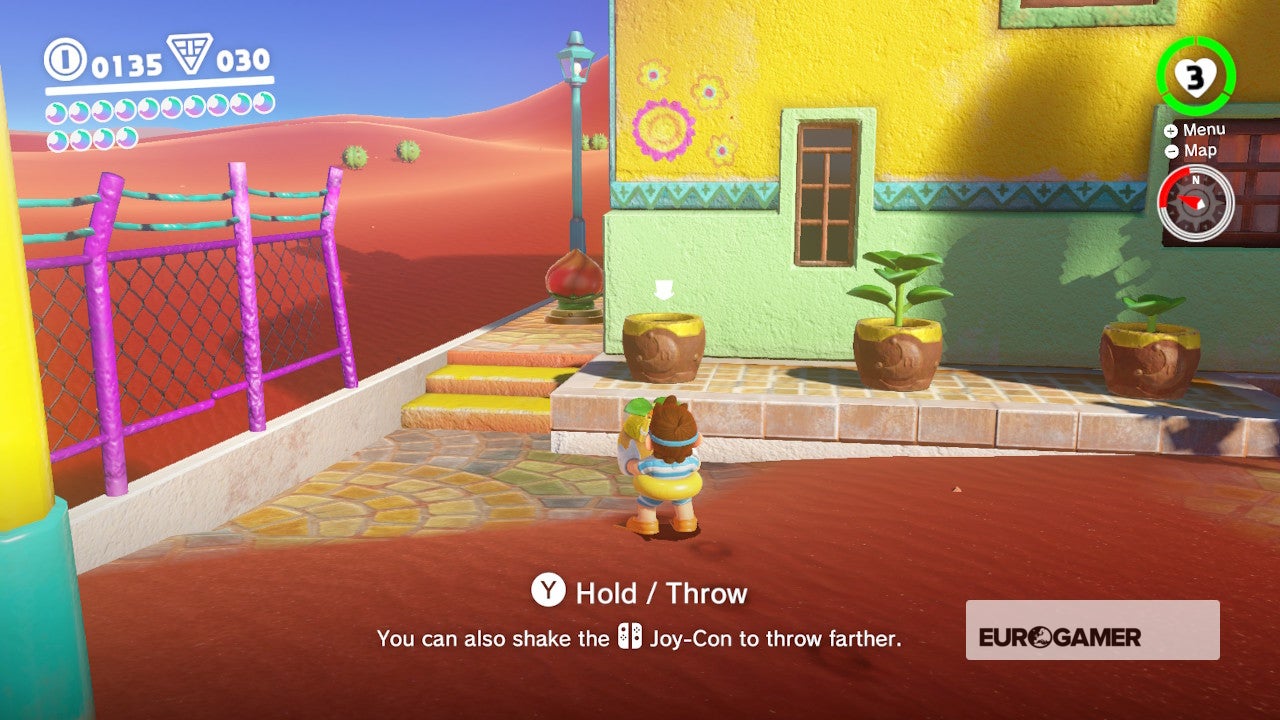
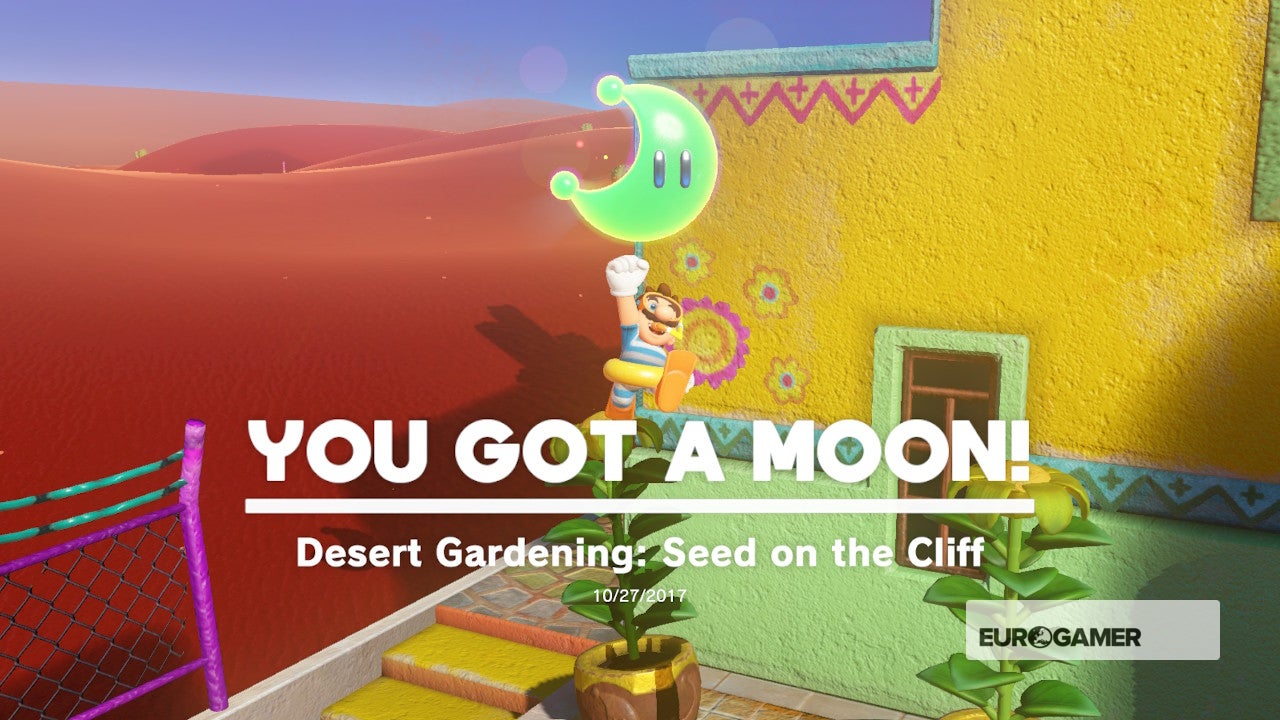
27.Desert Gardening: Seed on the Cliff
Caput to the indicate on the map show in the screenshot. Drop down to the ledge below and collect the seed. Approach the flower leap pad, drop the seed carefully, hitting the pad, pick upwards the seed and spin up onto the higher sand level. Run back to Tostarena Town and plant the seed in the third and final pot. At present wait for all three (if needed) to grow.


28. Sand Kingdom Timer Challenge i
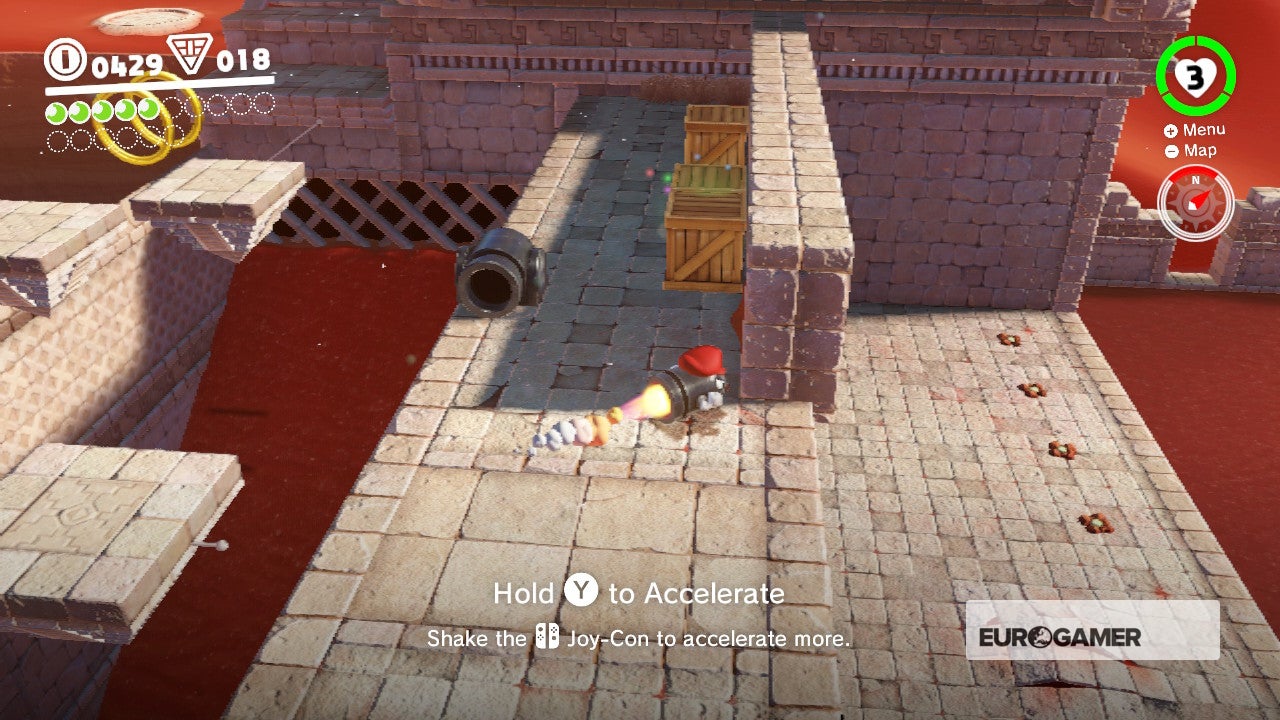
From the Tostarena Ruins Circular Tower checkpoint, ride the Spark pylon up to the Inverted Pyramid, then ride the Spark pylon to your left down to the structure in the Northwest Reaches. Hit the scarecrow. Now climb into the gap, roll forrard (milkshake the Joy-Cons), wall bound to the top and then back dorsum to get the Moon.

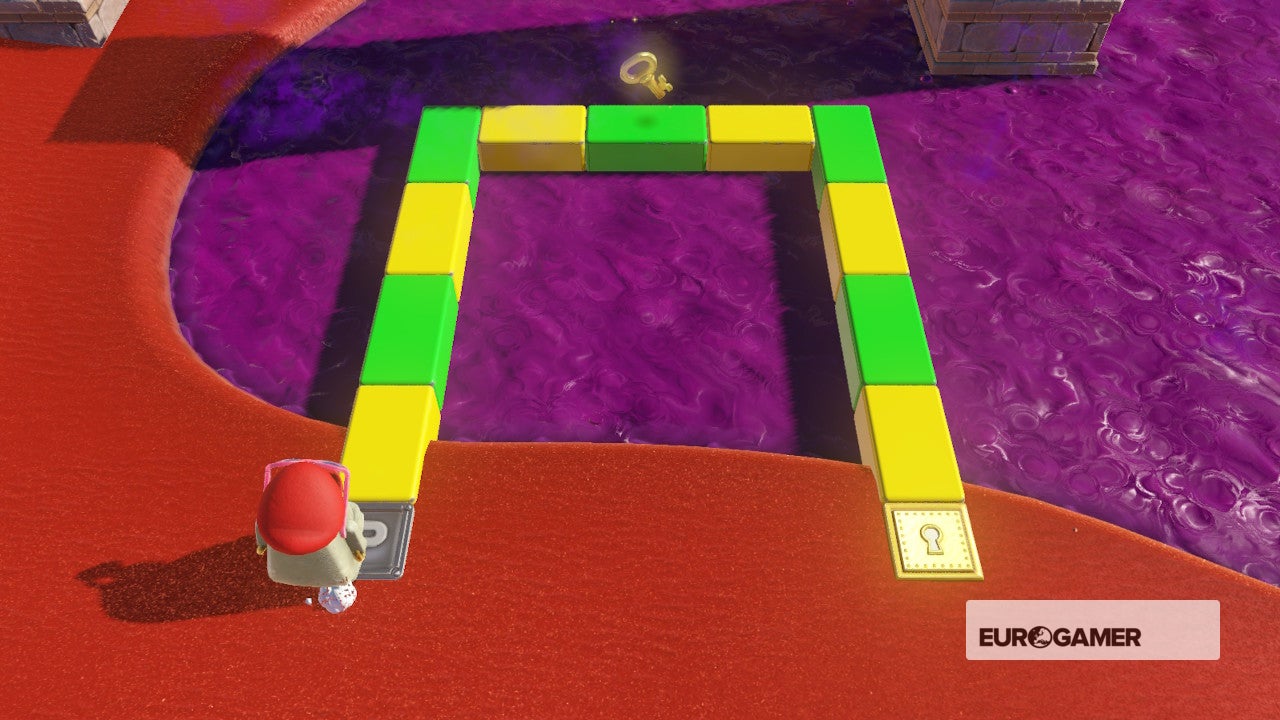
29. Sand Kingdom Timer Challenge 2
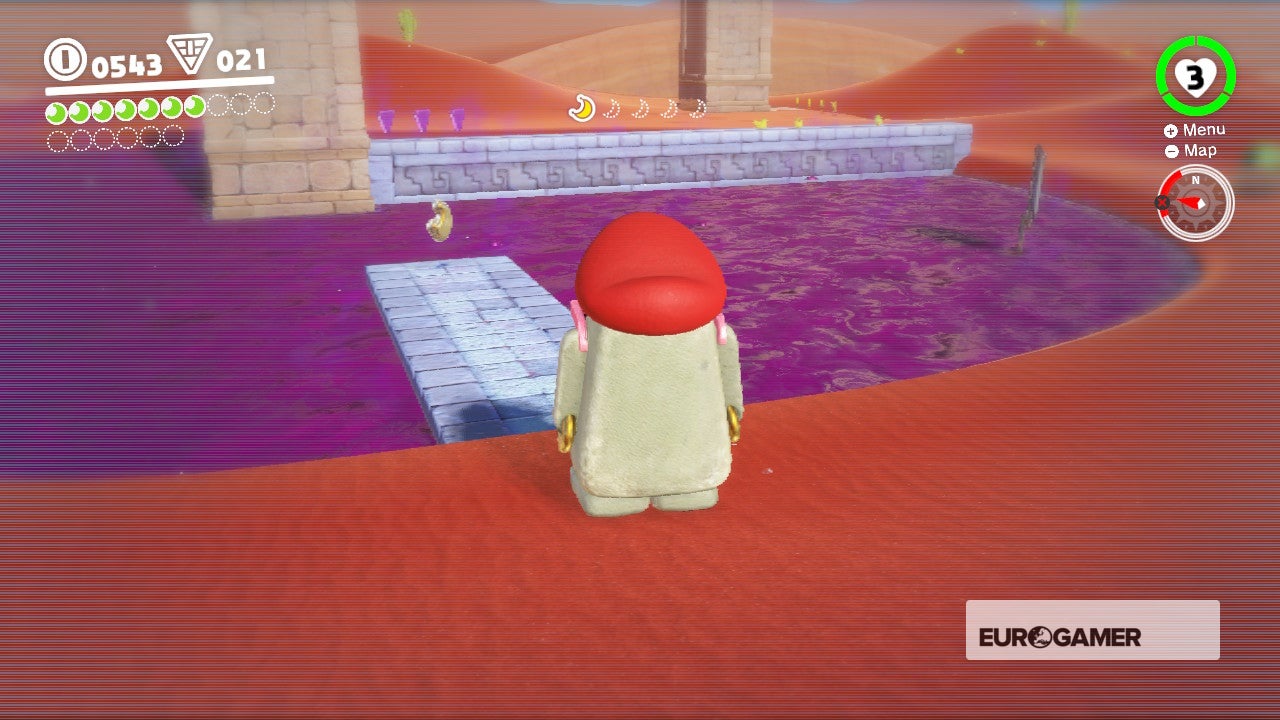
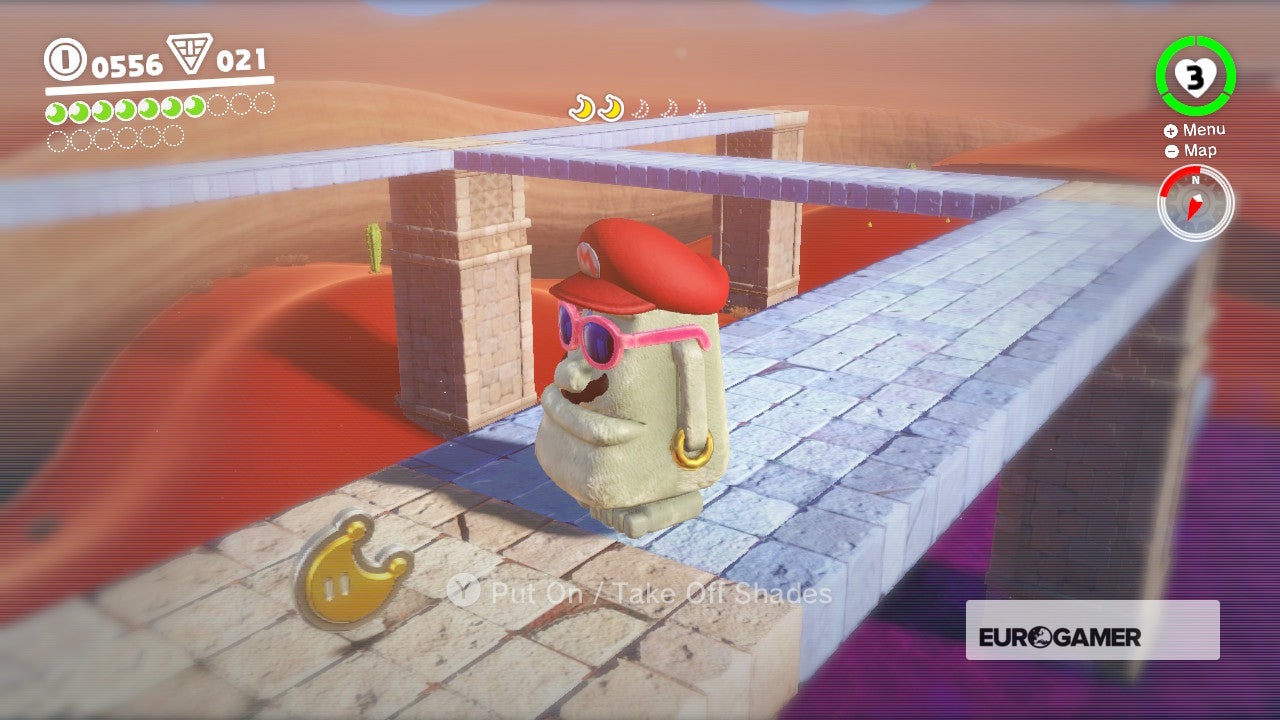
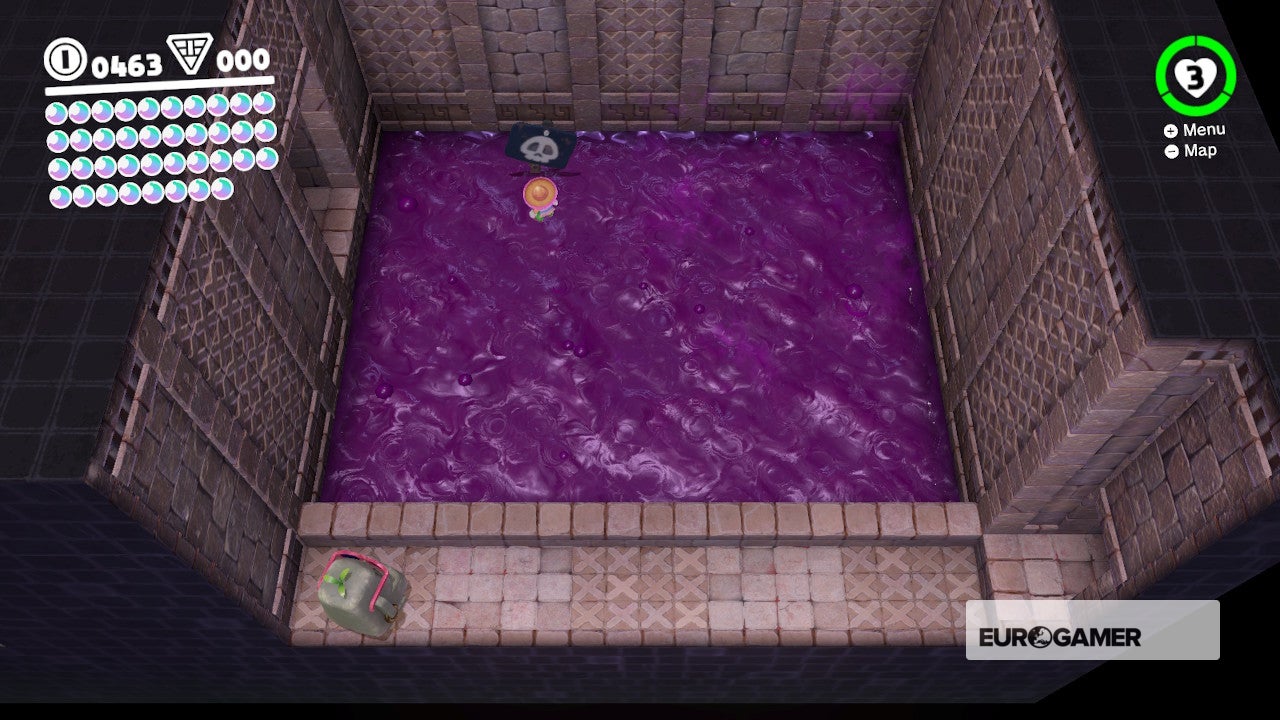
Warp to the Moe-Middle Habitat checkpoint and possess a Moe-Centre. Waddle around to the other side of the purple gloop swamp. Expect for a P-Switch. Walk on information technology to activate a platform with a key. Walk across without your shades, using where the central is to gauge how far to get before turning. So waltz back between your visions and rush over to claim the Moon before it disappears.

xxx. Sand Kingdom Timer Challenge 3
There'south a scarecrow side by side to the purple gloop swamp. To make life easier, warp to the Jaxi Ruins checkpoint, ride the Jaxi down and park it next to the scarecrow. Activate information technology, jump on your Jaxi and ride it beyond to the Moon. Done!

Super Mario Odyssey Sand Kingdom Power Moons 31 to xl
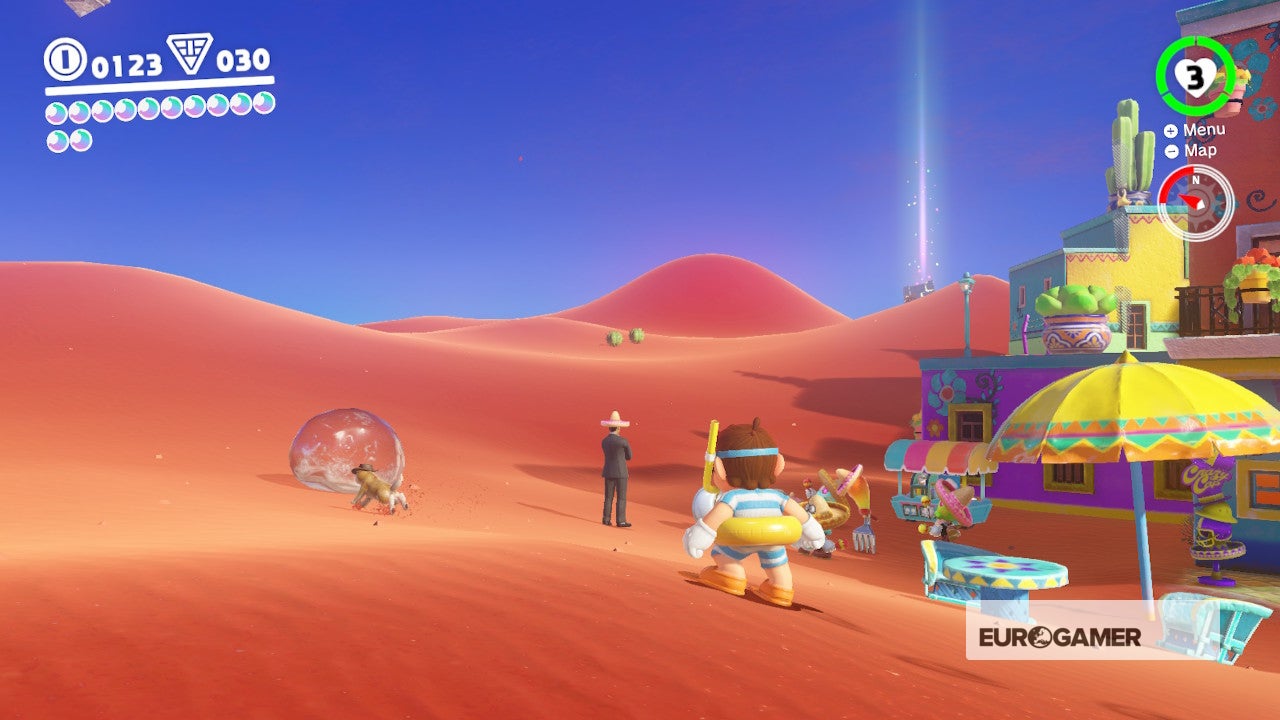
31. Constitute in the Sand! Good Dog!
From the Tostarena Boondocks checkpoint, turn left and look for a dog in a chapeau. Walk upwards to information technology so follow information technology as it runs off. Expect for it to sniff out your prize. Footing Pound the spot revealed to become the Moon.

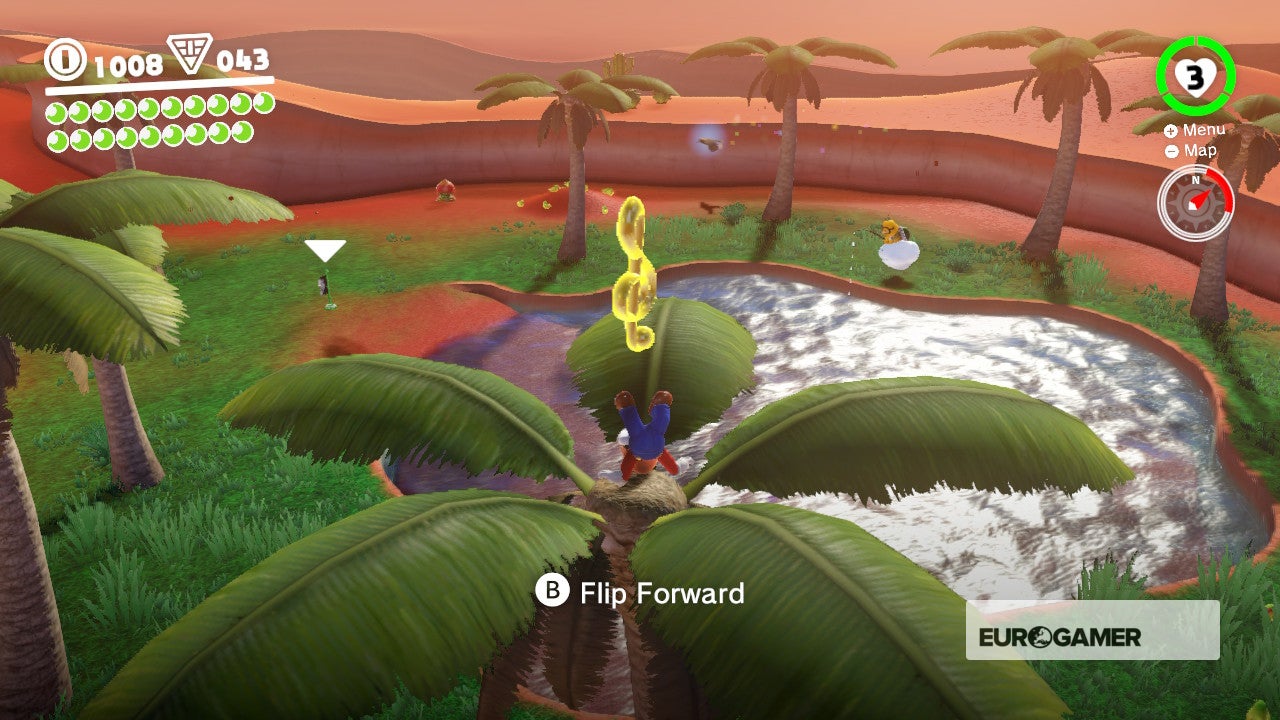
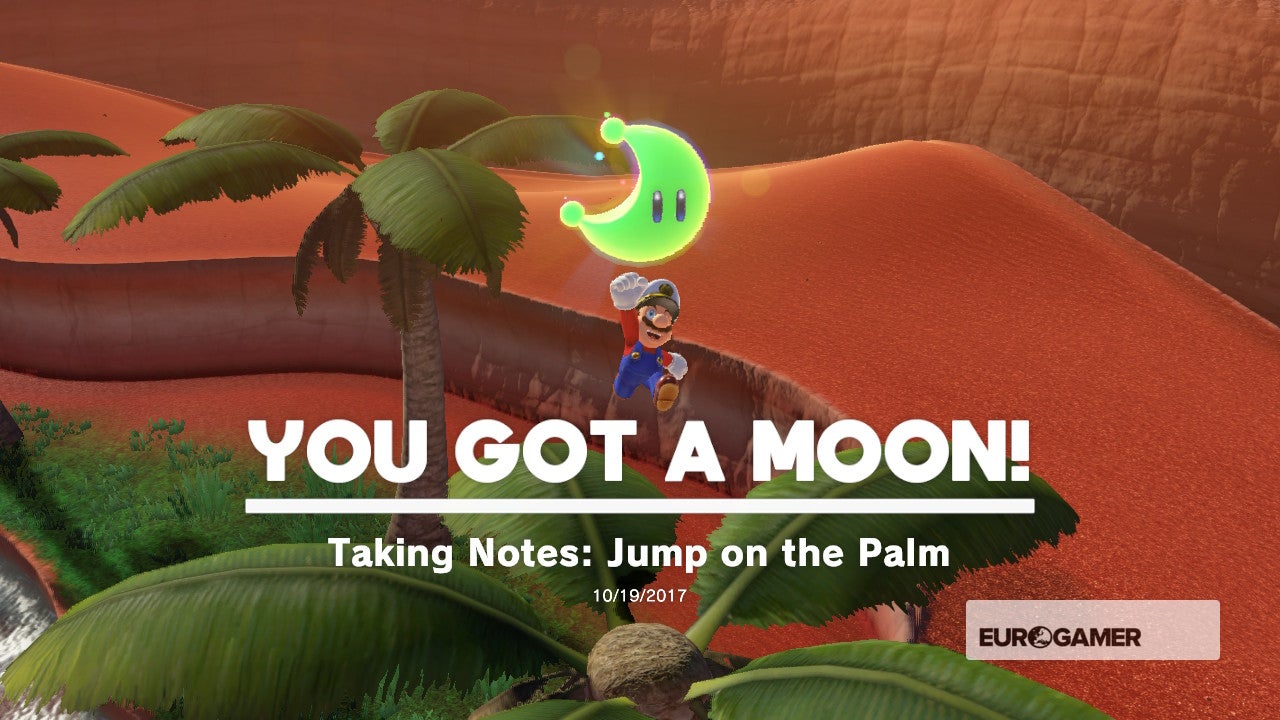
32. Taking Notes: Jump on the Palm
In the south-westward corner of the map, you'll find an oasis. Climb the palm tree nearest the Jinx Stop and bench and yous'll find a colourful clef (musical note). Jump on it to start a mini-game where y'all need to collect six musical notes on the palm copse of this palm tree and the next. Get all of them in fourth dimension to go your Moon.

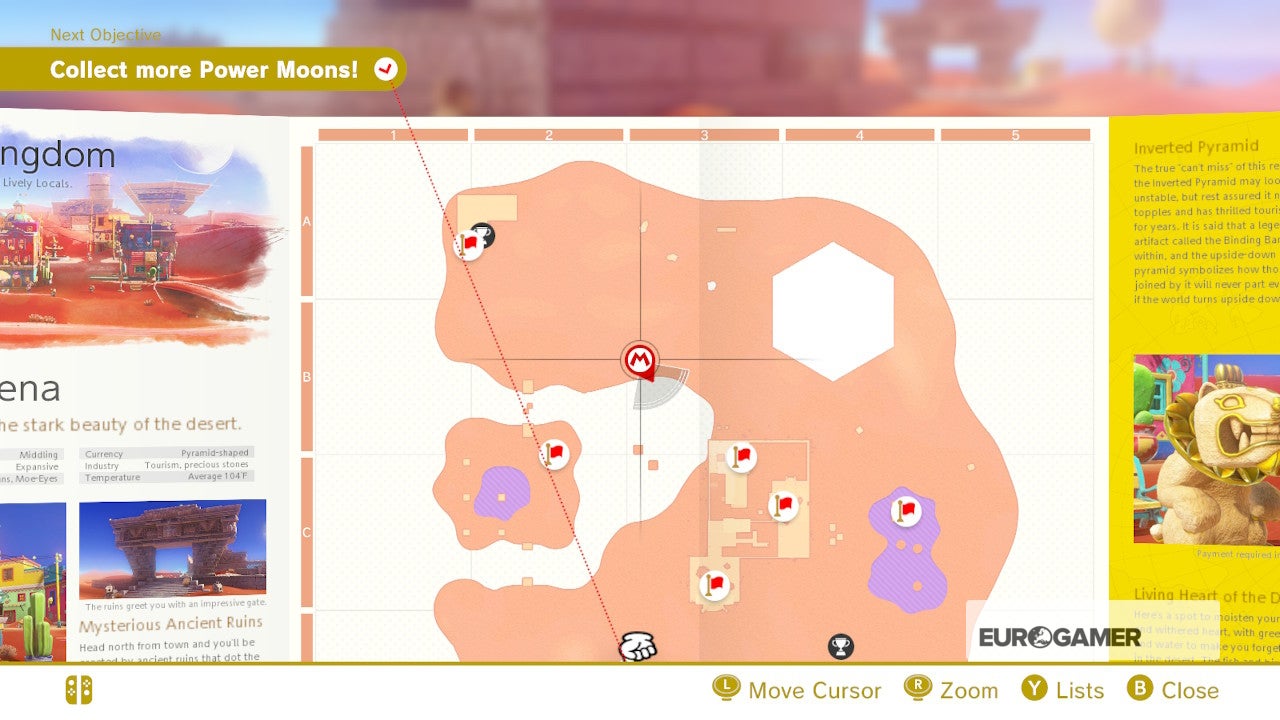
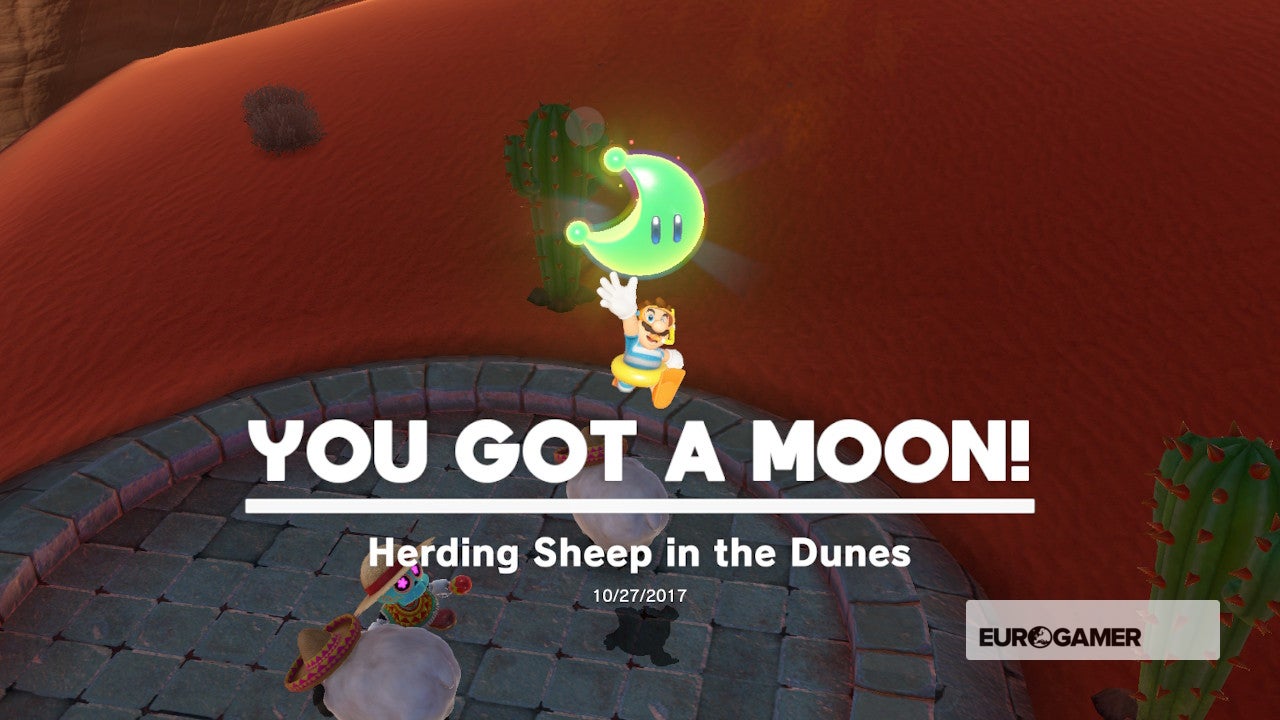
33. Herding Sheep in the Dunes
From the Tostarena Northwest Reaches, head southeast over the dunes until you find a stone circle (shown on the map screenshot). In this area are three sheep, just pb them back to the ped to catch some other Moon.

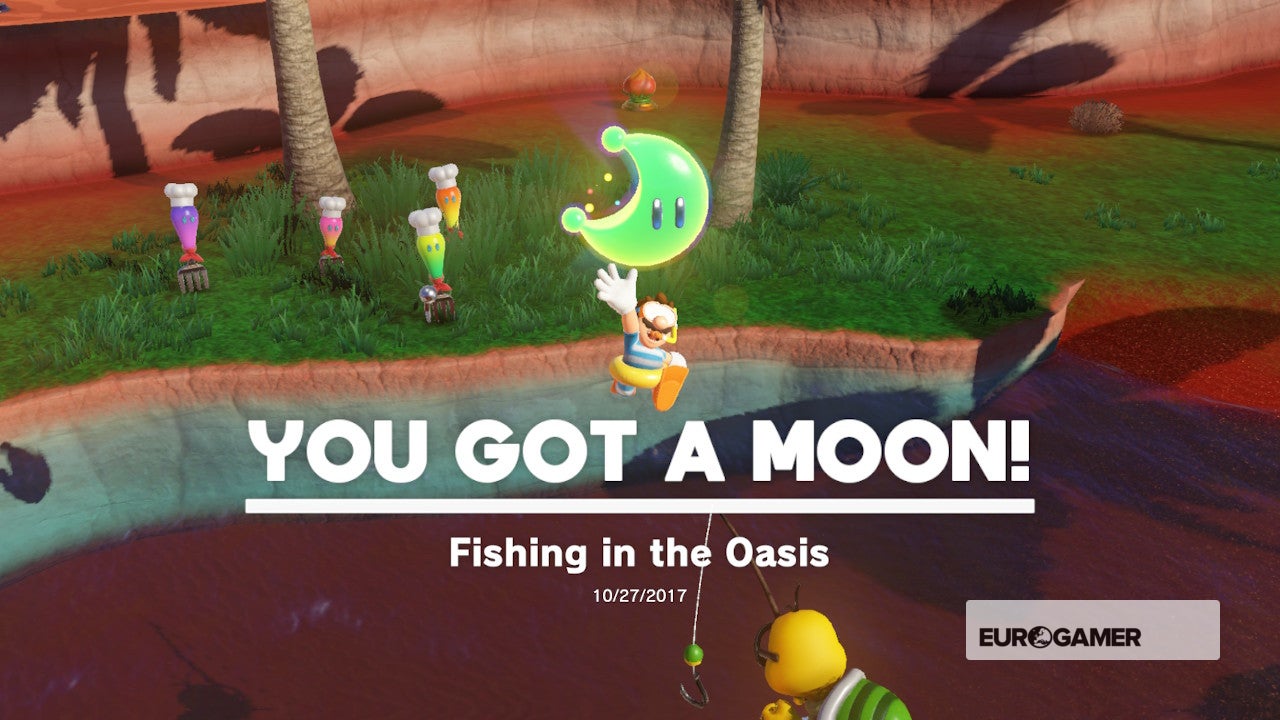
34. Line-fishing in the Haven
Warp to the Desert Oasis checkpoint and possess Lakitu. Lower your line, press 'Y' when the Joy-Con rumbles and pull back on the left analog stick to pull out a Moon.

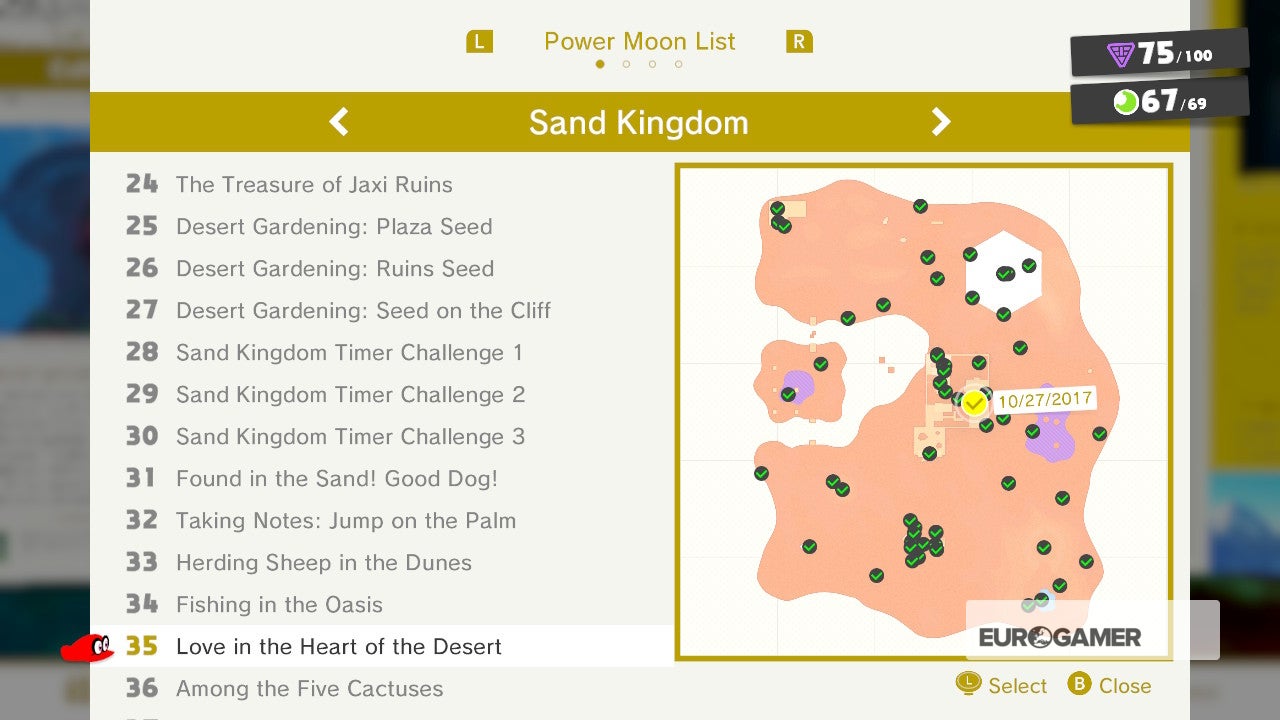
35. Love in the Heart of the Desert
Warp to the Tostarena Ruins Entrance checkpoint, then possess a Goomba. Run up the stairs, dodge the Bullet Bills and ride the platform across to the other side. Now either chop-chop de-possess the Goomba and hit the bloom jump pad earlier repossessing the Goomba and spring upward OR utilise the nearby Bullet Bill to actuate it. Either manner, float to the pinnacle and approach the Goombette to go a Moon.

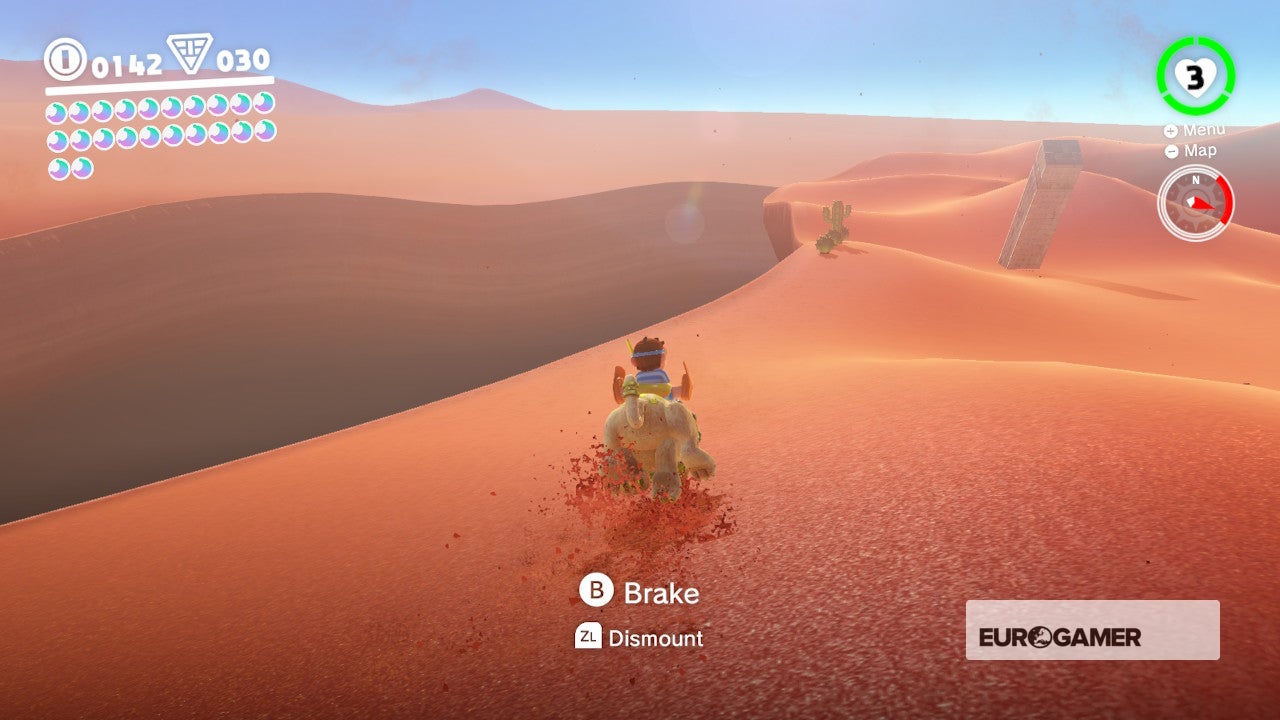
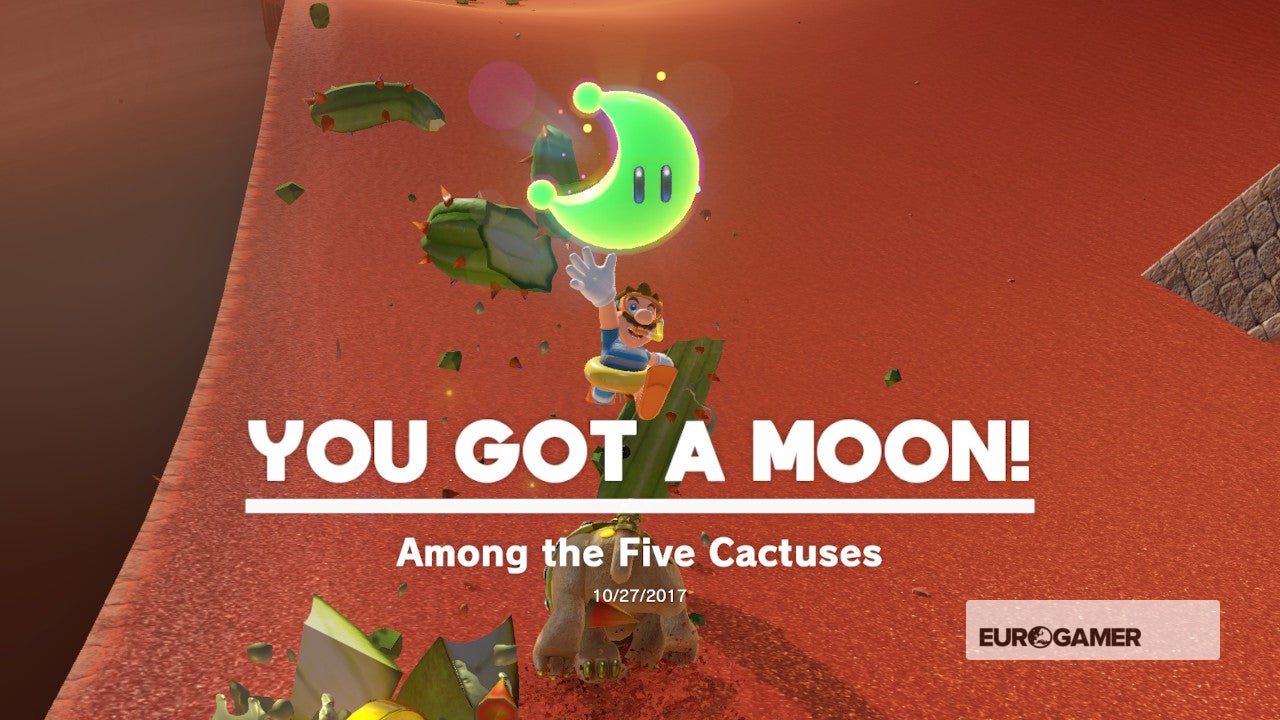
36. Among the Five Cactuses
From the Tostarena Northwest Reaches, spring on the Jinx and ride forwards and towards the edge of the map. Look for v cacti in a line past the edge. Use B to slow and so run them all downward in a row to win a Moon.

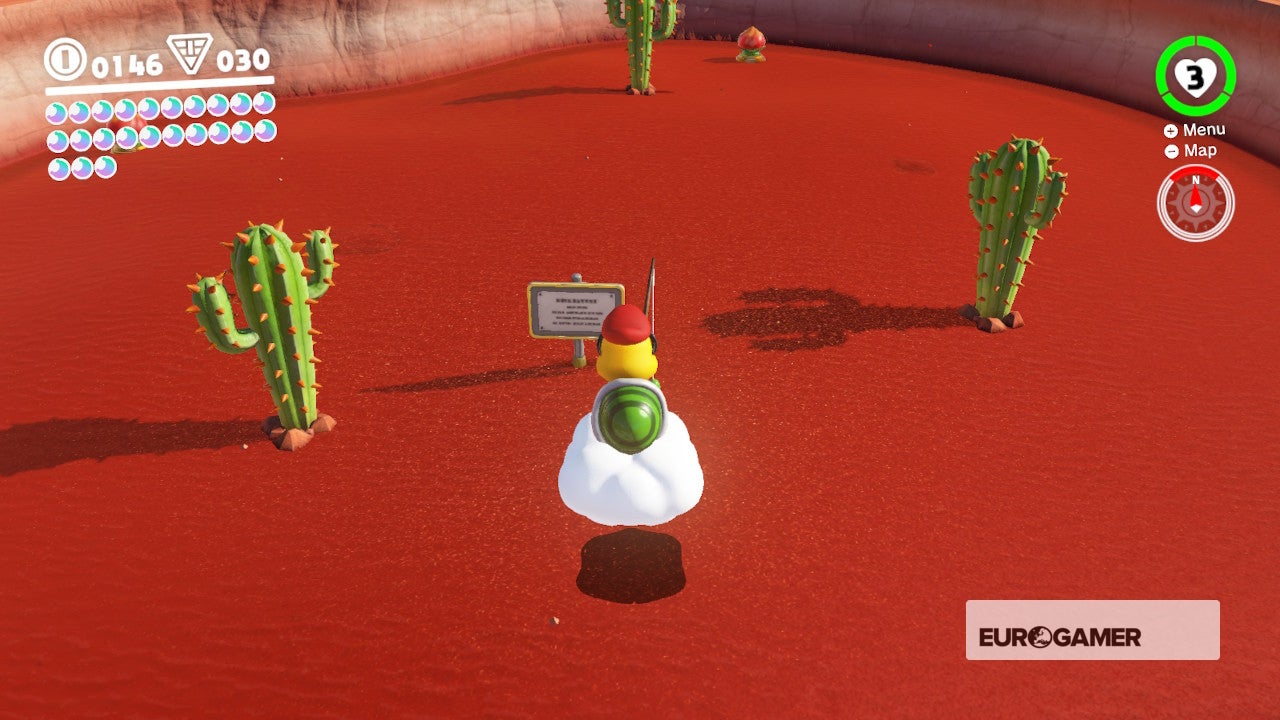
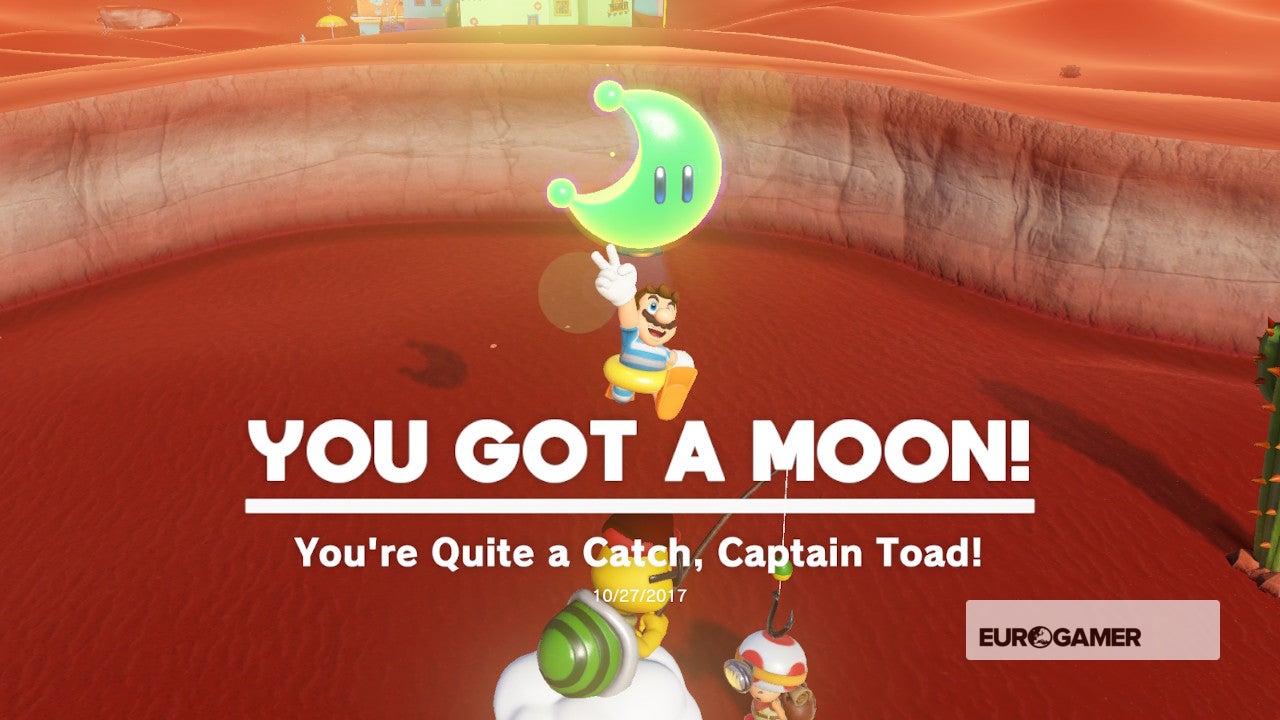
37.You're Quite a Take hold of, Helm Toad
From the Desert Oasis checkpoint, possess Lakitu and plough left and towards the location shown in the screenshot. Throw you line, catch a large fish and reveal Captain Toad. Win a Moon for your troubles.

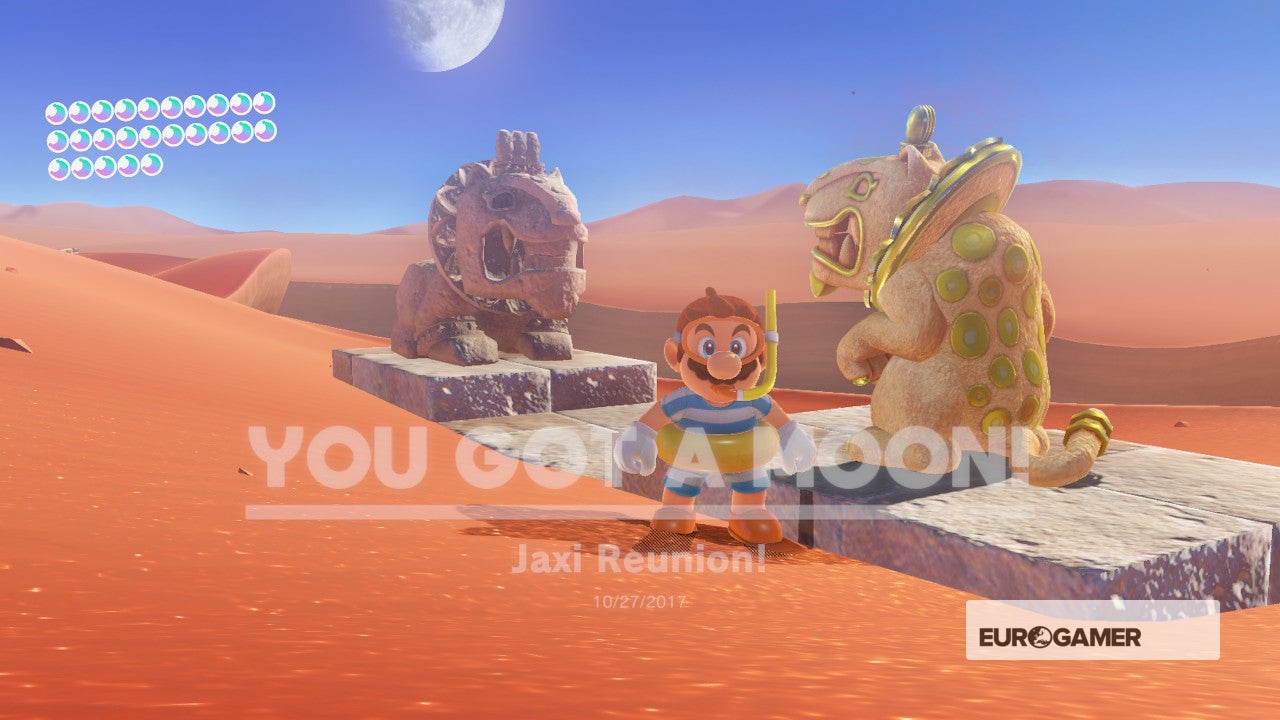
38. Jaxi Reunion
From the Tostarena Town checkpoint ride the Jaxi towards the Desert Oasis, being careful to run effectually information technology without going into the Haven (where yous'll go stuck) or over the edge (where you lot'll die). Follow this curve and you'll meet a Jaxi statue. Lead your ride to it to receive a Moon.

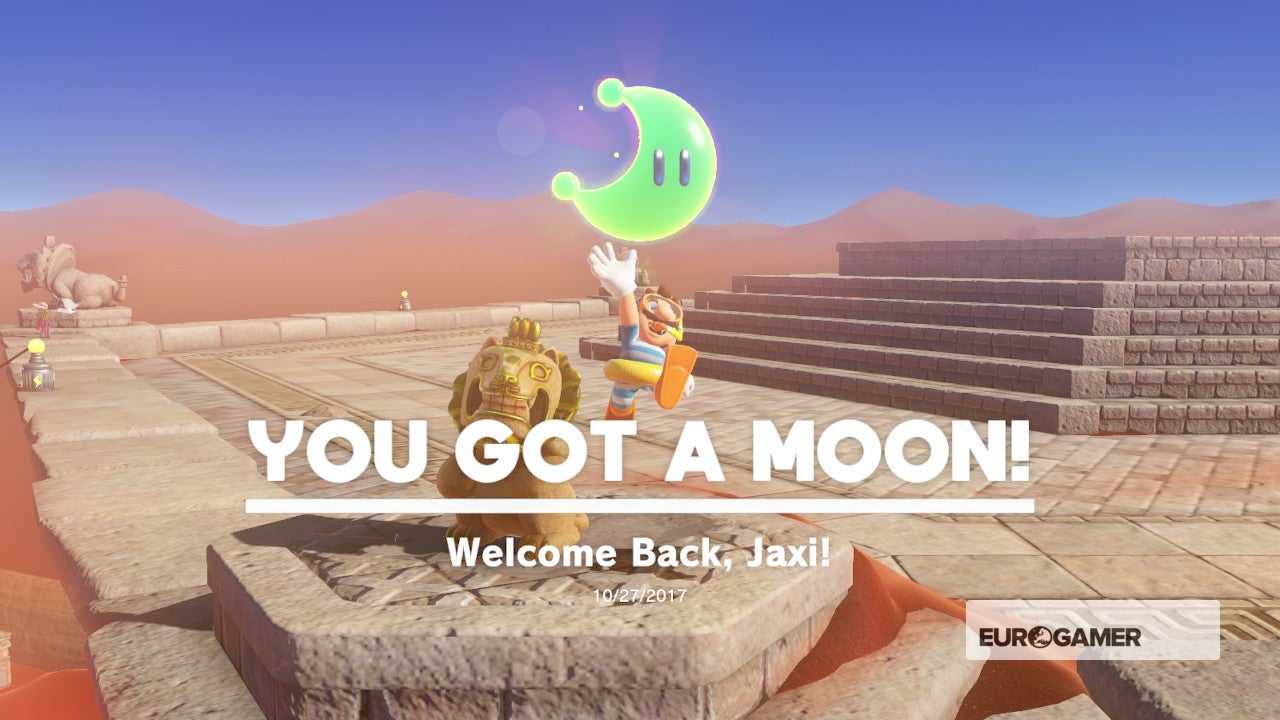
39. Welcome Back, Jaxi!
From the Tostarena Ruins Round Tower, ride the Spark pylon upwardly to to the Inverted Pyramid then call a Jaxi from the metre by the demote. Ride the Jaxi to the empty plinth with sand ramp to become some other Moon.

Super Mario Odyssey Sand Kingdom Power Moons 41 to 50
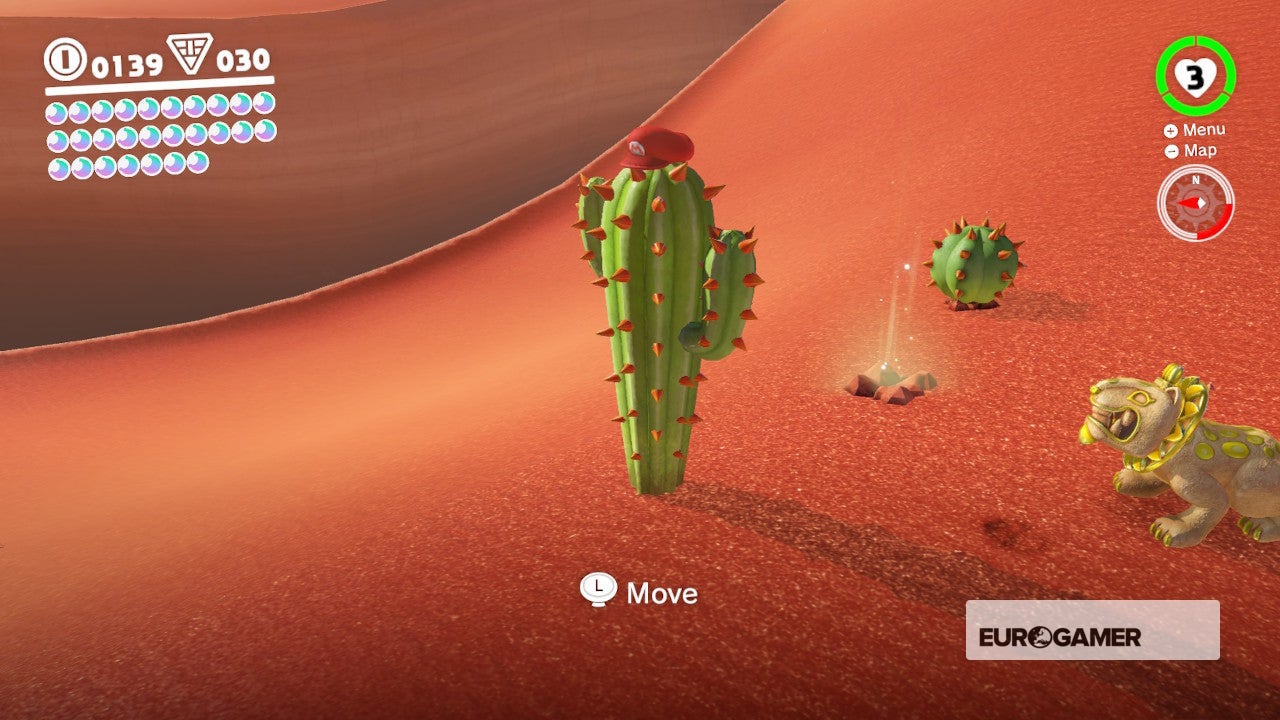
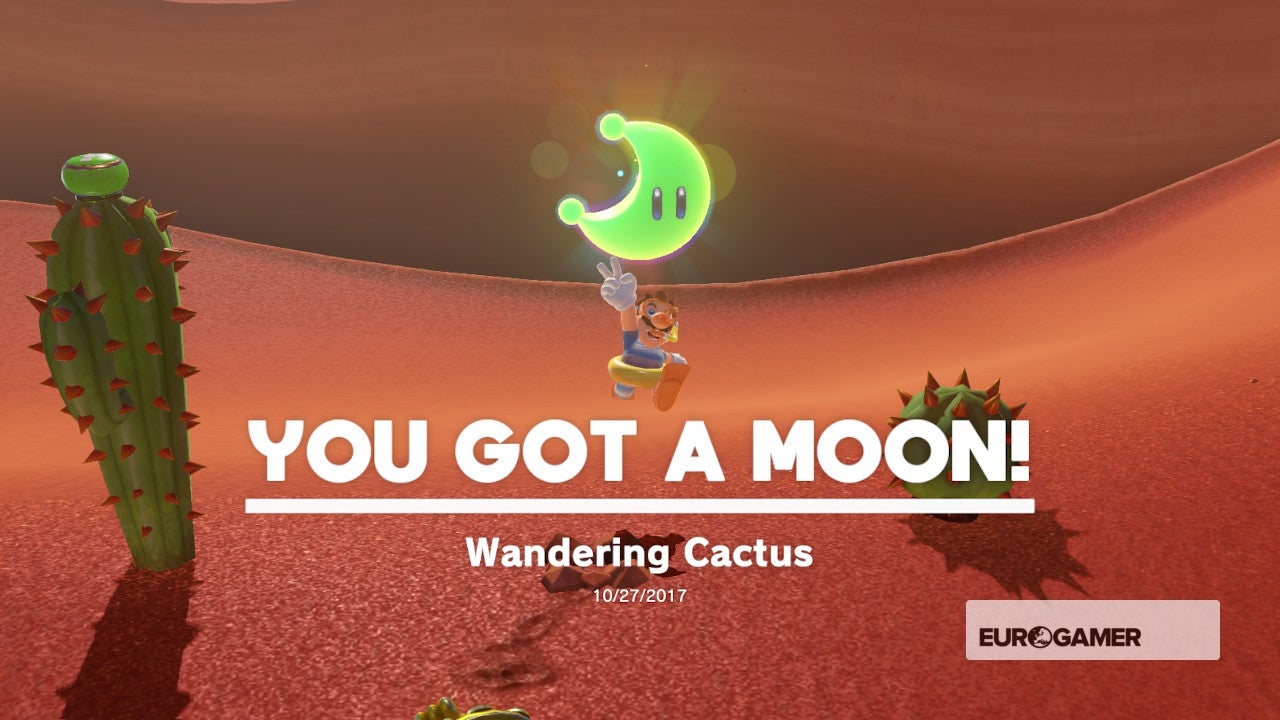
forty. Wandering Cactus
Run or Jaxi ride over to the bespeak on the map show in the screenshot. Possess the cactus here, move it out of the way and Ground Pound the spot it was previously roofing to reveal a Moon.

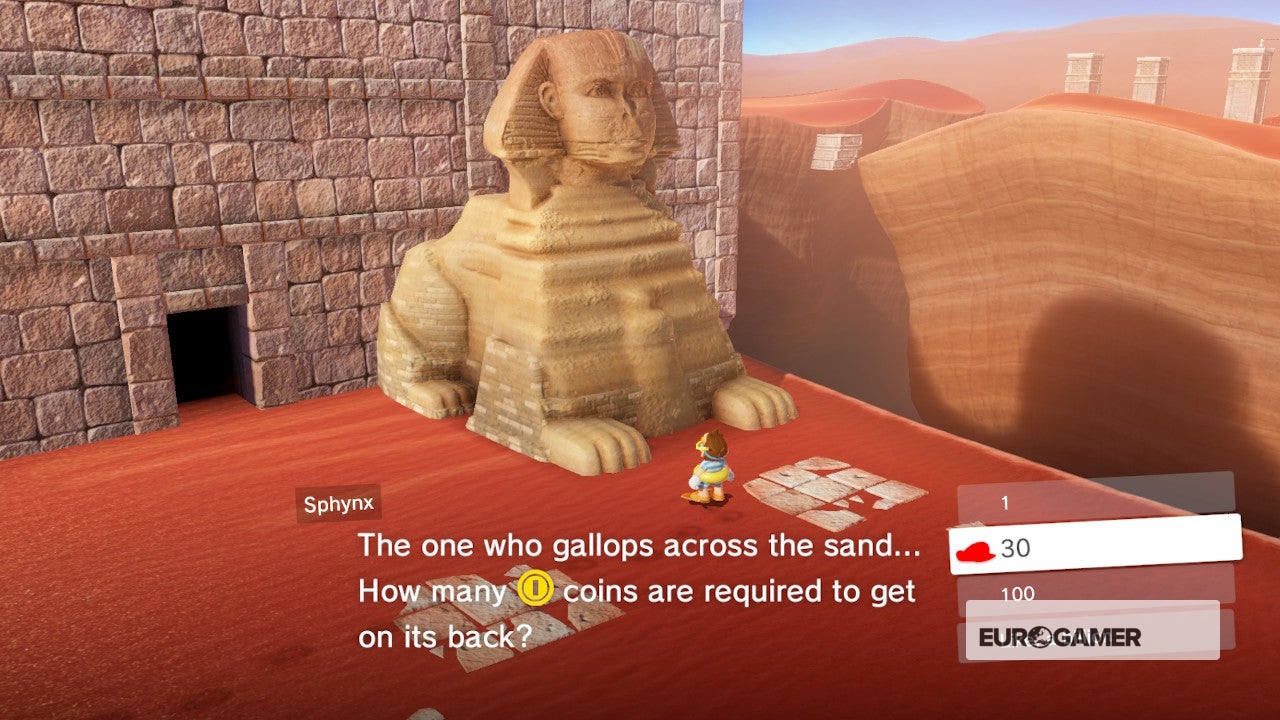
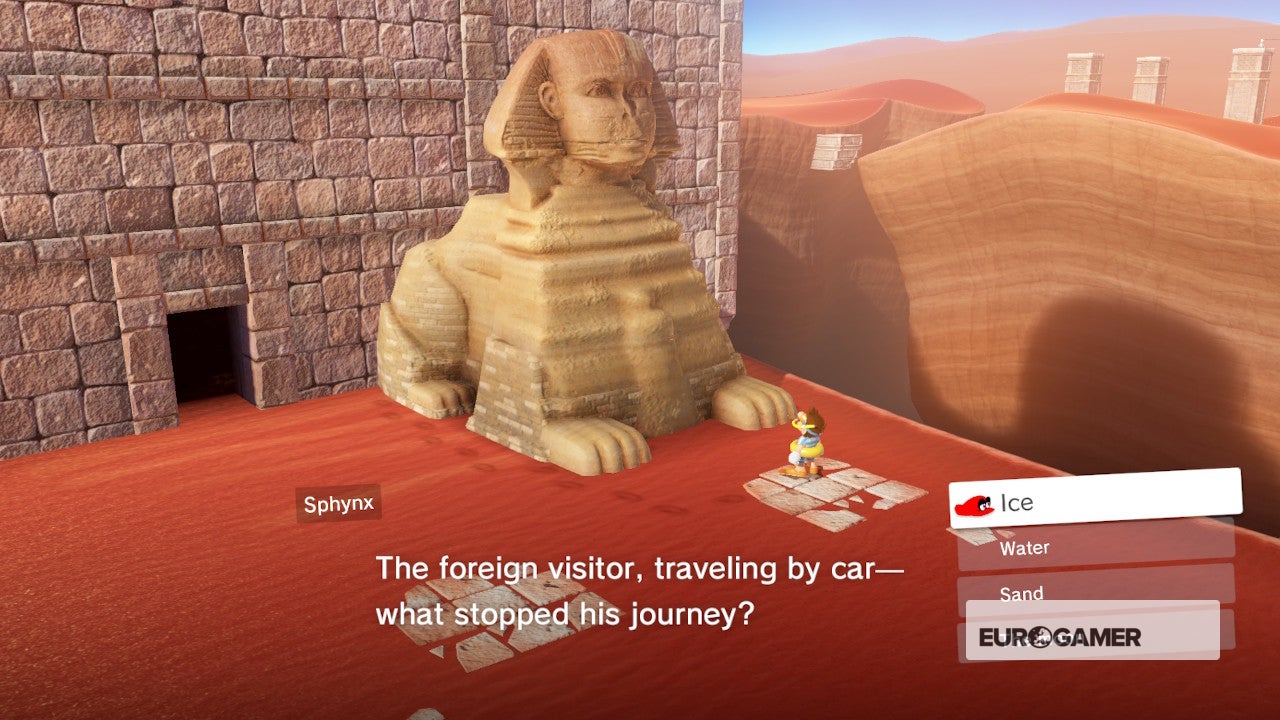
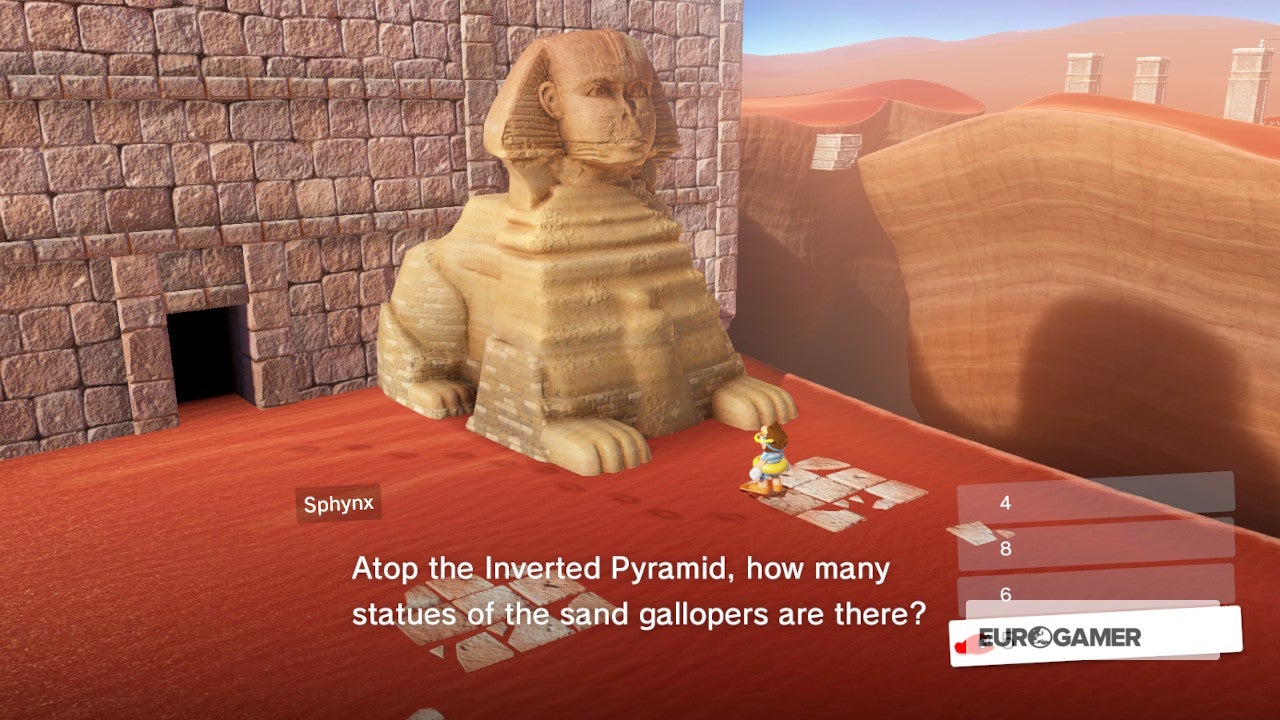
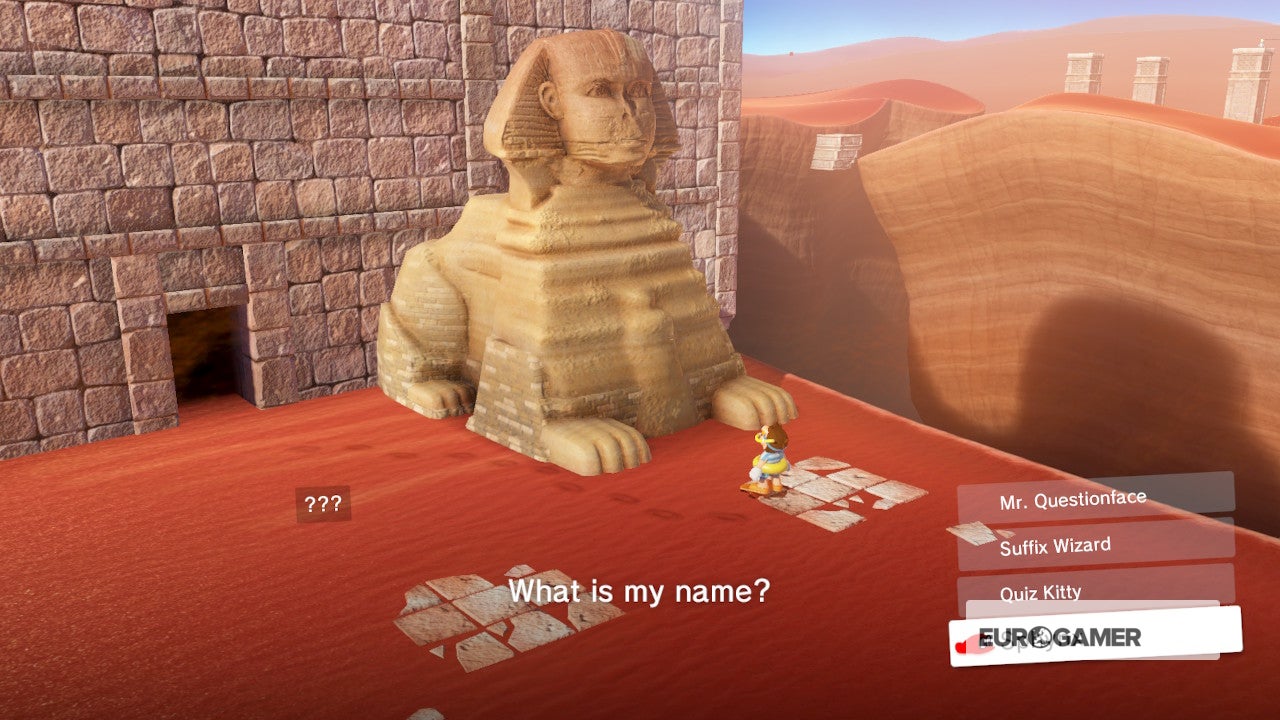
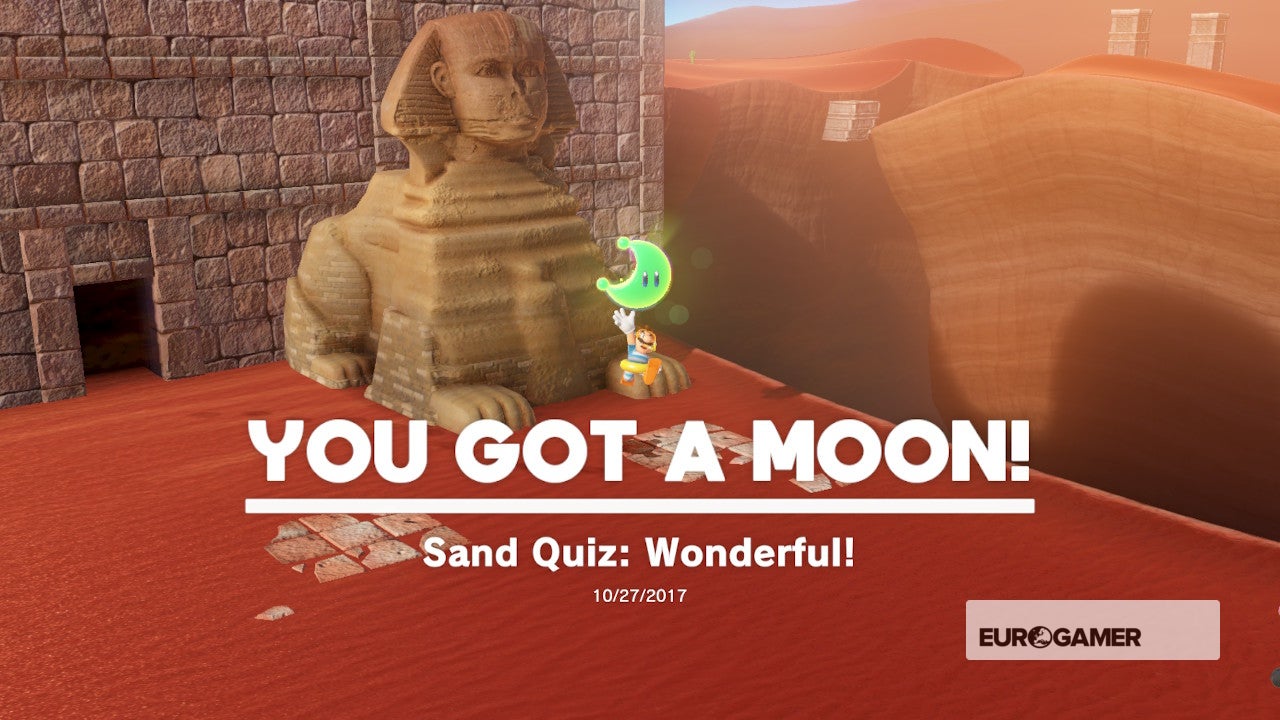
41. Sand Quiz: Wonderful!
From the Tostarena Ruins Sand Pillar checkpoint, bound into the sand pit, past the whirlpool and out through the gap in the wall. At present run up to Sphynx and answer the three questions shown beneath. Go all iii right as shown to score a Moon.

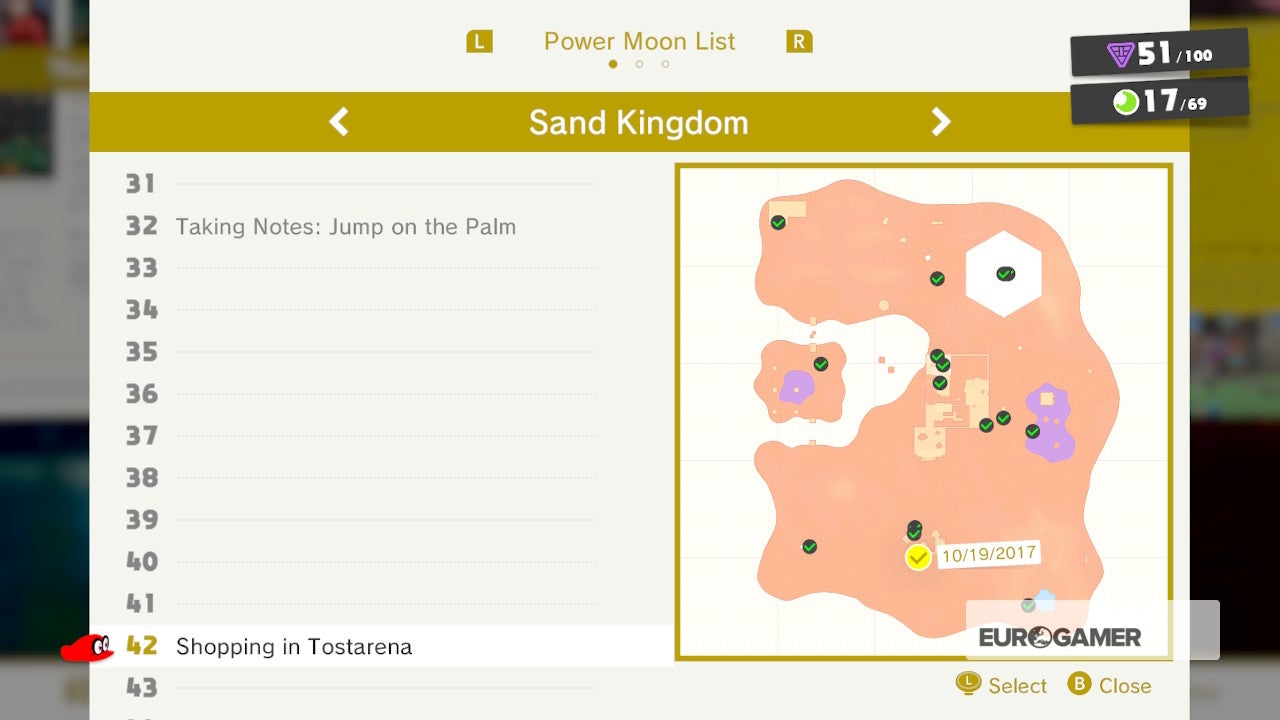
42. Shopping in Tostarena
Head forwards towards the kickoff town and walk over the checkpoint (Tostarena Boondocks). Caput into the Crazy Cap shop (found to the left of the checkpoint) and purchase the Sand Kingdom Power Moon for 100 aureate coins.
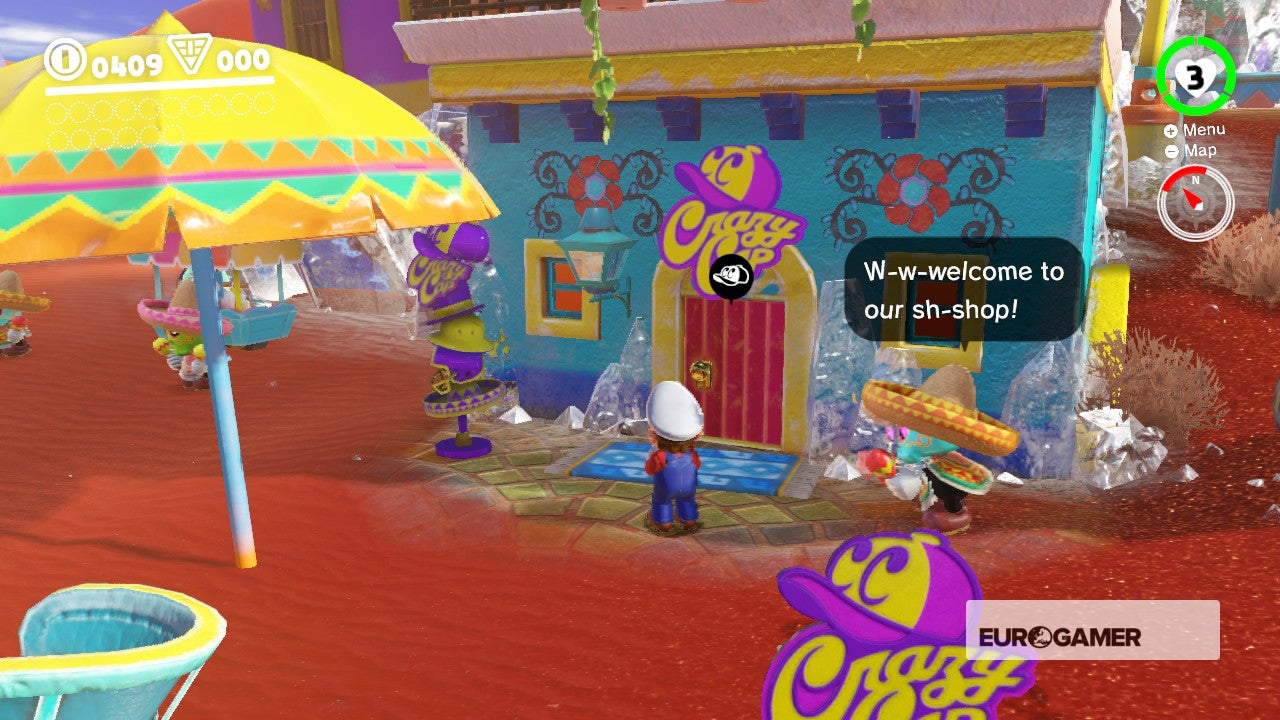

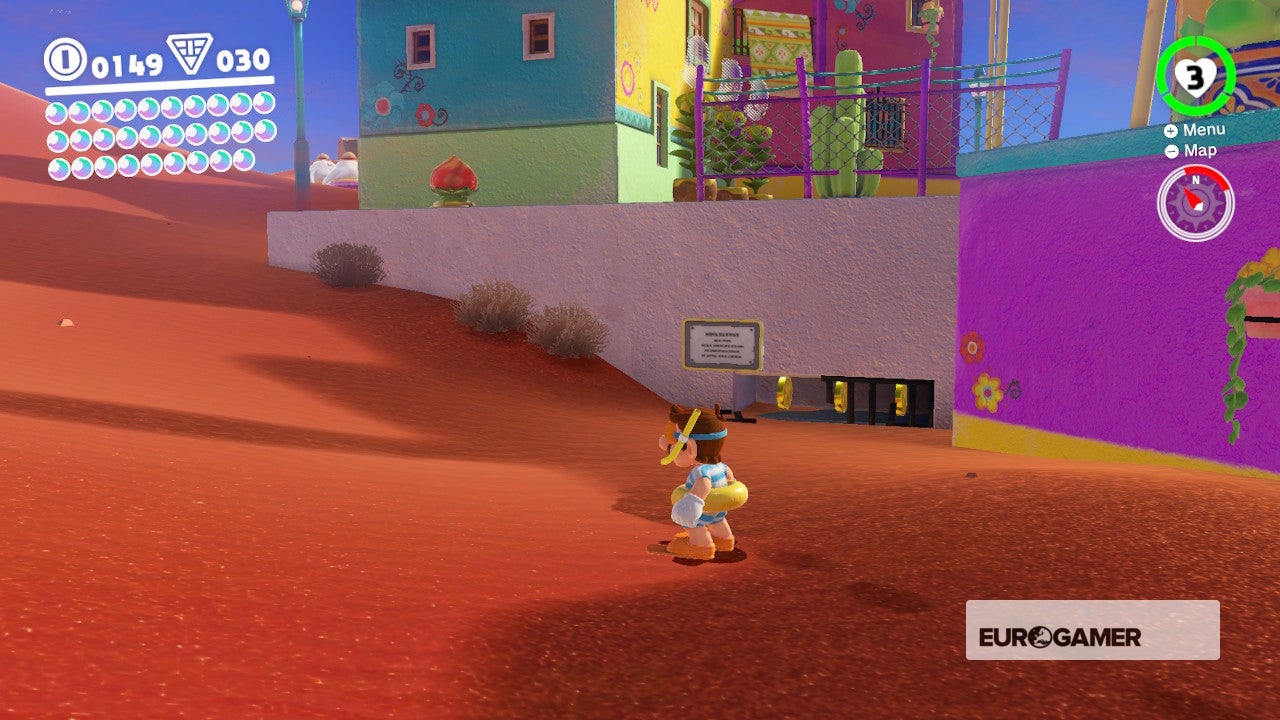
43. Employees Only
From the Tostarena Town checkpoint, run around the Crazy Cap store to the left and await for some goins coins in a low apse. Duck and clamber in to enter the store, and take hold of the Moon behind the shopkeepers.


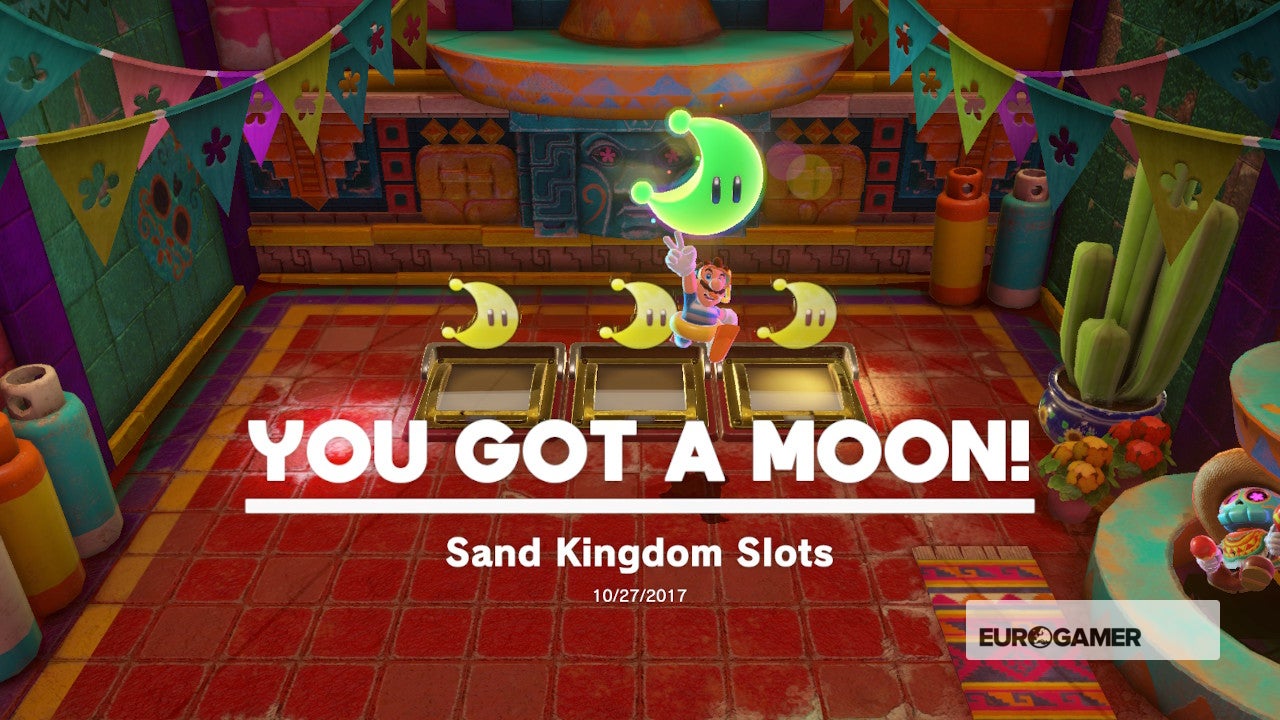
44. Sand Kingdom Slots
From the Tostarena Town checkpoint, enter the house to your correct (it has the slots symbol by the door). Pay 10 gold coins and hit iii Moon symbols to win a Moon.

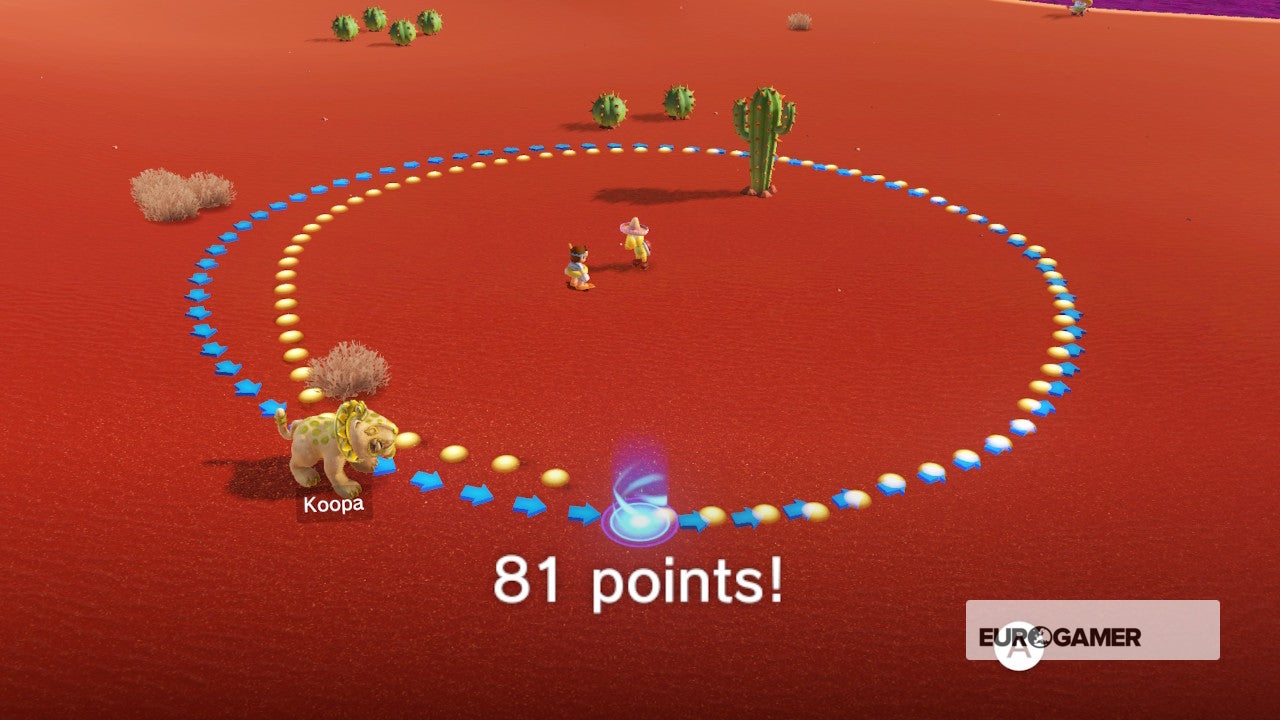
45. Walking in the Desert
Expect for a imperial Koopa in betwixt the Desert Oasis and a big cactus. Speak to him and follow the circle with the arrows. The arrows will disappear nearly halfway through and then endeavor and stay on course. Score 80 points to win a Moon.

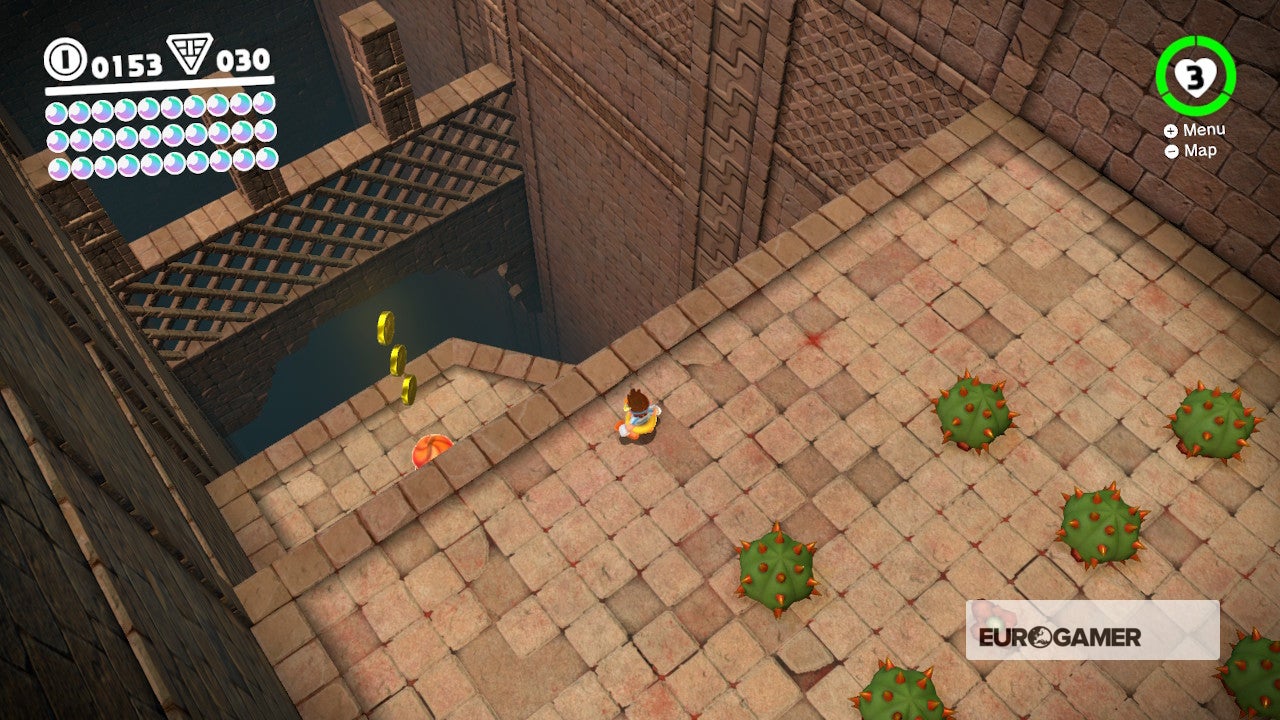
46. Hidden Room in the Inverted Pyramid
Warp to the Tostarena Ruins Round Tower checkpoint, ride to the top of the Inverted Pyramid, then go inside the entrance at the top. Avoid the cacti, driblet down to the ledge and use the jump pad to land in betwixt the moving platforms. Follow them into the doorway to find a chest and a Moon.

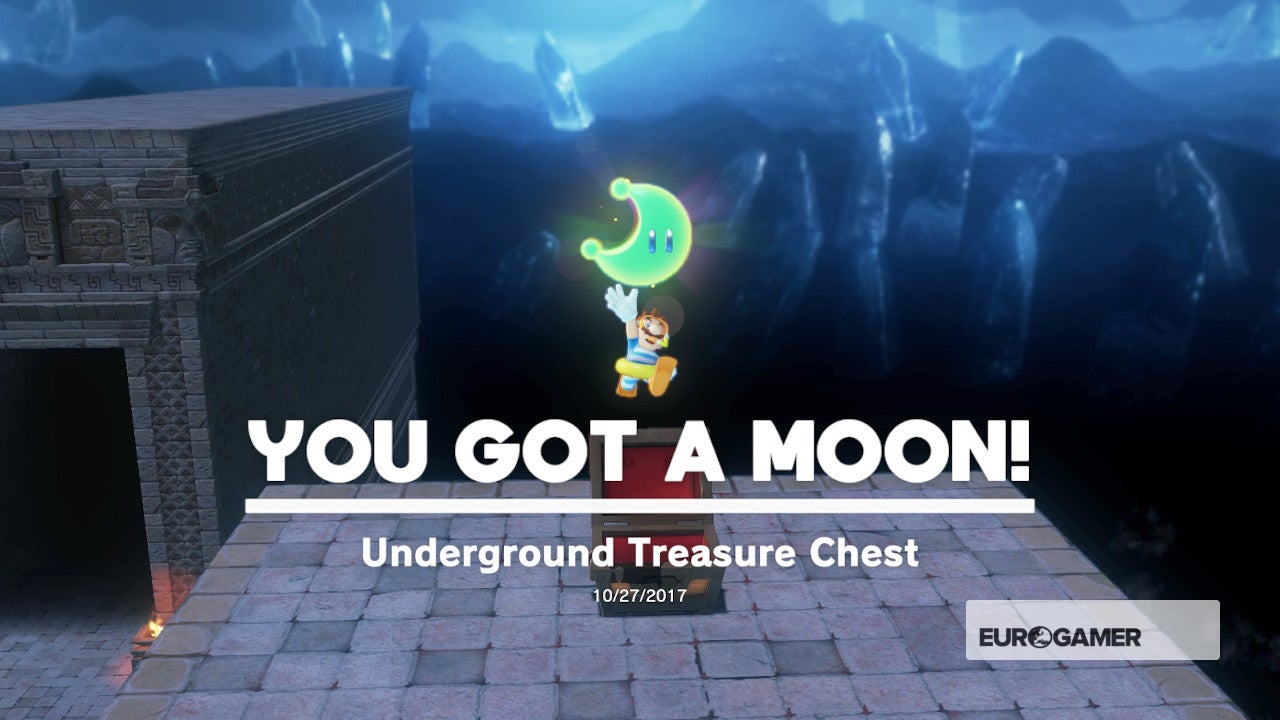
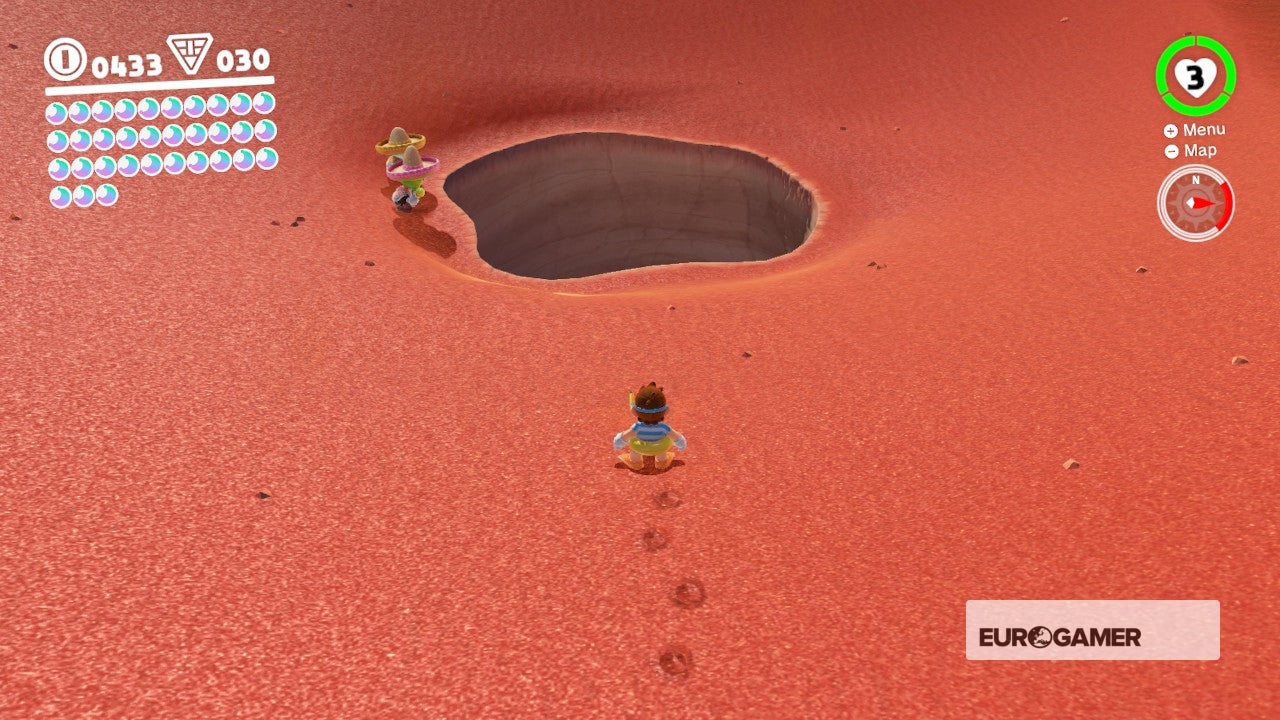
47. Underground Treasure Chest
From the Tostarena Northwest Reaches checkpoint, head westward, passing the first big hole in the footing before jumping in the 2d (see screenshot for map location). Now in the Hugger-mugger Temple, attain the expanse with the first Bullet Bill.
Ride him towards the structure on your right, looking for a small platform on its correct-paw side (encounter screenshot). Apply the leap pads to achieve the pinnacle, collect the coins and so follow the narrow bridge to the other side and your Moon.

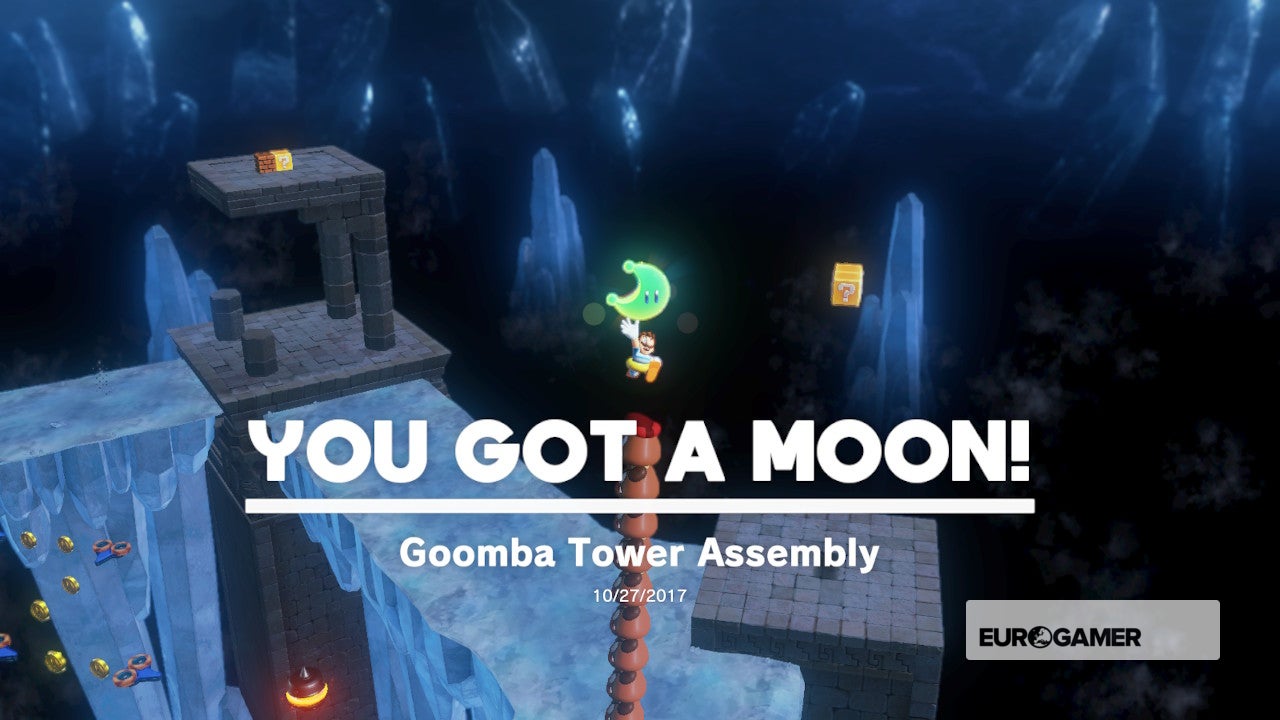
48. Goomba Tower Assembly
From the Tostarena Northwest Reaches checkpoint, caput westward, passing the first big pigsty in the ground earlier jumping in the second (encounter screenshot for map location). Now in the Underground Temple, posses the lone Goomba, then reach the area with the large tower of Goombas in the far corner.
Deposess the Goomba, possess the tower of Goombas, then jump on the lone one to make the tower bigger. Now use the tower to attain the iii on top of the high platform. Bring those iii downwardly, de-possess so jump back into the large tower. Head back to the platform where you establish the large tower originally, wait for the three you just found to follow, then use the superlative of the platform to add them to your number. You're now tall enough to collect the nearby Moon.


49. Under the Mummy's Curse
From the Tostarena Northwest Reaches checkpoint, head west and jump into the first big hole you find. In the arena, turn right and a green Money Countinghouse will appear. Possess it and use gold coins to destroy all the skeletons that attack. Many of these are proximity based and need to be approached in guild to be summoned. Destroy them all for a Moon payment.


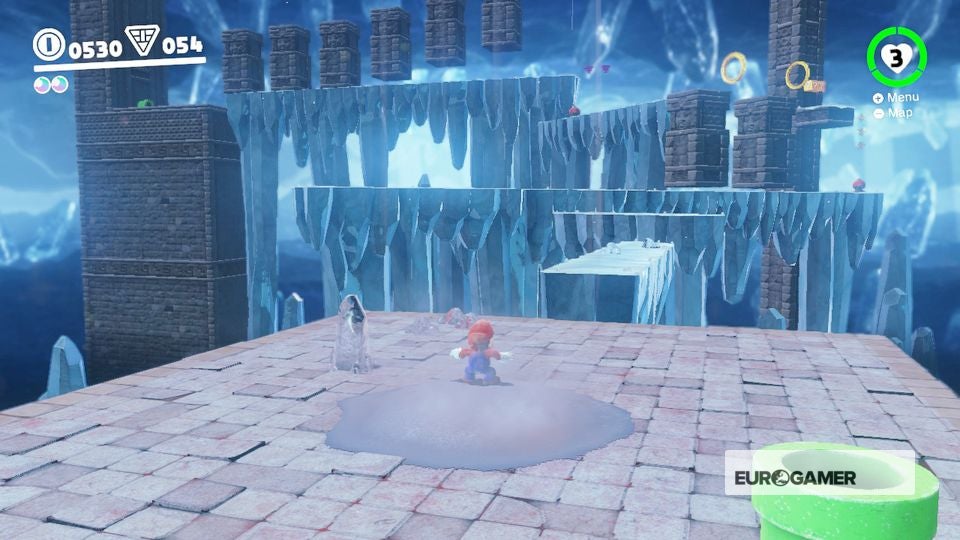
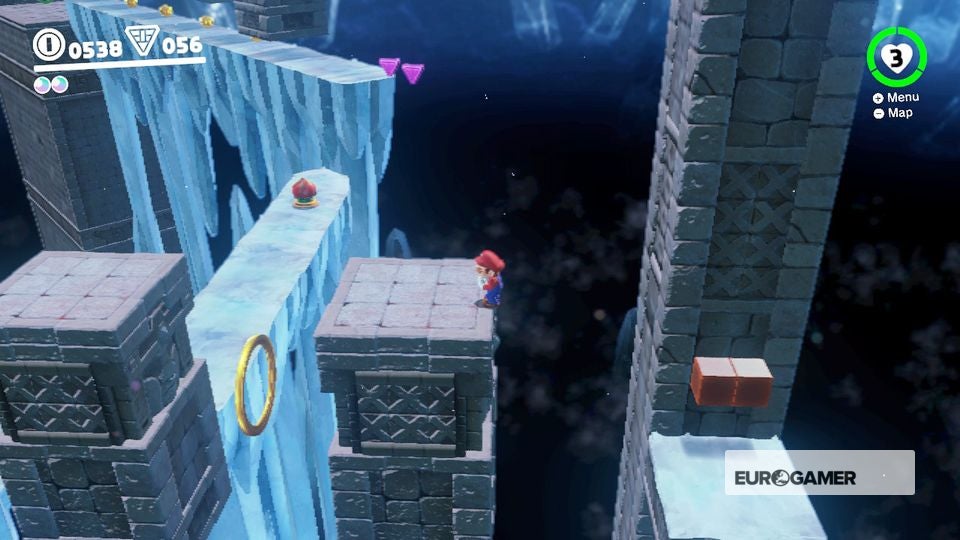
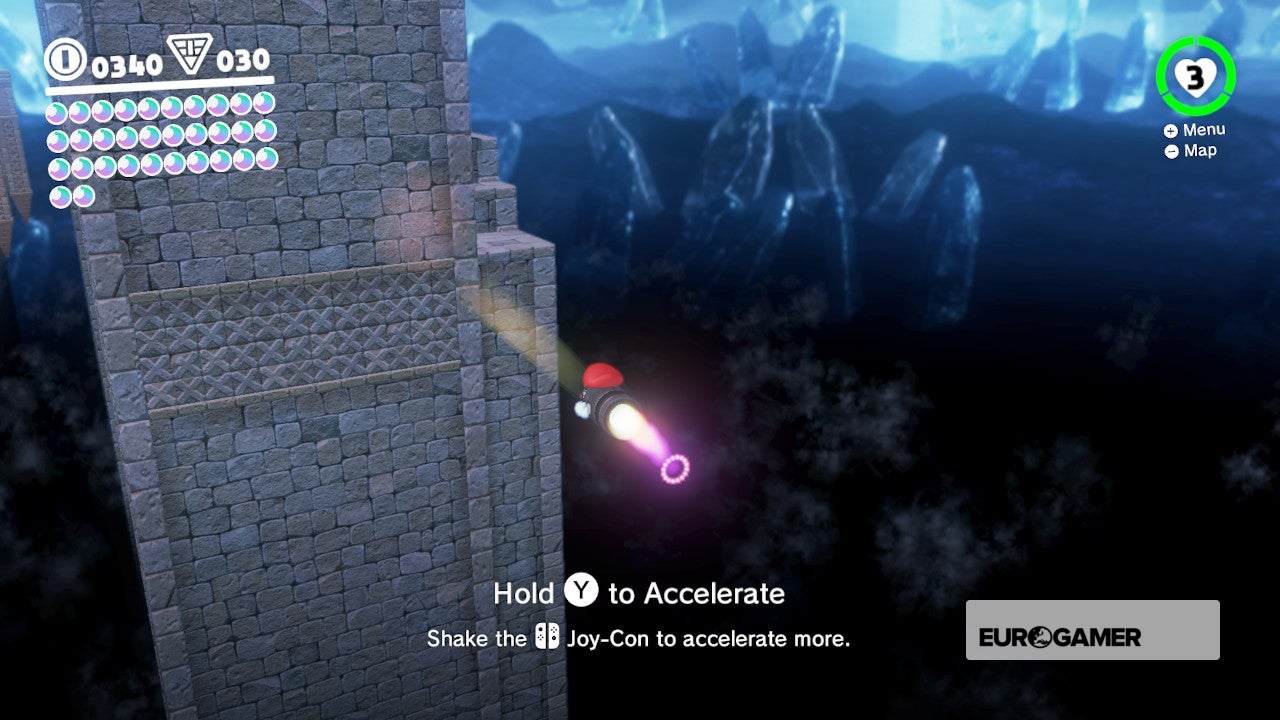
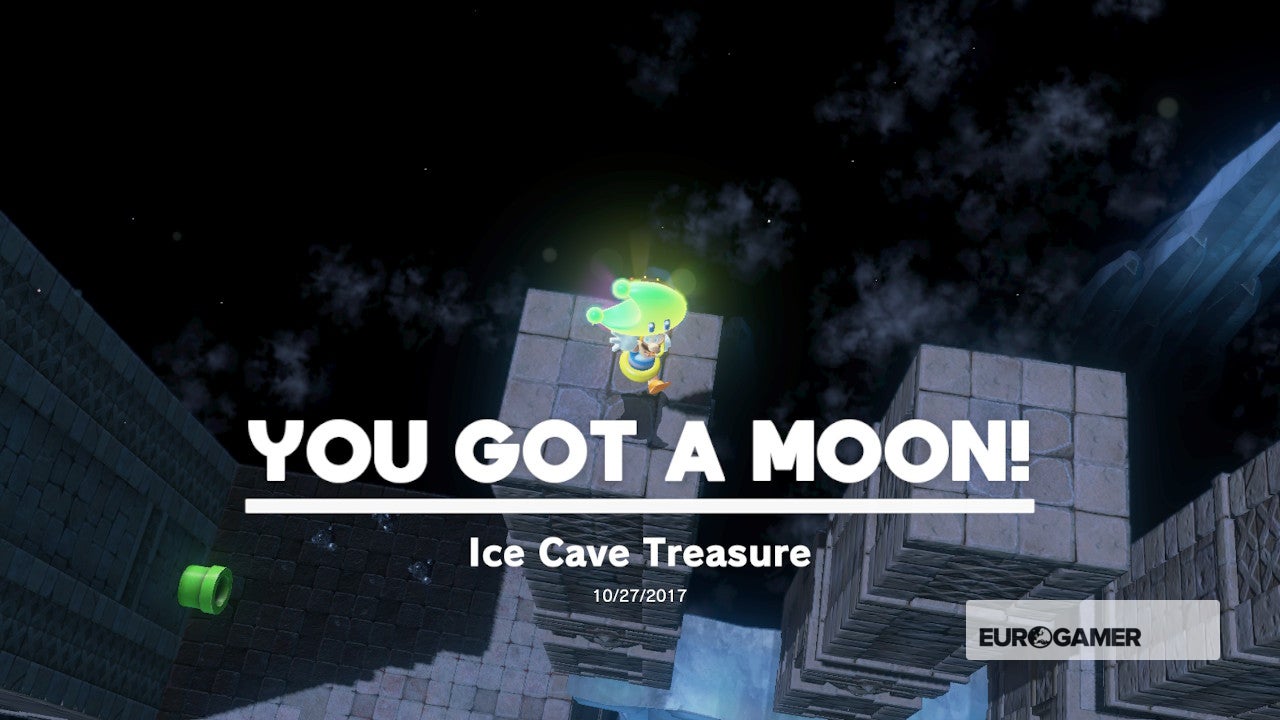
50. Ice Cave Treasure
From the Tostarena Ruins Sand Pillar checkpoint, leap into the sandpit whirlpool and traverse the ice cave chall3nge level until you achieve the final ready of rising and falling pillars. When you're in betwixt the final two, wall jump between them to reach a Moon on the pinnacle.

Super Mario Odyssey Sand Kingdom Ability Moons 51 to 60
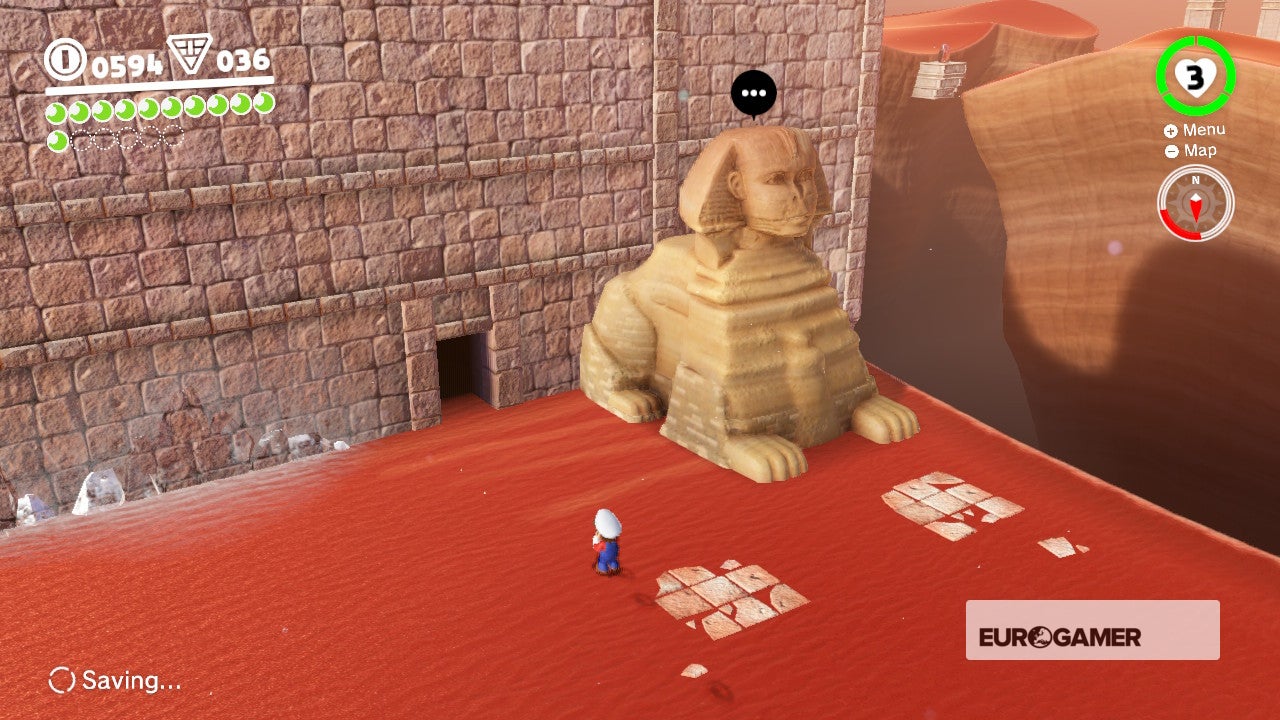
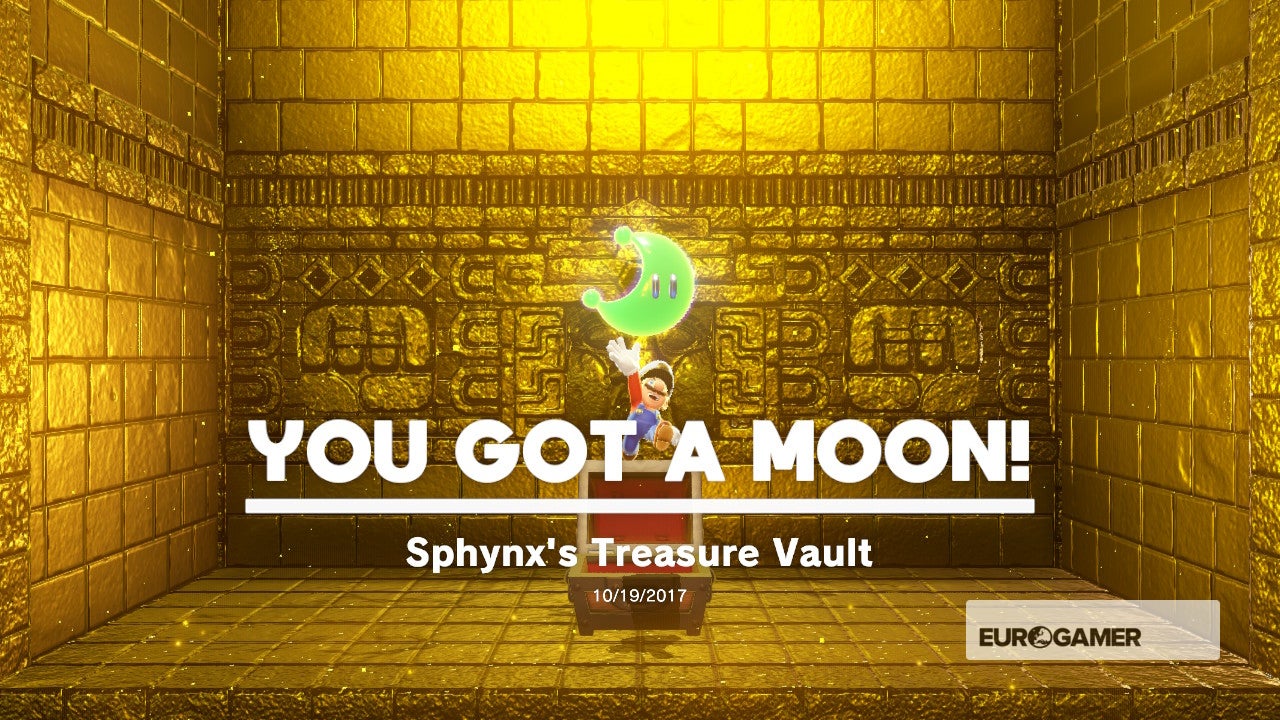
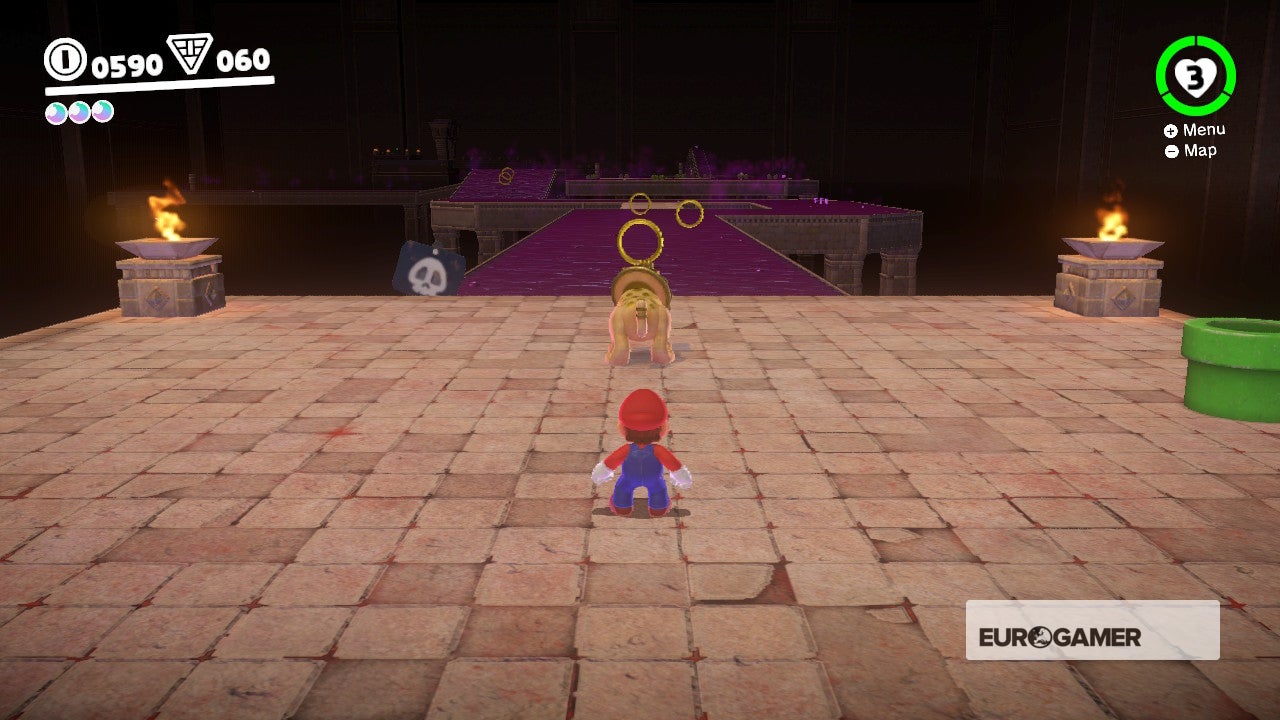
51. Sphynx's Treasure Vault
In the area known as the Ruins, head to the side of the construction nearest to the Inverted Pyramid and look against the wall of the Ruins. Yous'll see a big golden sphinx. Answer its riddle (the respond is a) A Ring) and she'll move to reveal a door. Inside is a chest with a Moon.

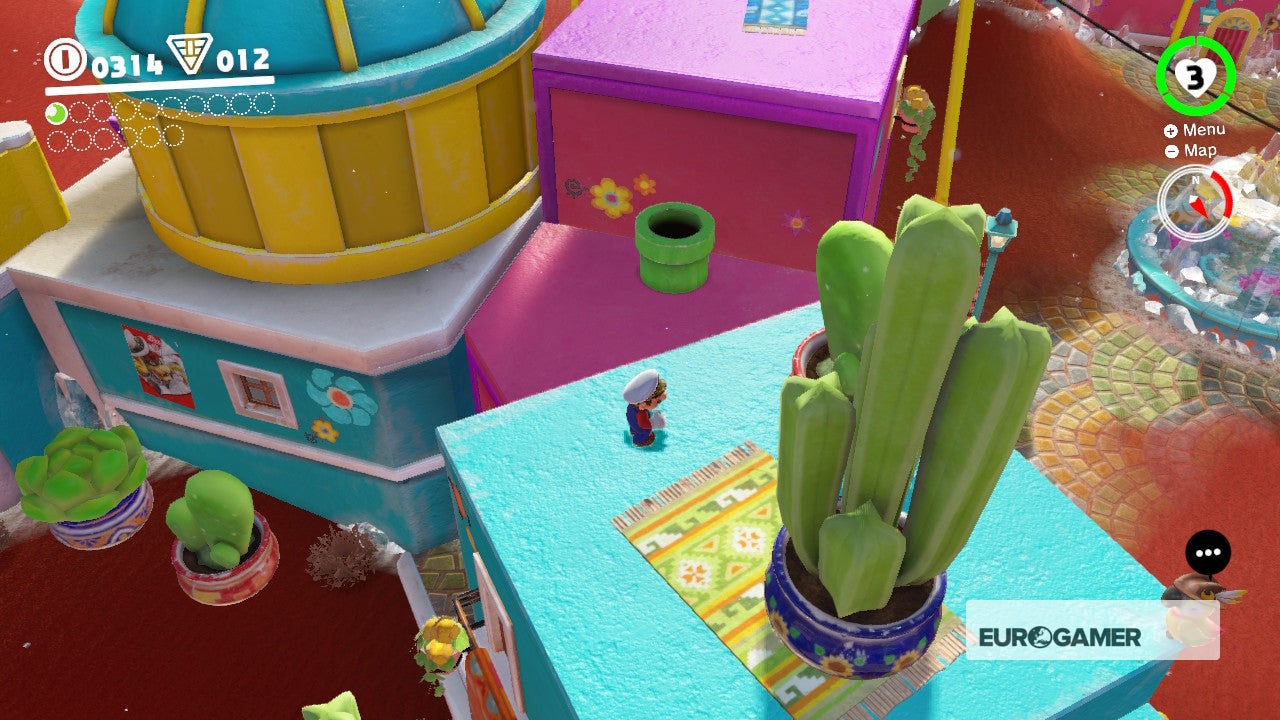
52. A Rumble from the Sandy Floor
Behind the Crazy Cap shop you'll find a green tube. Head on through to reveal a mini-game where you need to use the rumble in your Joy-Cons to discover a hidden prize. Make sure the rumble is turned on then move effectually until both controllers are vibrating strongly. And then spring and practise a Ground Pound to reveal a Moon! We constitute it in the acme left-hand corner.

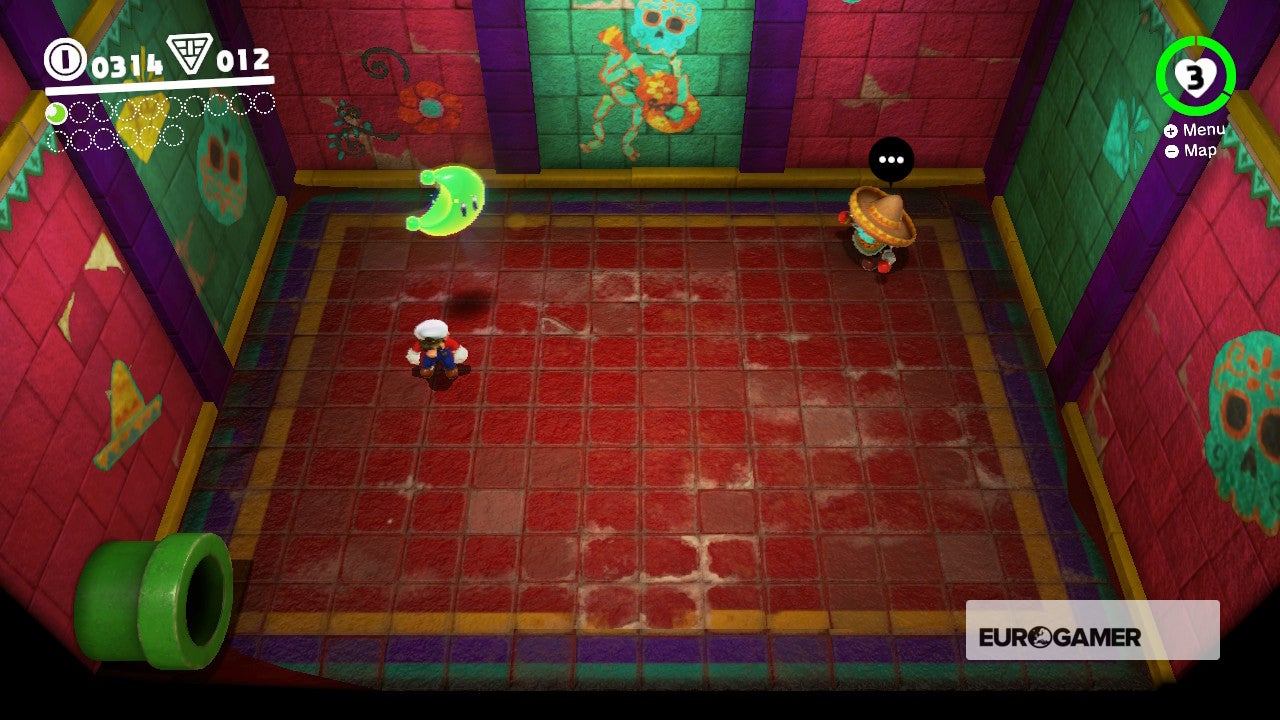
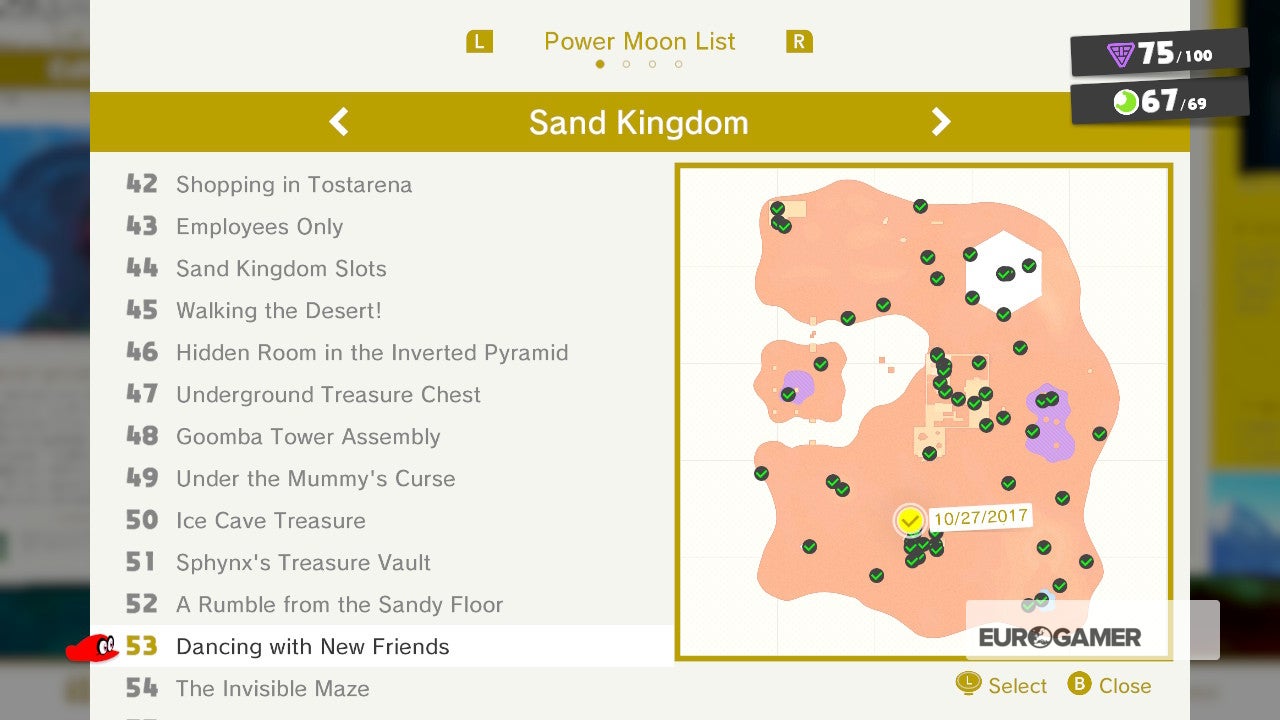
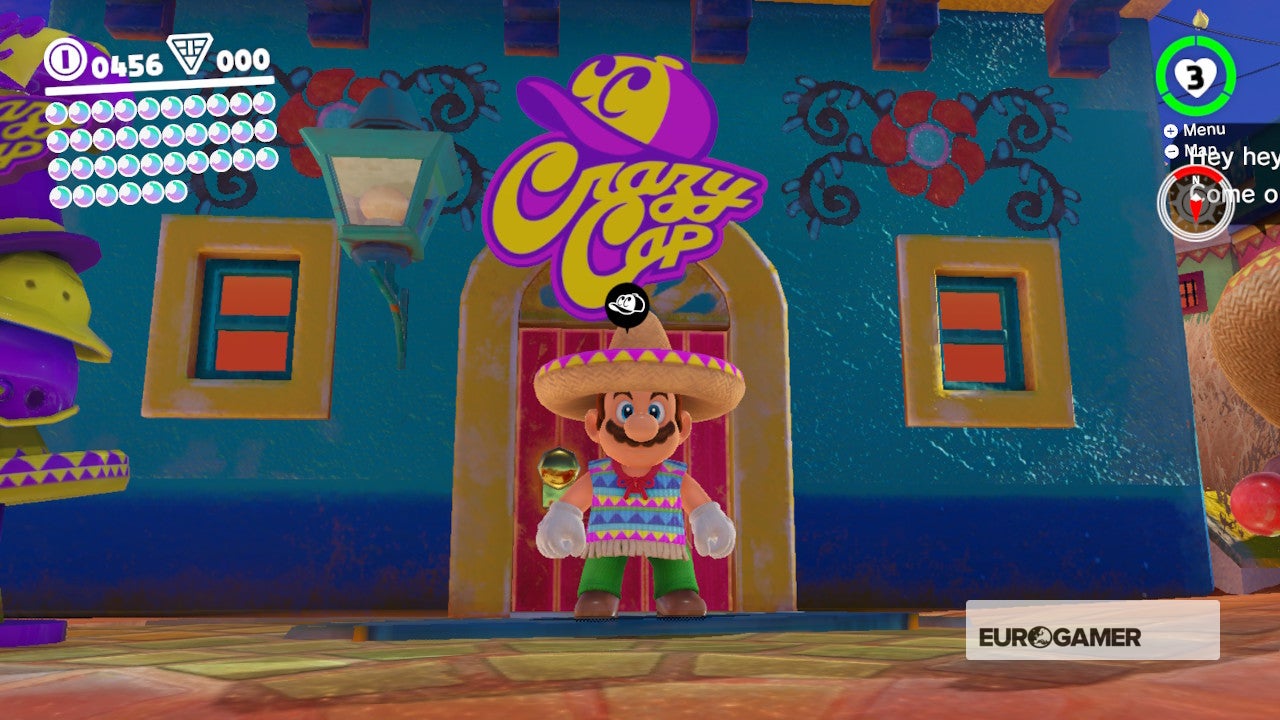
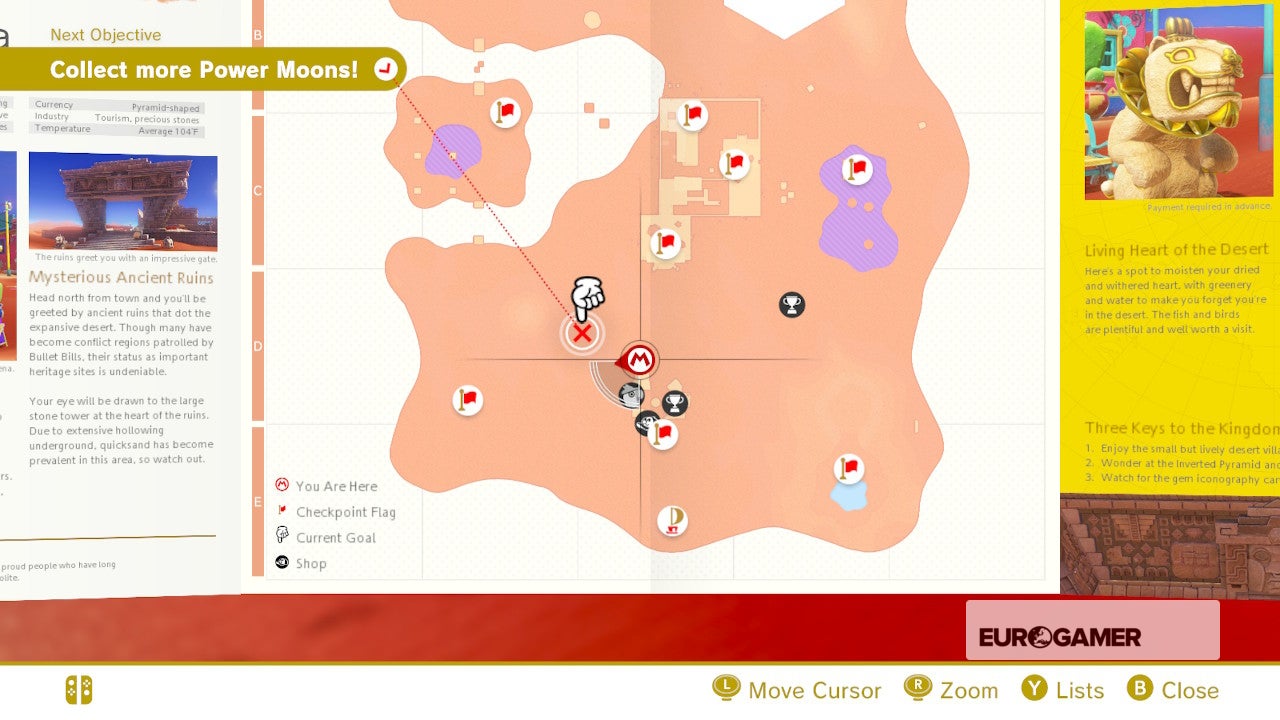
53. Dancing with New Friends
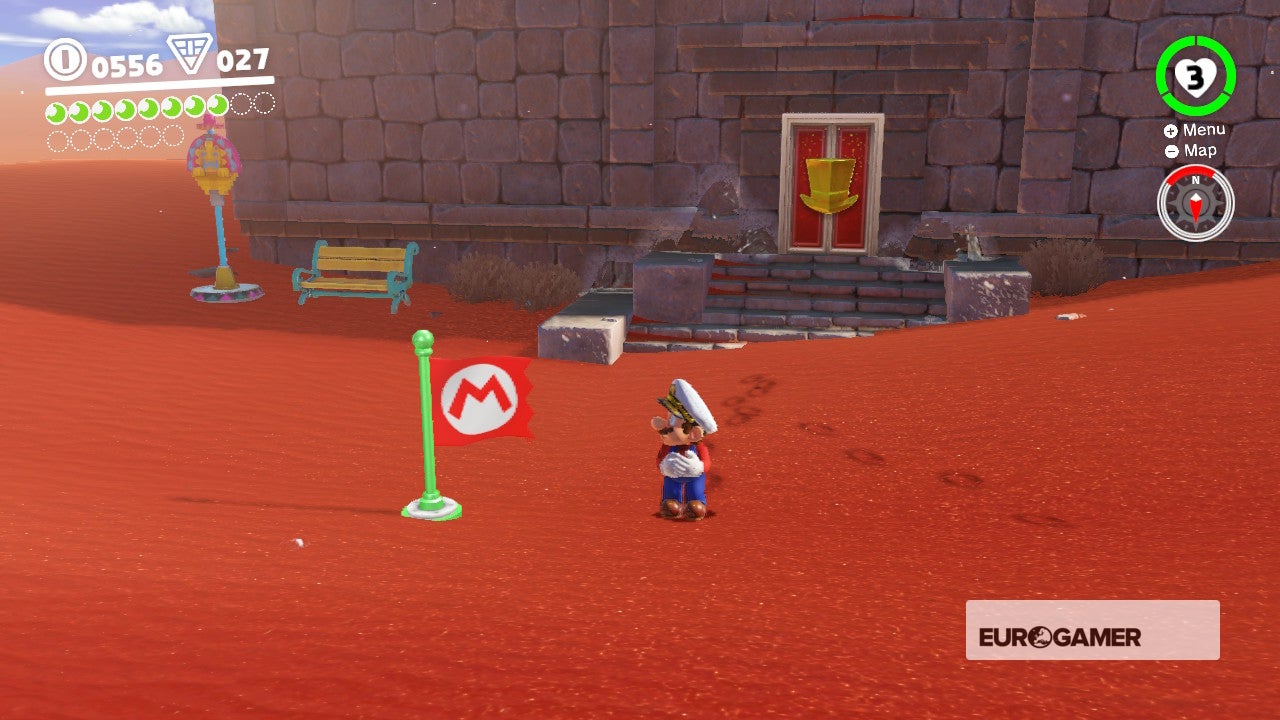
Purchase and wear the Sombrero and the Poncho from the regional coin section of the Sand Kingdom's Crazy Cap shop. Now head to the location bear witness on the map screenshot, head inside and you'll become a Moon for continuing on the podium.
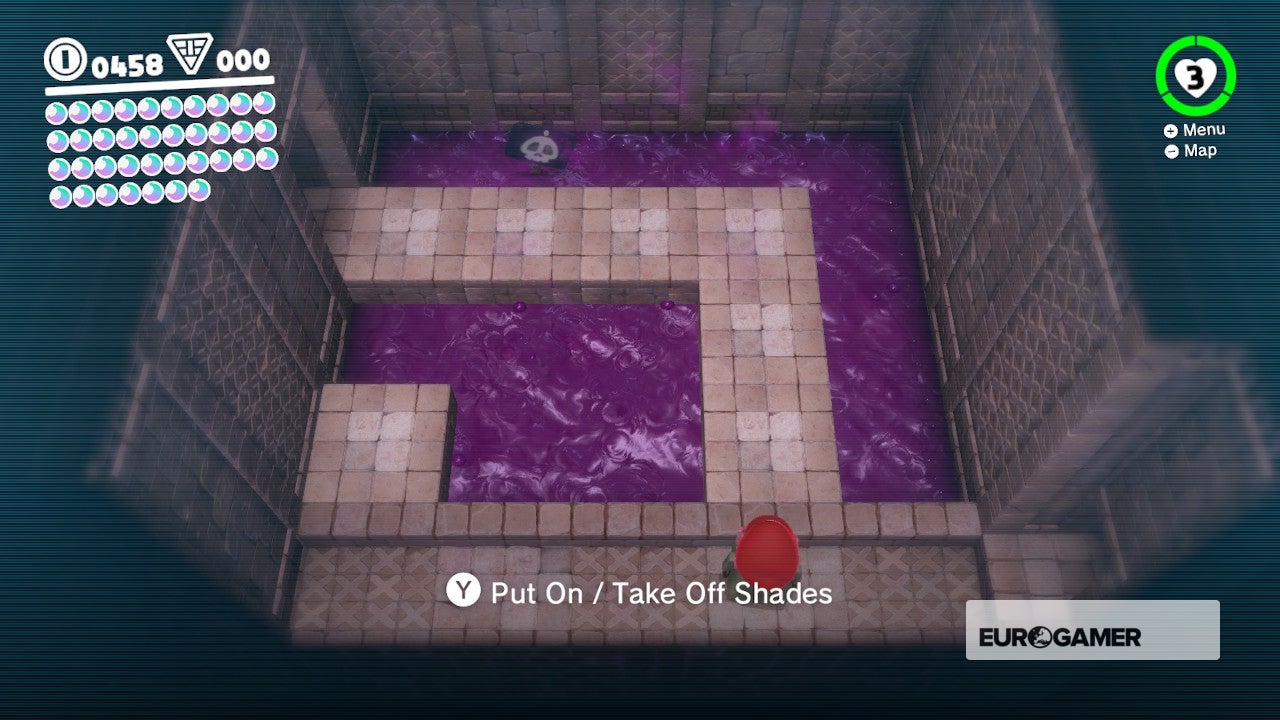
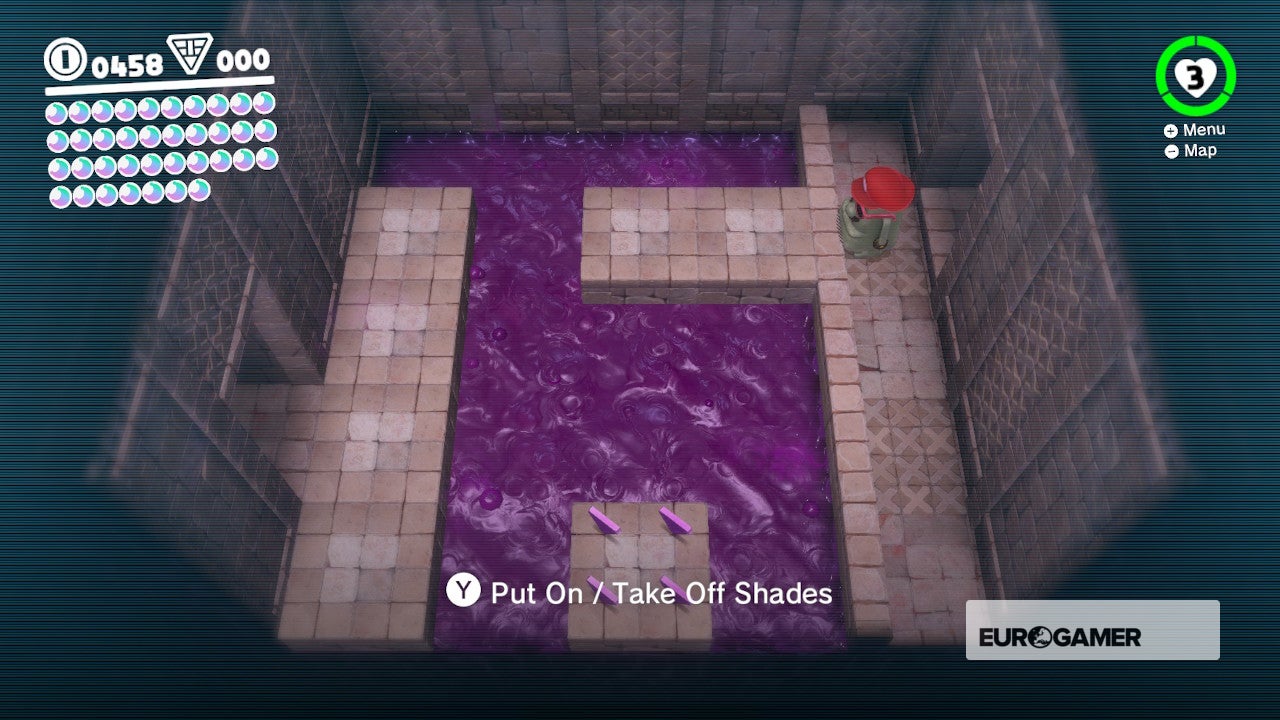
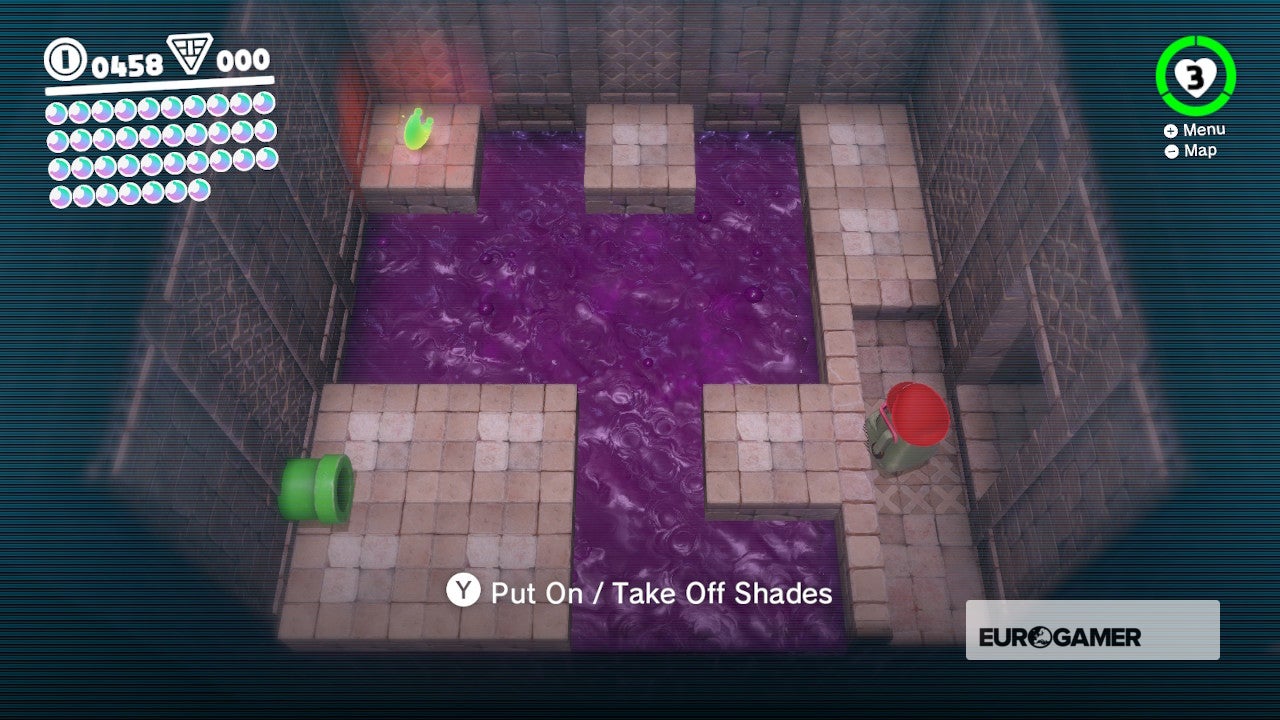
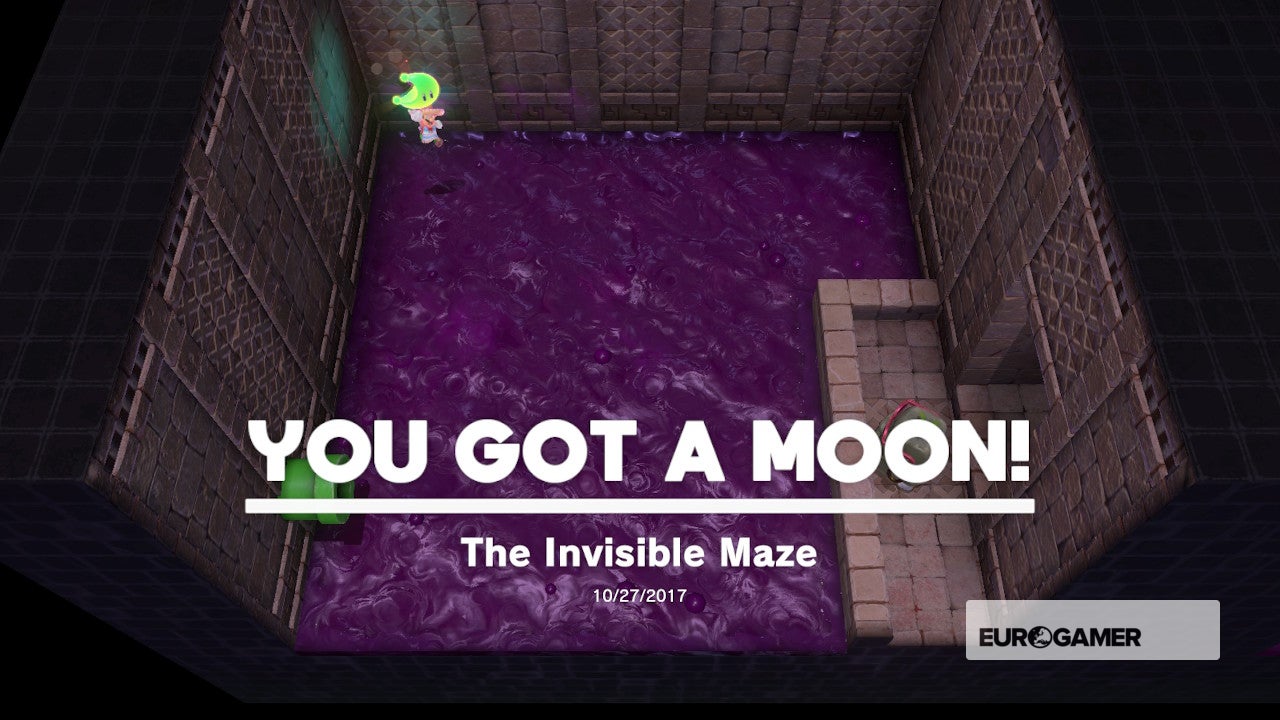
54. The Invisible Maze
Warp to the Moe-Eye Habitat, cross the platforms and turn right at the Binoculars. Look for a gap at the border of the cliff and drib down to notice a hat door. Within, follow the three screenshots and cantankerous the invisible mazes in each room to get your Moon.

55. Skull Sign in the Transparent Maze
In the aforementioned hat door challenge you entered to collect Moon #54, enter the first room and swing Cappy on the skull sign to reveal a Moon.

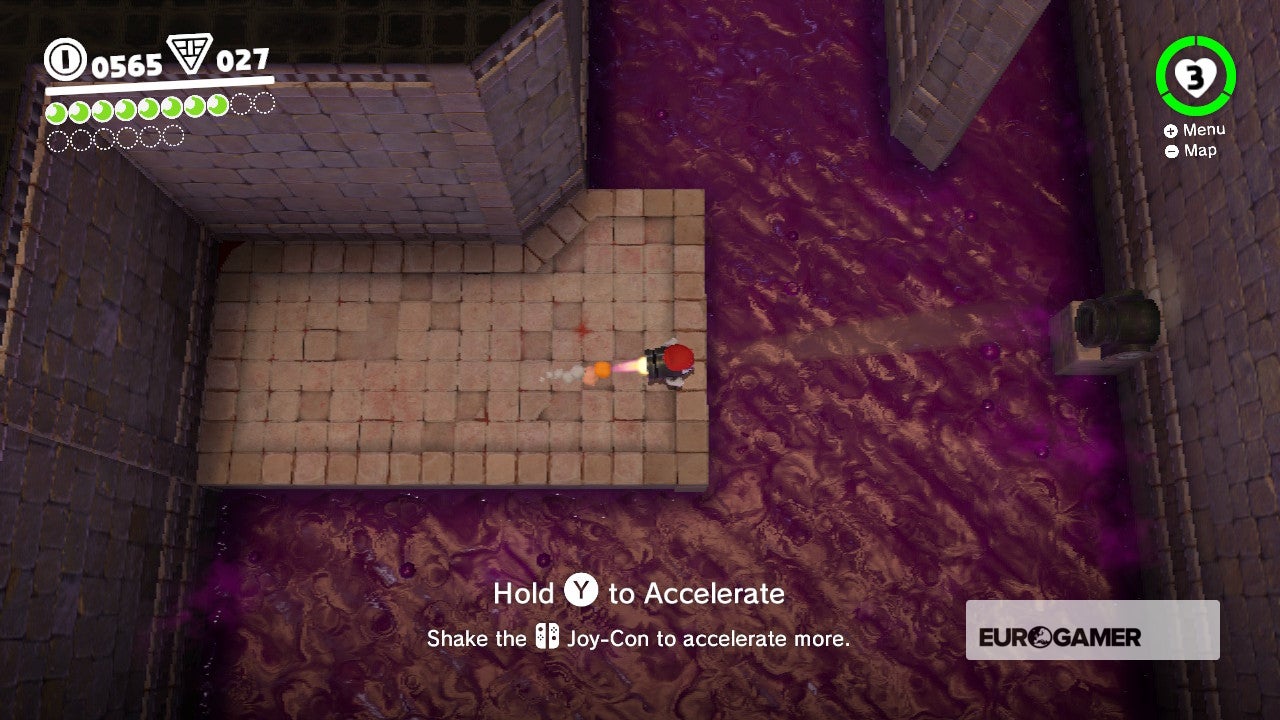
56. The Bullet Bill Maze: Interruption Through!
In the same edifice where you lot collected Moon 57 (The Bullet Bill Maze: Side Path), utilise a Bullet Bill to fly through the starting holes, spring into another on the second platform, and then a 3rd Bullet Pecker when you achieve the next platform. Follow the revolving gates in a clockwise direction, pressing Y to accelerate in bursts. There are two sets to navigate. The Moon can exist institute at the foot of some stairs.

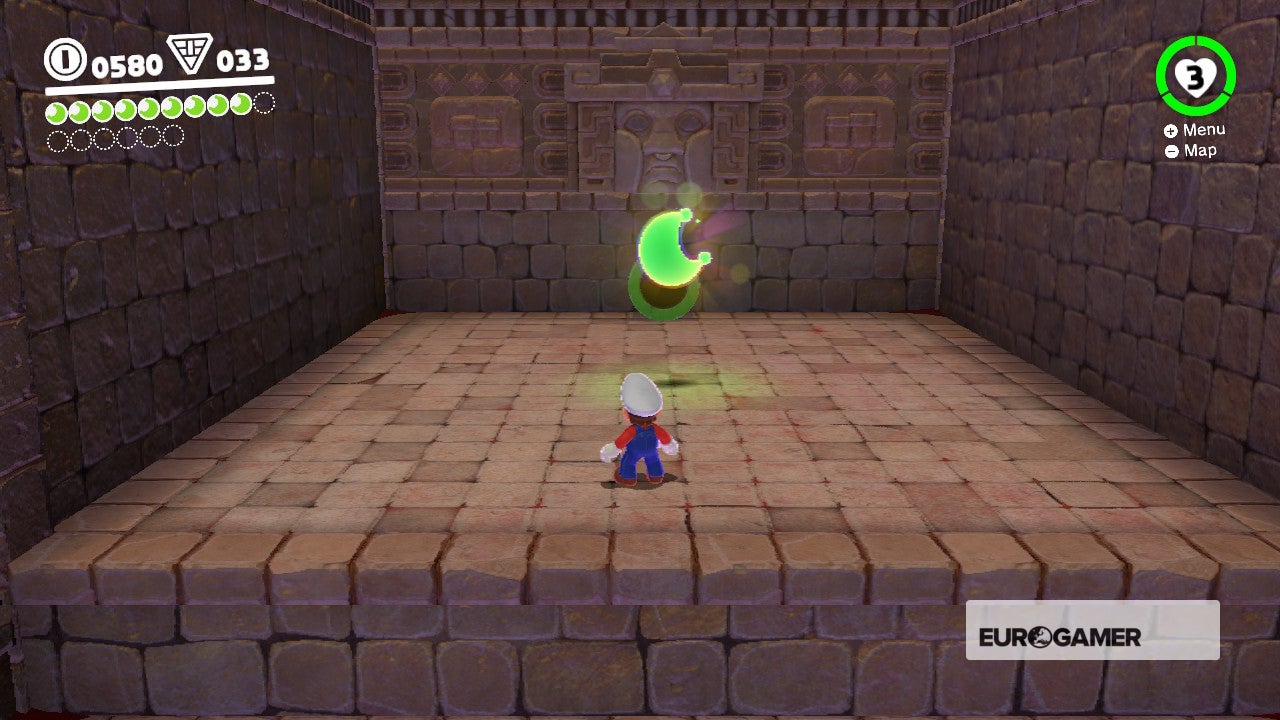
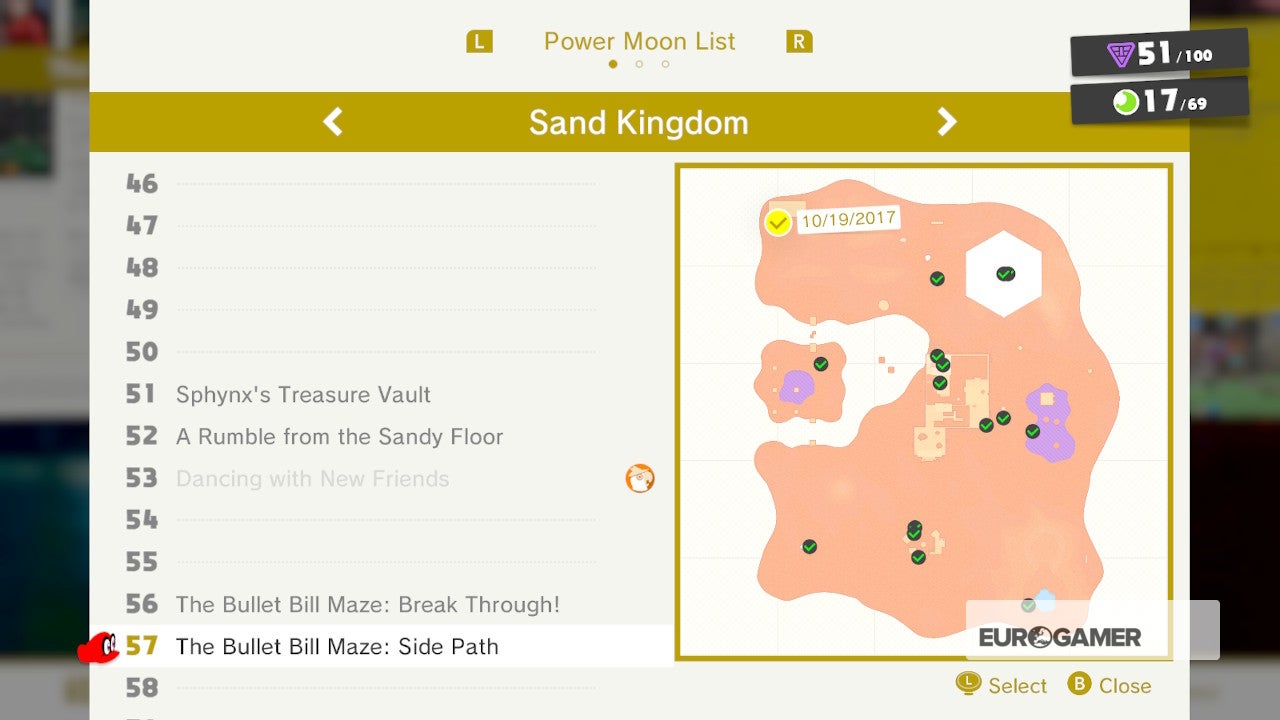
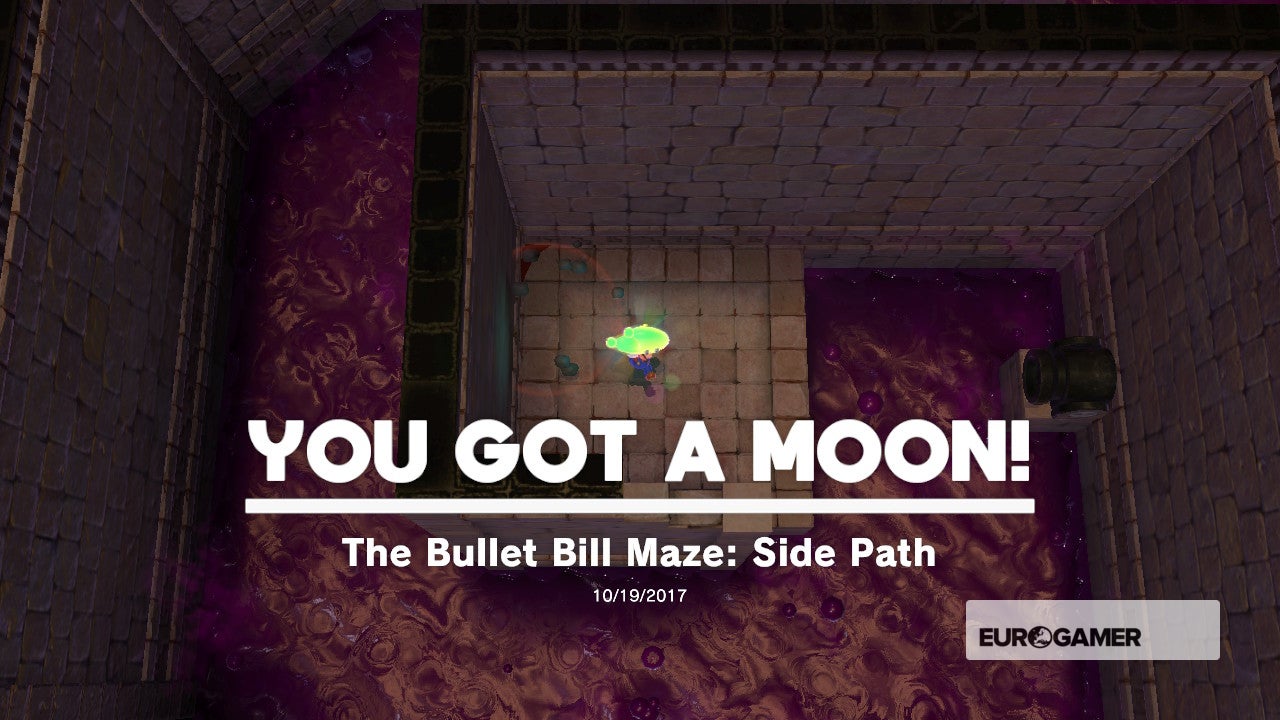
57. The Bullet Bill Maze: Side Path
After completing Moon two (Moon Shards in the Sand), cross the dunes then caput beyond the dunes until you encounter a large, rectangular building. Head within and use the Bullet Bill to fly through one of the 2 holes in the far wall. Fly to the beginning platform, and then jump into another Bullet Beak. Head forwards, then turn left and follow the path as it curves effectually to the left. You'll find this Moon on a foursquare platform.
Need more help? Our Super Mario Odyssey guide and walkthrough goes through every objective in each Kingdom, while our Power Moon locations tin can help you track downwards the likes of Cascade Kingdom Power Moons, Sand Kingdom Power Moons, Metro Kingdom and New Donk City Power Moons and more collectables. We besides accept Purple Coin locations for each Kingdom, and if you want to know what to spend it on, we have a hats list, outfits listing, stickers listing, a souvenirs listing too every bit a music list to kit out the advent of both Mario and the Odyssey. Once you've finished the game, check out the free Balloon World update, too.
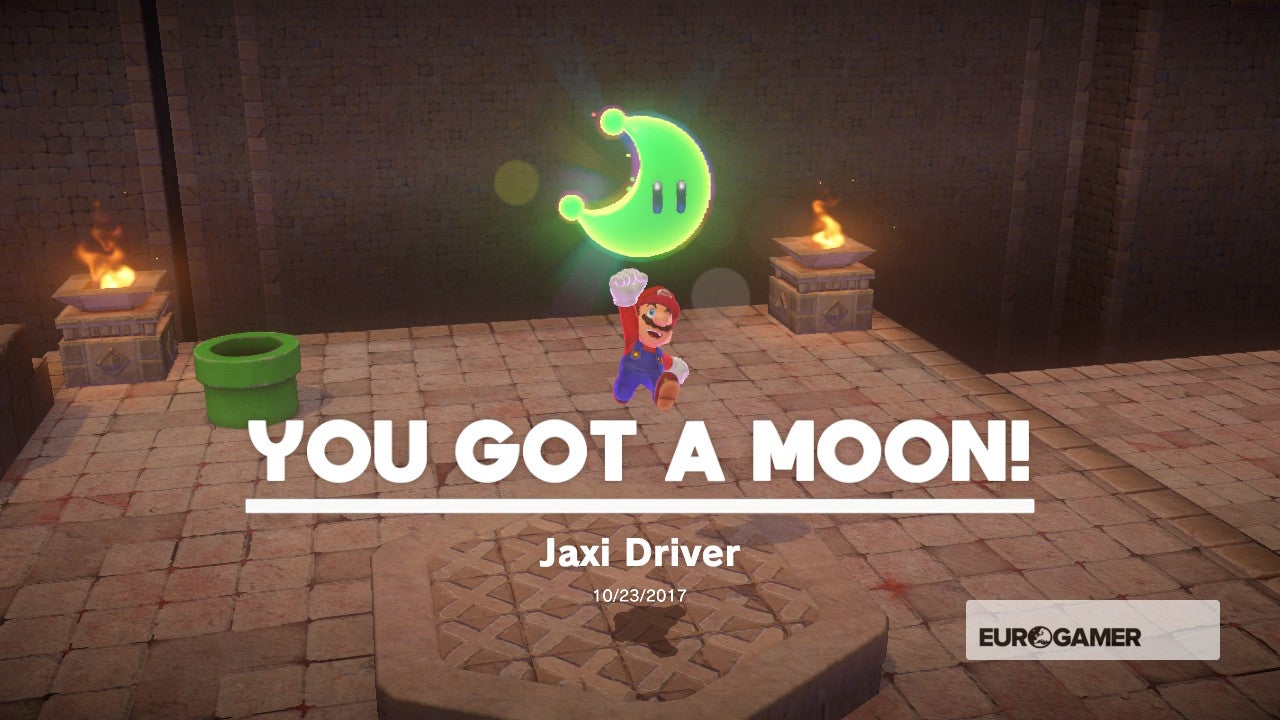
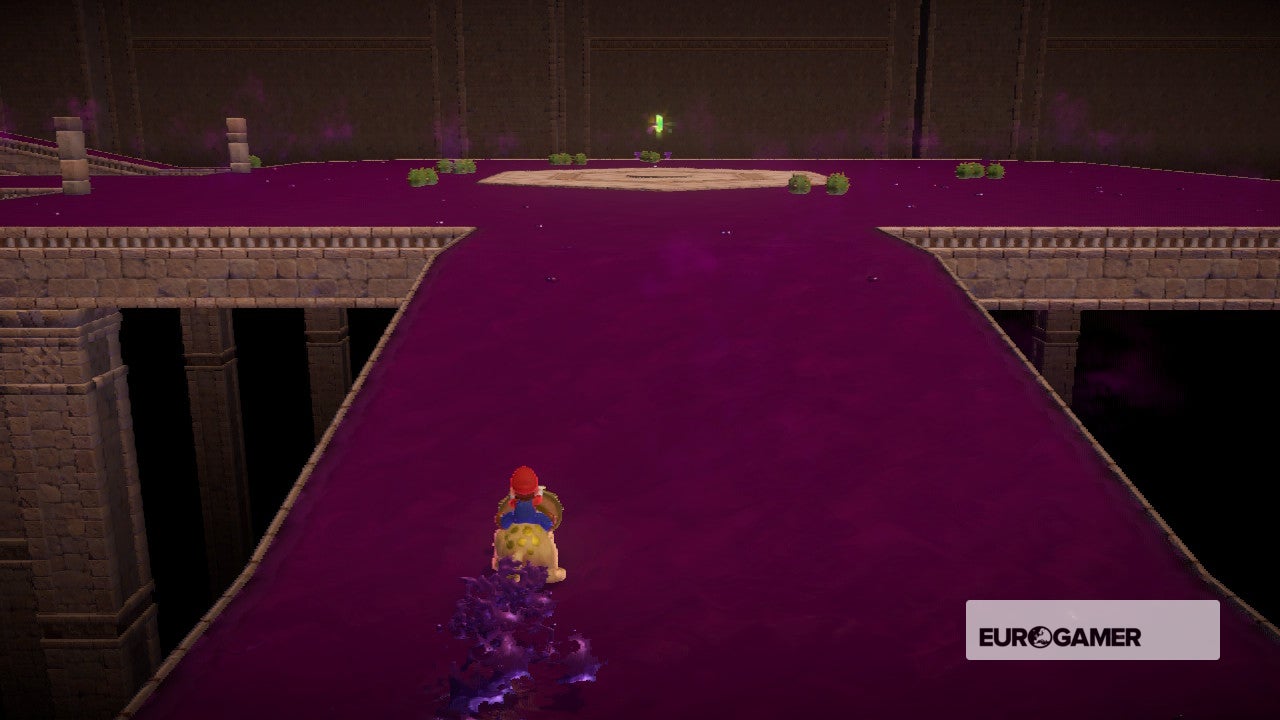
58. Jaxi Driver
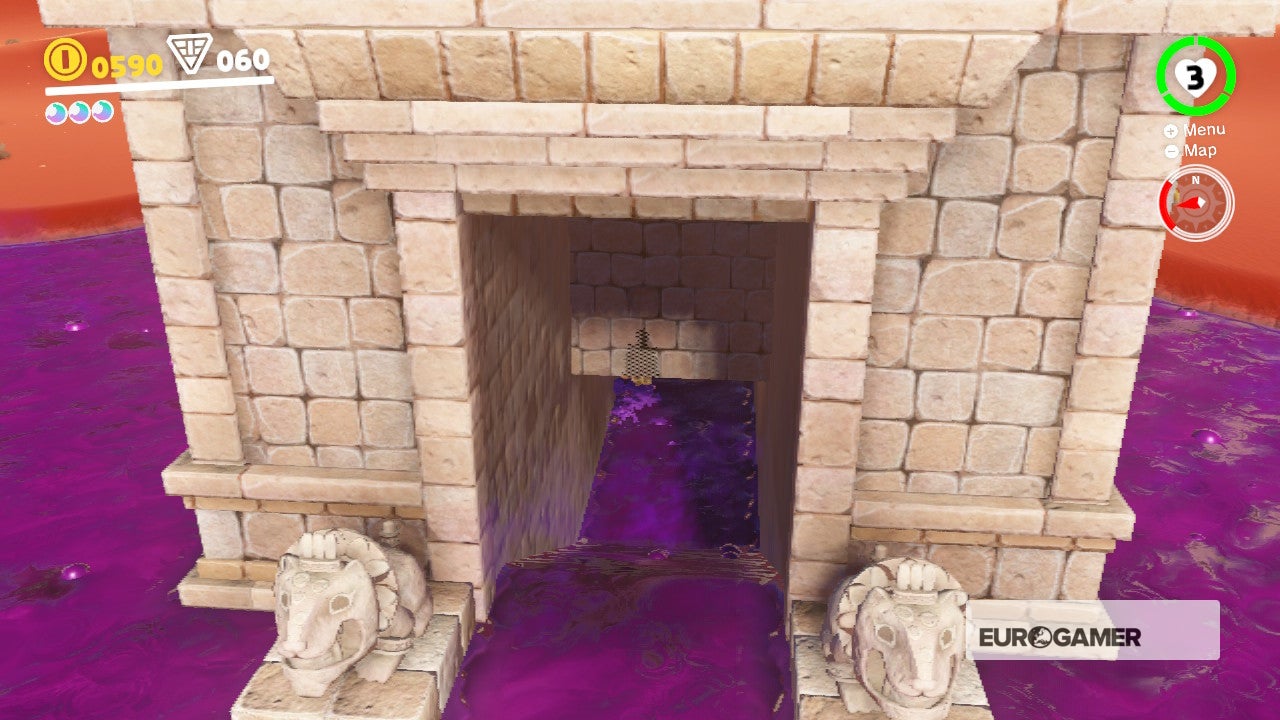
From the Jaxi Ruins checkpoint, ride the Jaxi to the purple gloop swamp and ride information technology within the platform you started on. Within is a challenge room where you lot demand to ride the Jaxi to the terminate without falling off the edge. Utilise 'B' to intermission, but just using for a few seconds - holding it too long will send you lot flying frontwards. Moon is at the terminate of the room.

59. Jaxi Stunt Driving
When you reach the largest platform of the cloak-and-dagger Jaxi challenge, plow left and you'll run into a colourful clef. Line up and so yous're facing down the ledge information technology'due south on the edge of. Run through the clef, collect all the notes, brake around the pillar, and collect the next line. Moon is yours!

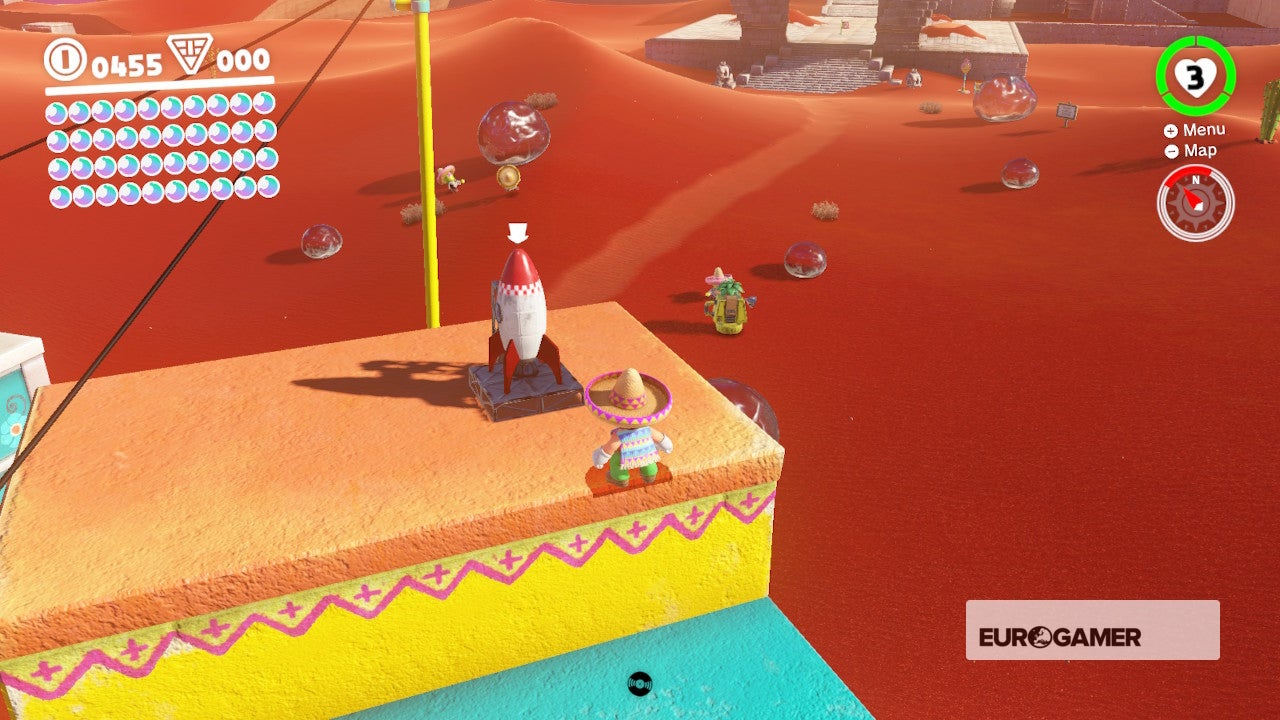
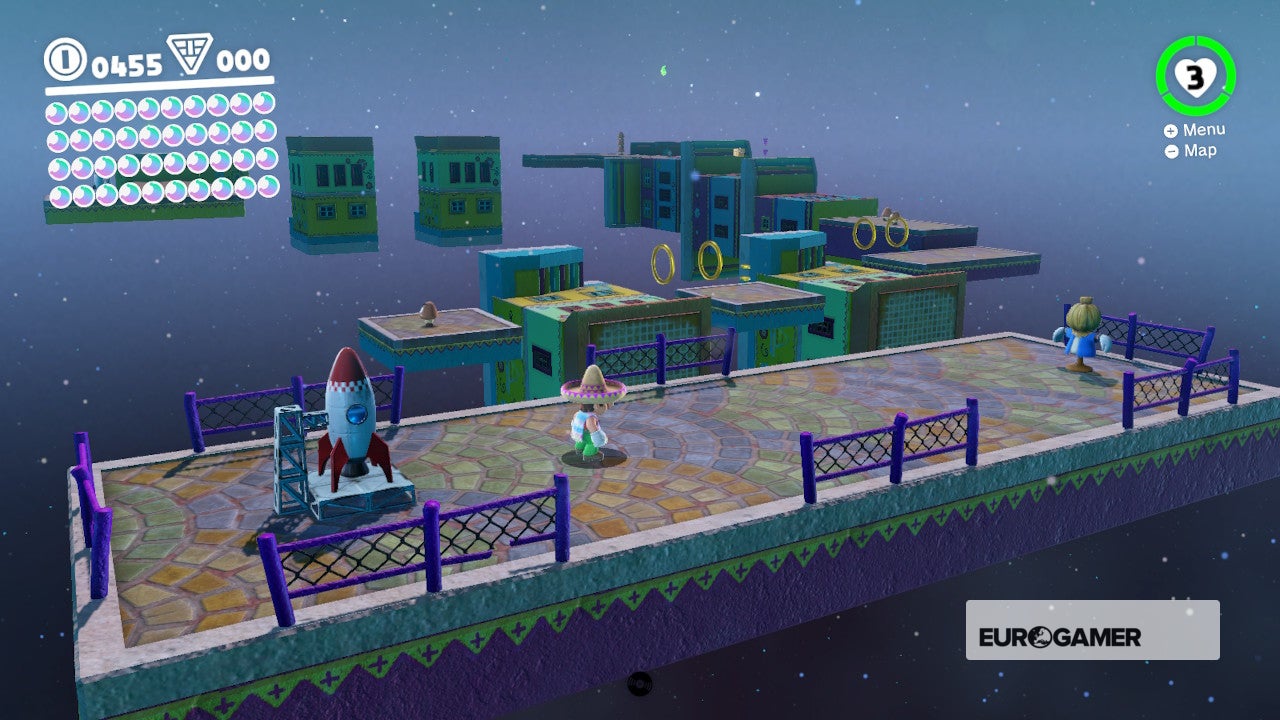
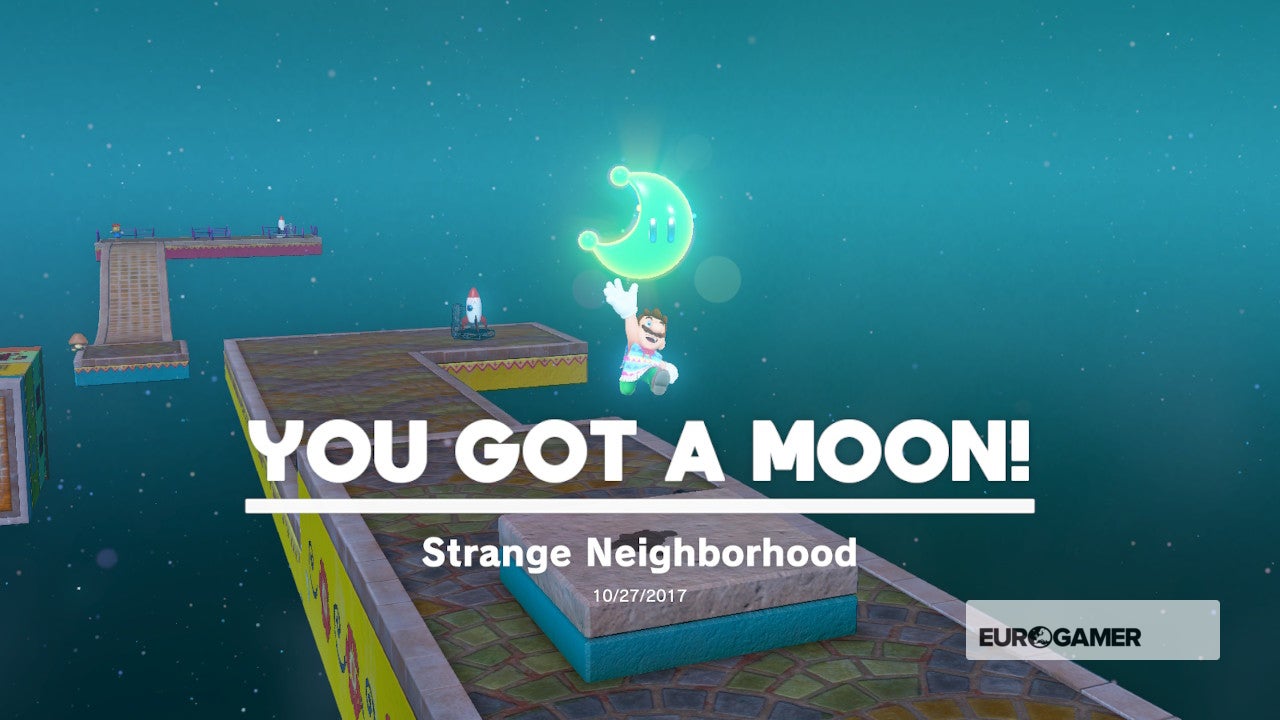
lx. Strange Neighborhood
From the Tostarena Town checkpoint, turn right, run past the Jinx and around the business firm beside you. Use the jump pads to attain the Mini Rocket and ride it up to a bonus challenge. Hit the scarecrow and brainstorm the claiming.
You have no cap and then jump on the Goombas to dispatch them. The houses hither are spinning platforms, so time your jumps to reach each one. When you hit the other side, the Moon is yours.

Super Mario Odyssey Sand Kingdom Ability Moons 61 to 69
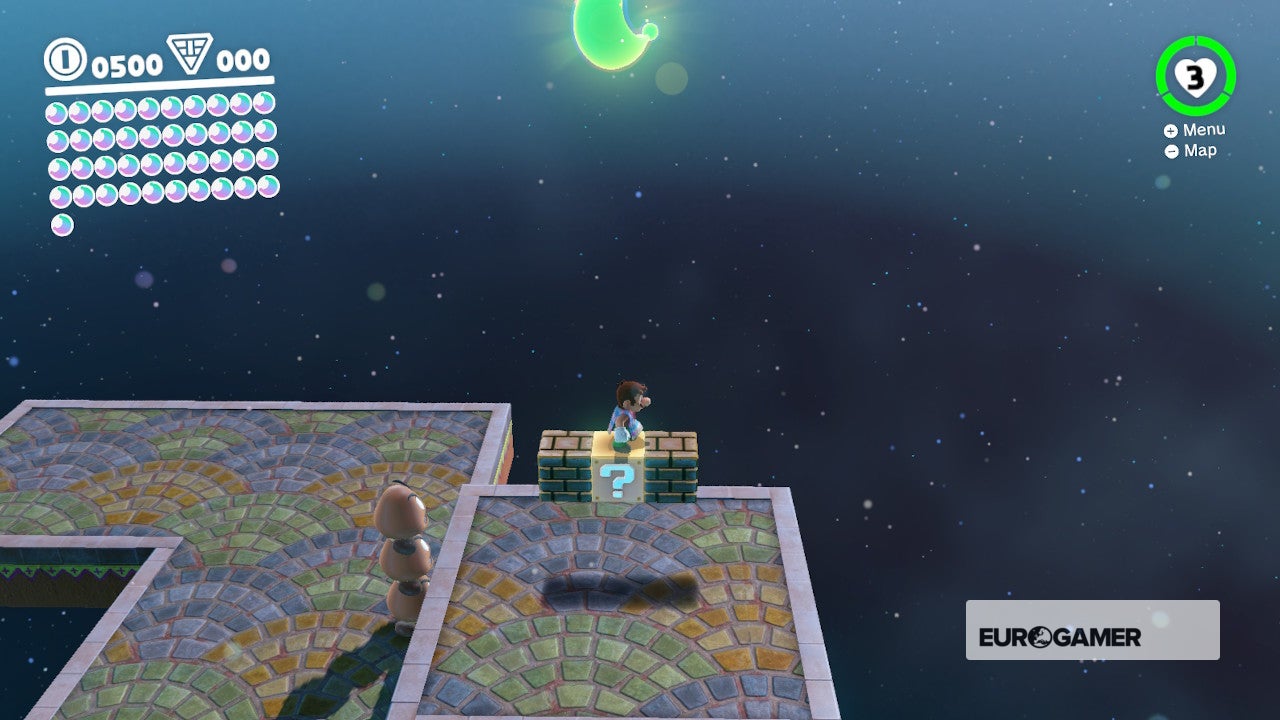
61. Above a Strange Neighborhood
In the same challenge level as Moon #lx, look out for the ? Cake before the concluding section of turning houses. Leap upwards, reveal the hole-and-corner cake then jump to reach the Moon.


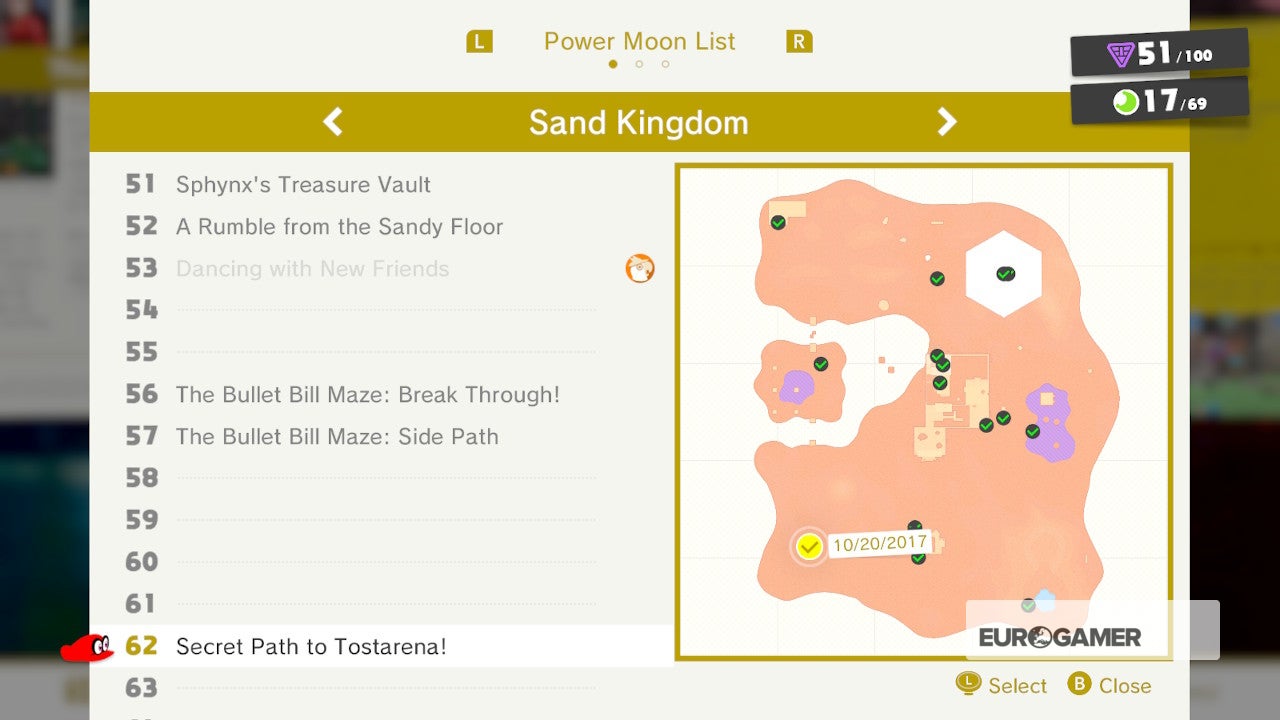
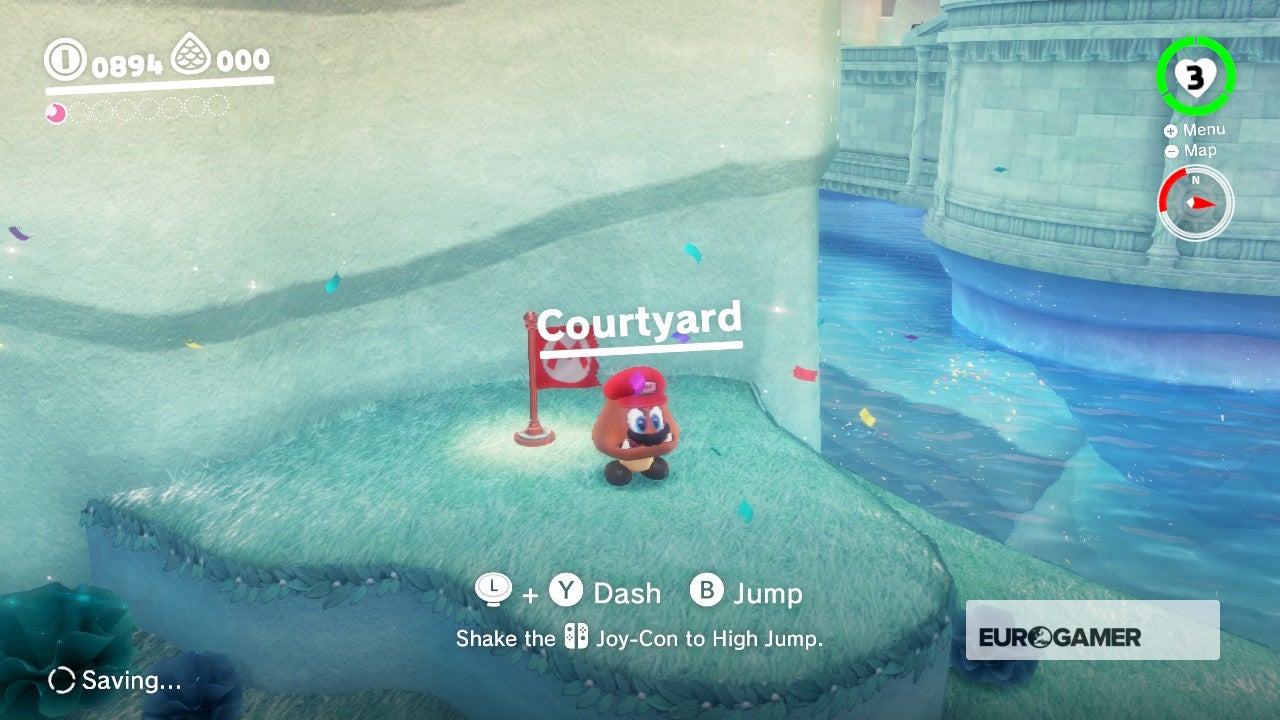
62. Hole-and-corner Path to Tostarena!
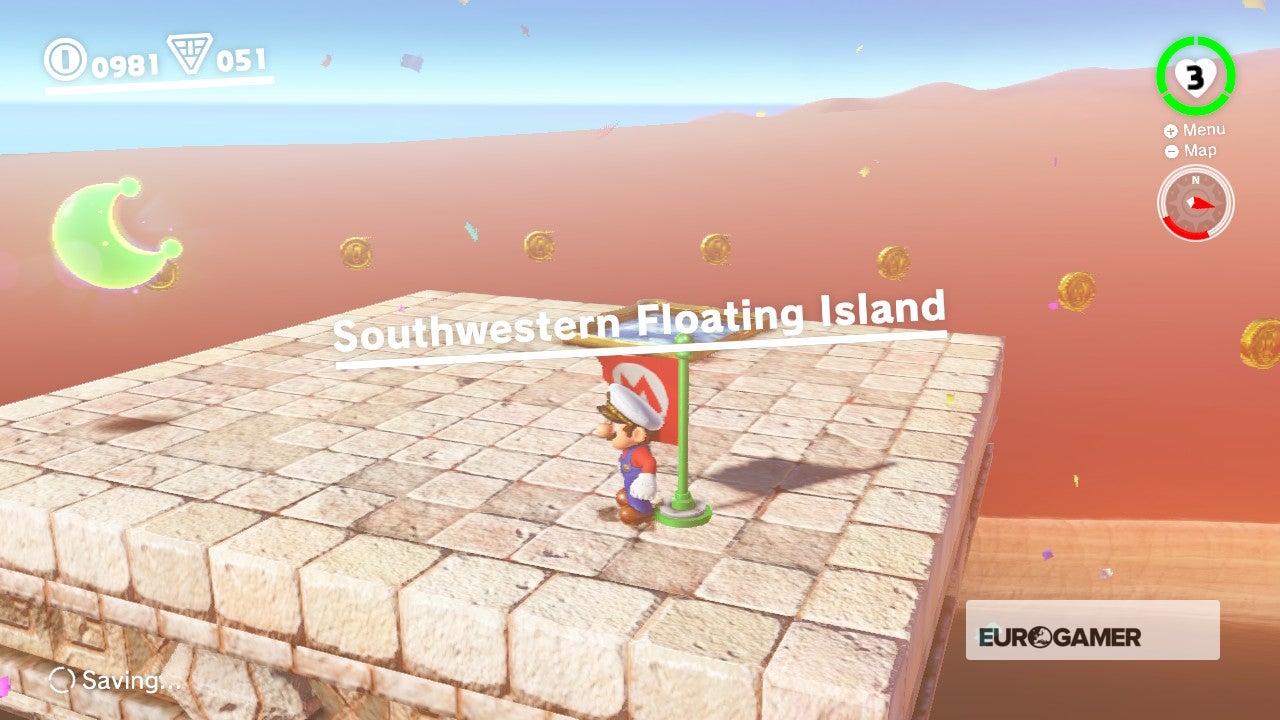
In order to collect this Moon in the Sand Kingdom, you'll need to jump through the portrait hidden at the bottom of the swimming in the Lake Kingdom (it's just past the Courtyard checkpoint). Printing 'A' higher up information technology to travel to a smaller inverted pyramid to a higher place Tostarena.
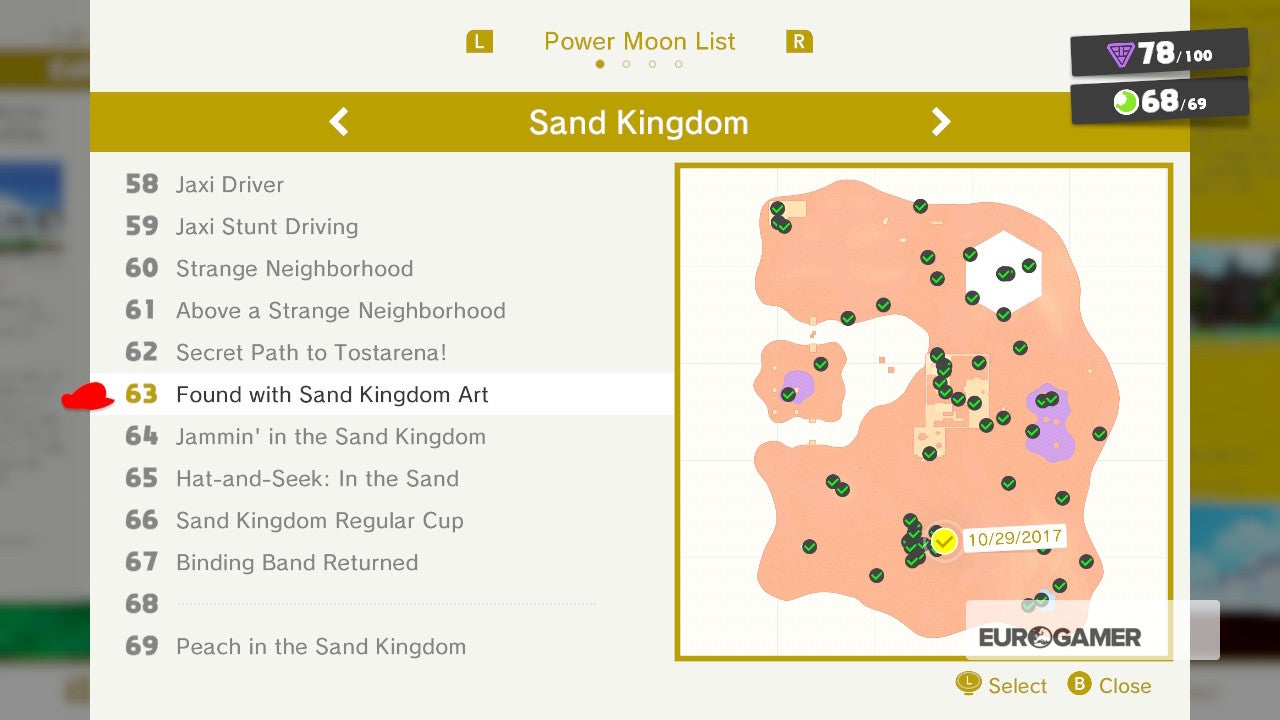
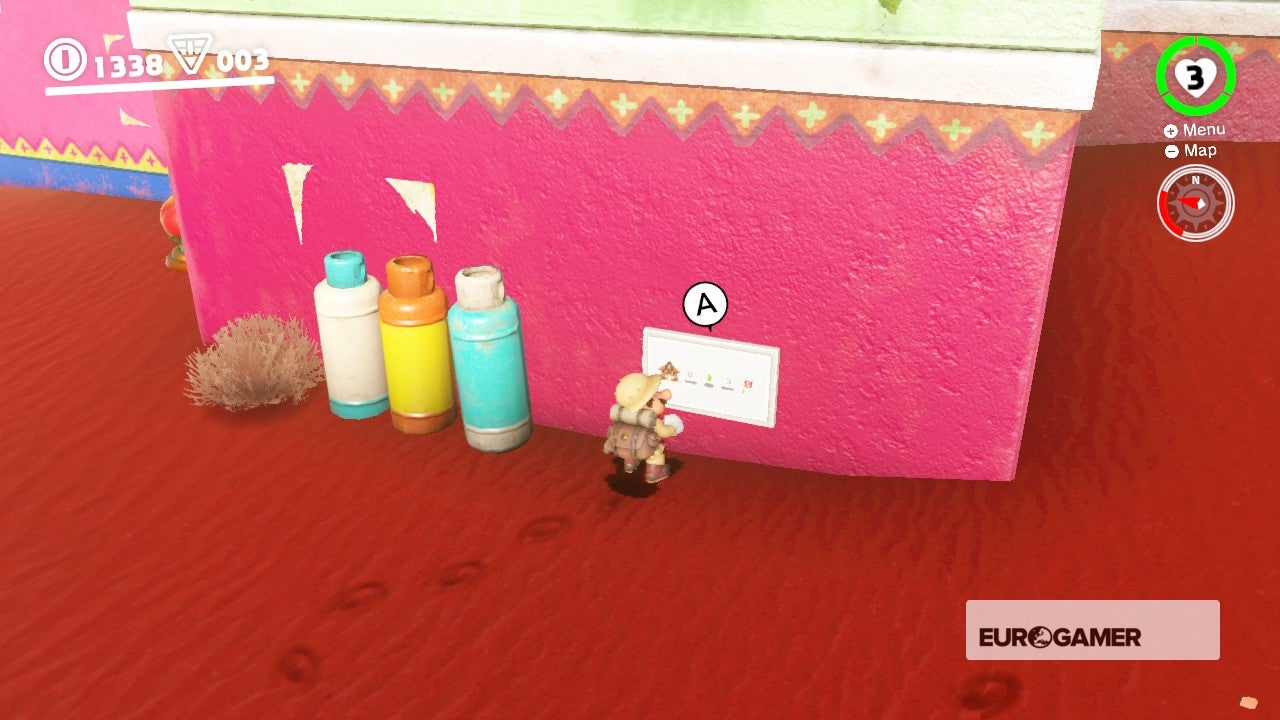
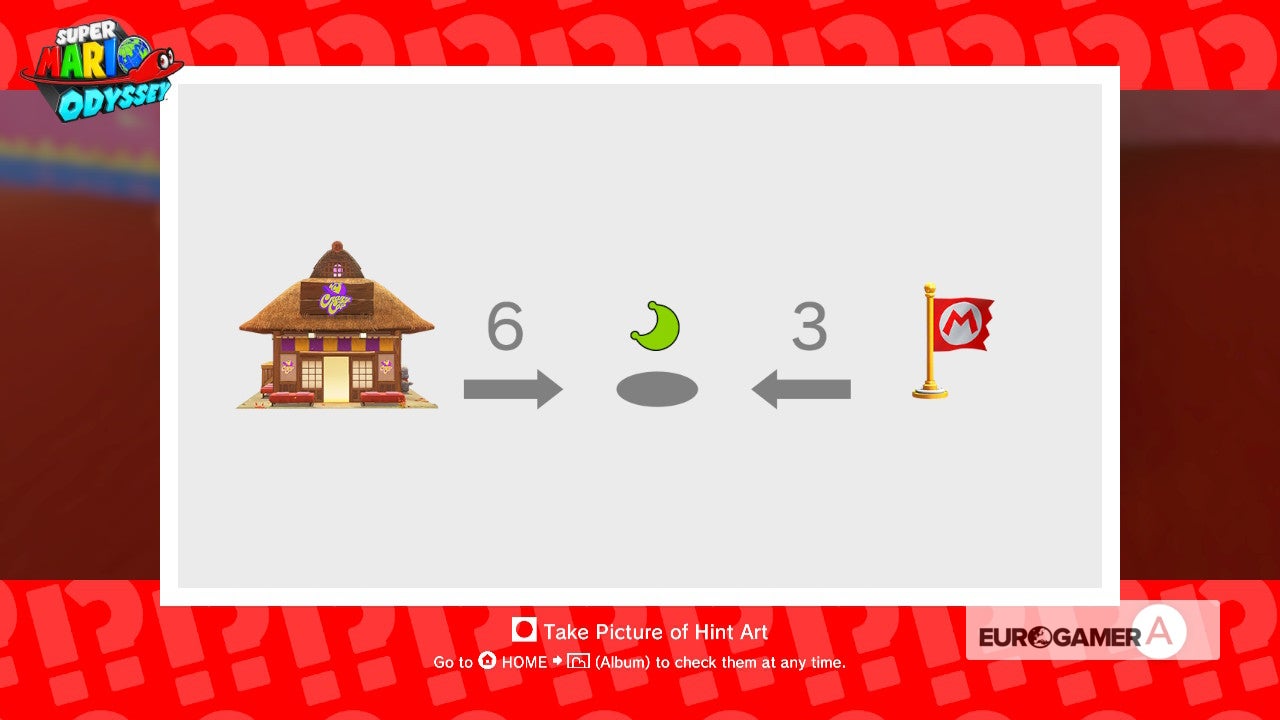
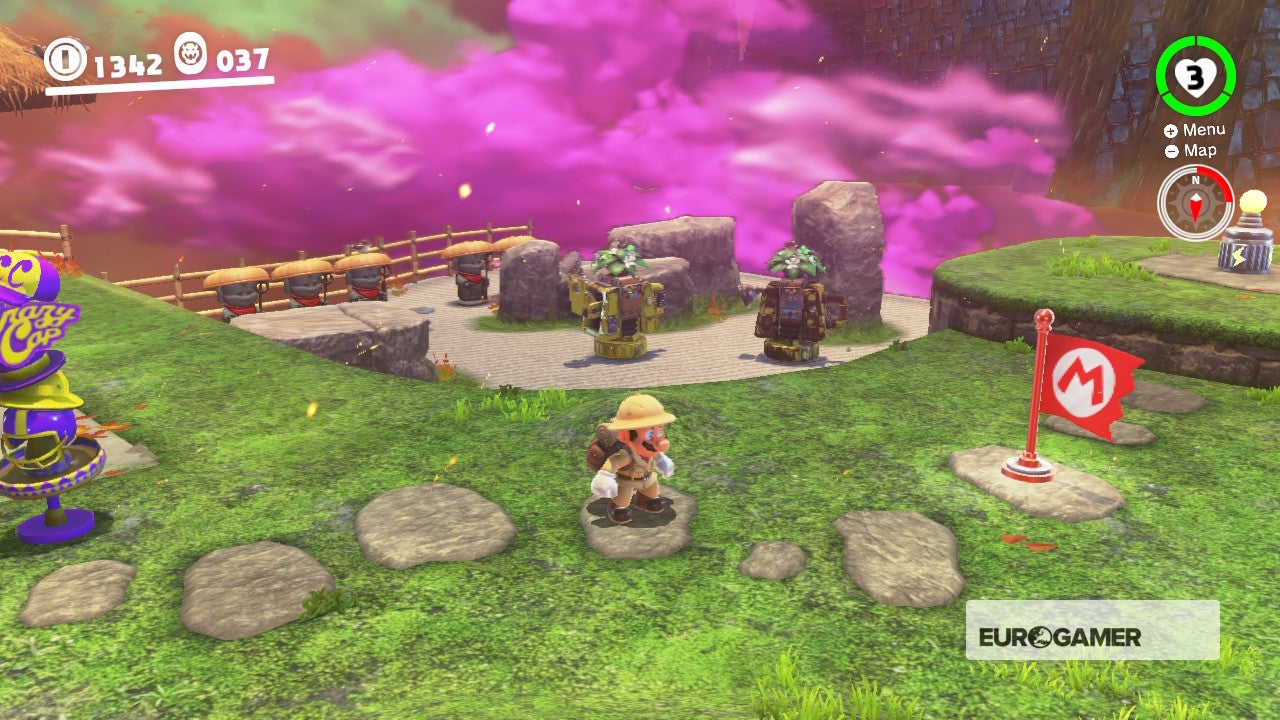
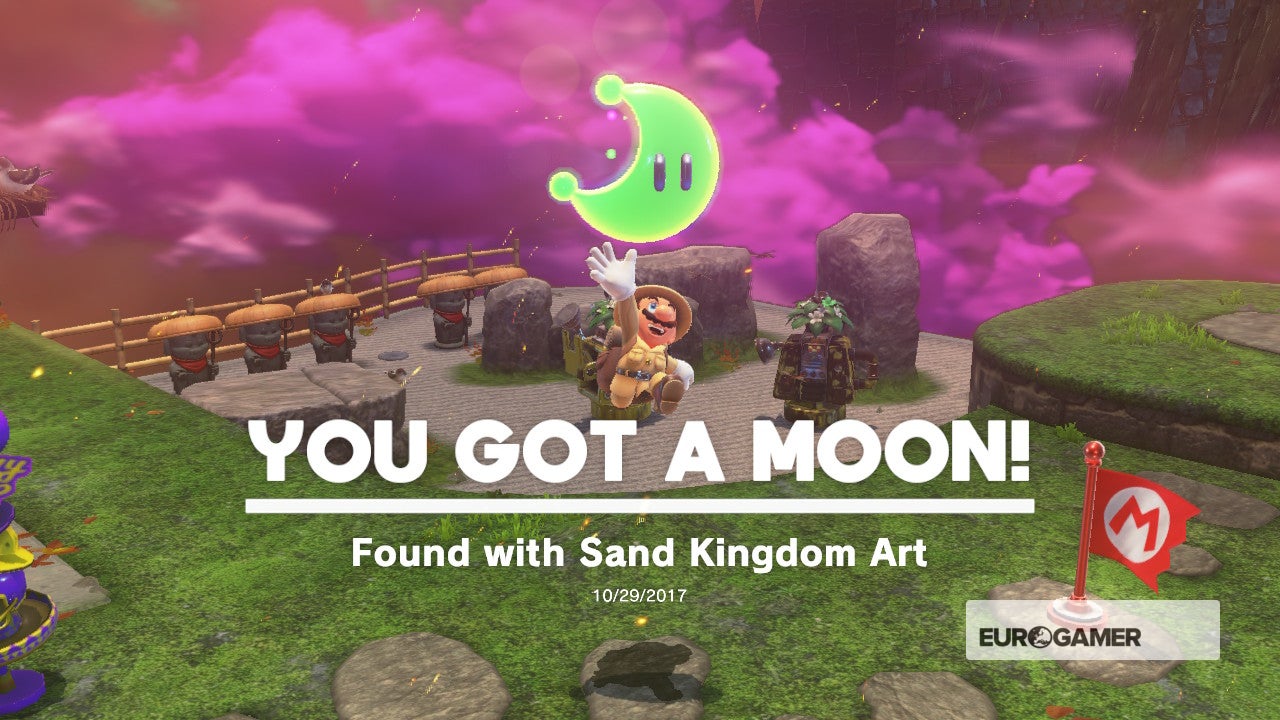
63. Found with Sand Kingdom Art
Look for this art on the dorsum of a house in Tostarena Town. Head to Bowser'south Kingdom, warp to the Souvenir Shop and Ground Pound the spot show in the screenshot to get your Moon.
64. Jammin' in the Sand Kingdom
From the Testarena Town checkpoint, head right, past the Jinx, around to the side of the building beside y'all. Use the two jump pads to accomplish the Toad with the headphones. He'll ask you to play 'Memories of a Tough Battle'. This isn't the name of a track. Play him Bowser Battle 2 to get a Moon (you'll need to finish the master story to unlock Music List and this track).


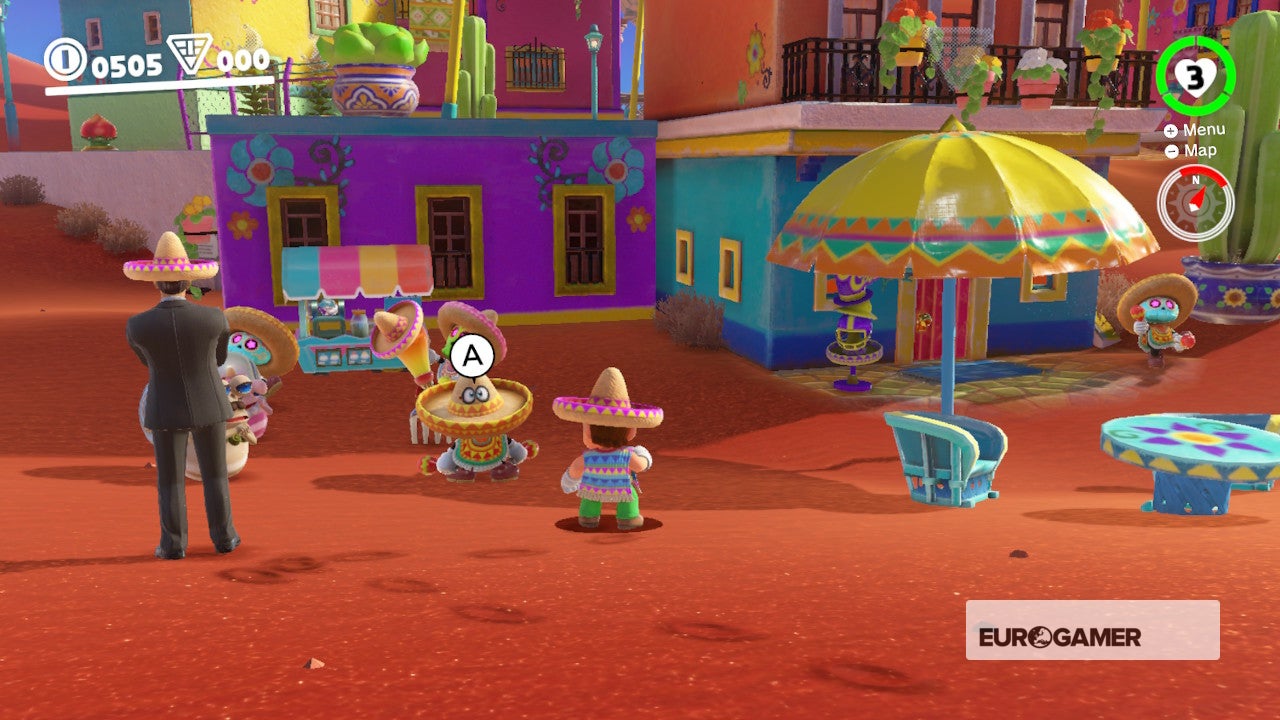
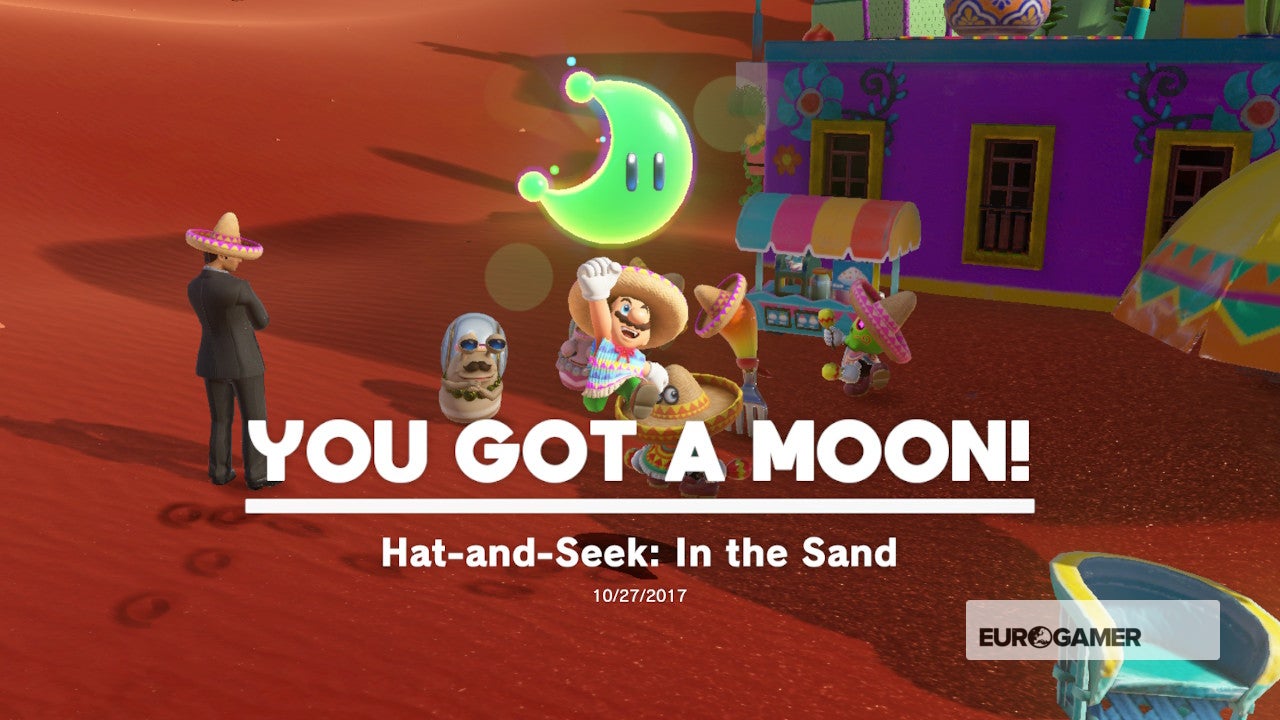
65. Chapeau-and-Seek: In the Sand
Post-game, wait for two worried looking hats. They've lost a friend and recollect he might be hiding on someone's head. Head towards the characters queuing for an ice foam side by side to the Crazy Cap shop. The chapeau is dressed equally a sombrero. Speak to him to go a Moon.

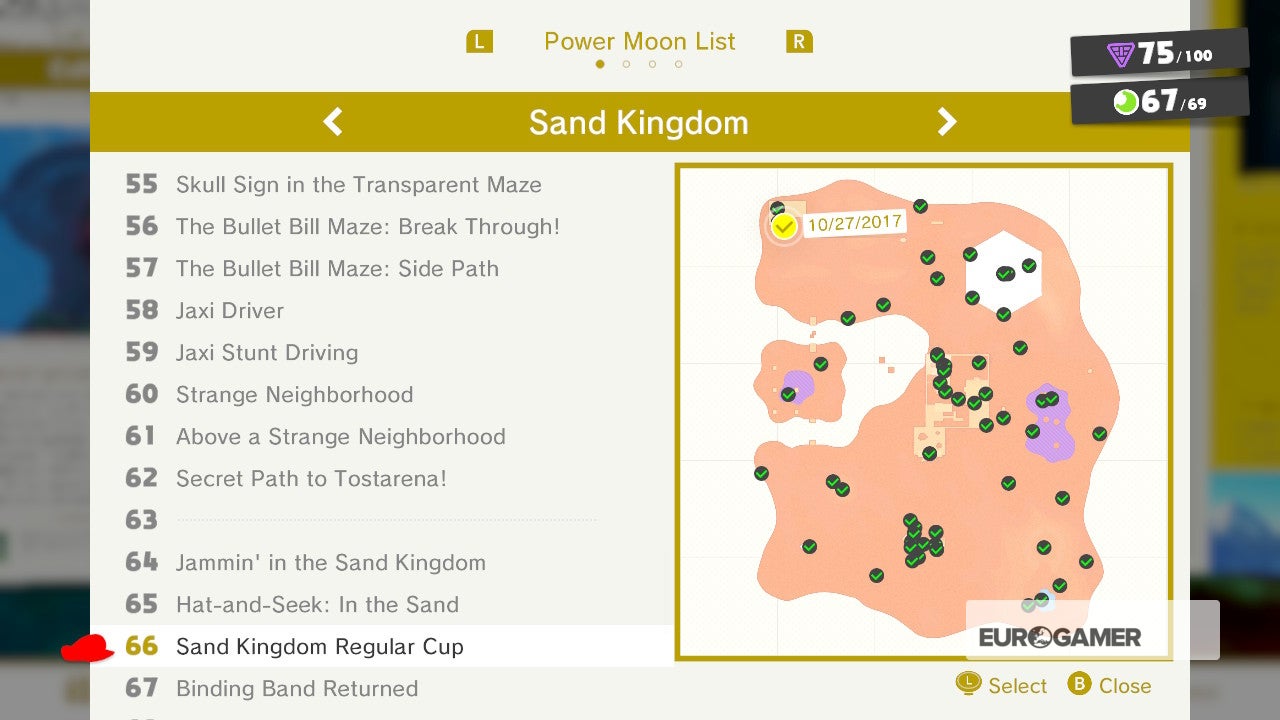
66. Sand Kingdom Regular Cup
Find the Koopa at the Tostarena Northwest Reaches checkpoint. This race is actually easy. Jump on the Jinx, ride around the other side of the ruins and head straight for the village. The end line is on the other side of the fountain. Come first to win a Moon.

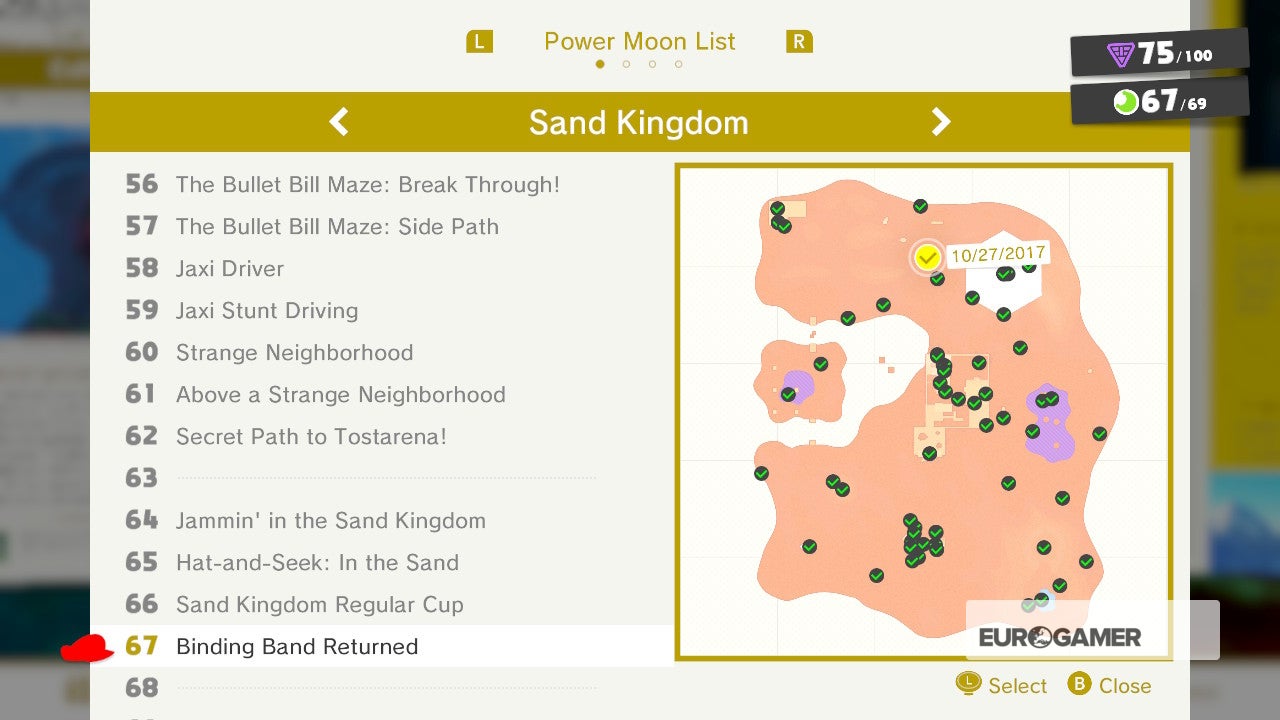
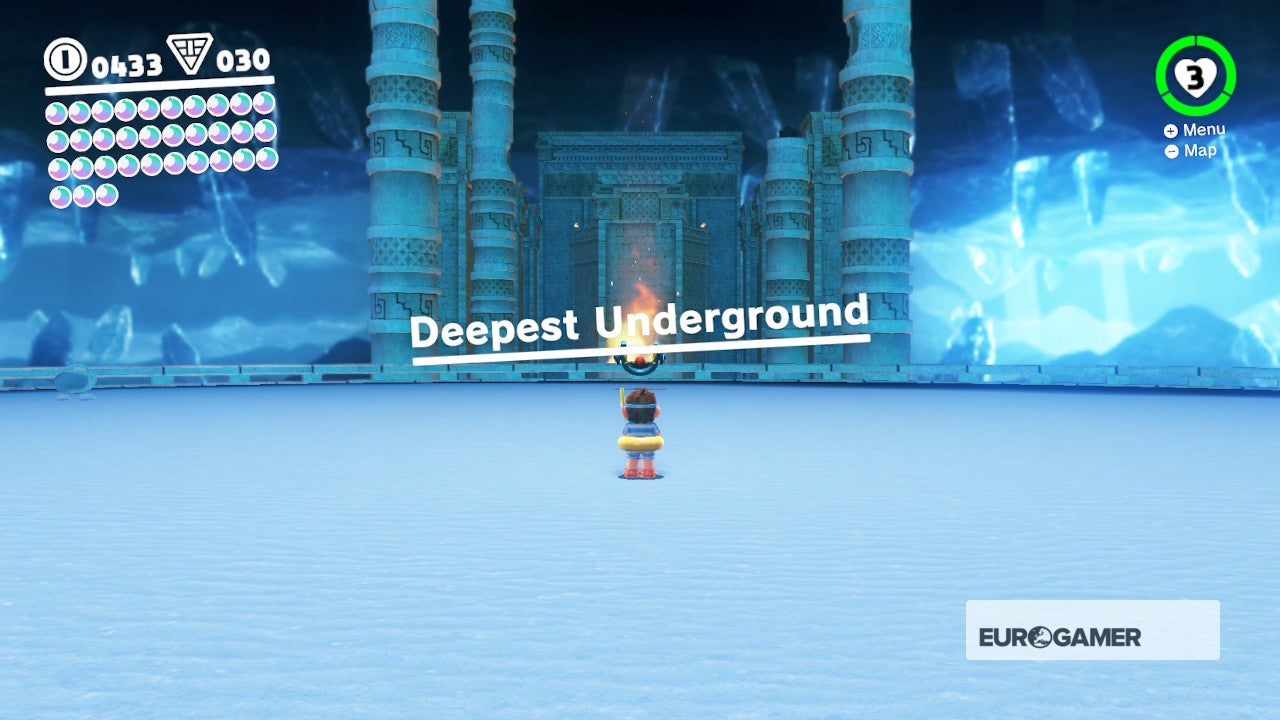
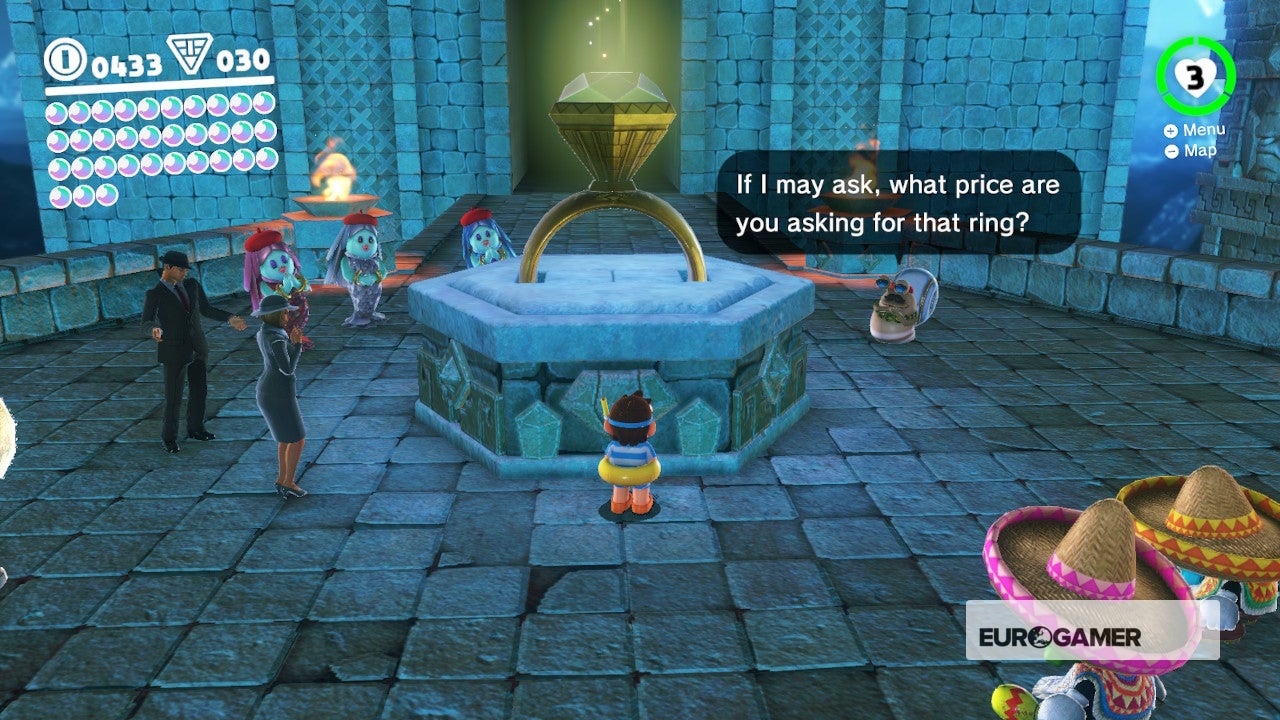
67. Binding Ring Returned
From the Tostarena Northwest Reaches checkpoint, caput westward and jump into the first big hole yous detect. Run beyond the arena, avoid the skeletons that appear in ii groups and employ the slingshot to attain the next platform. Ground Pound the giant band to release the Moon inside.
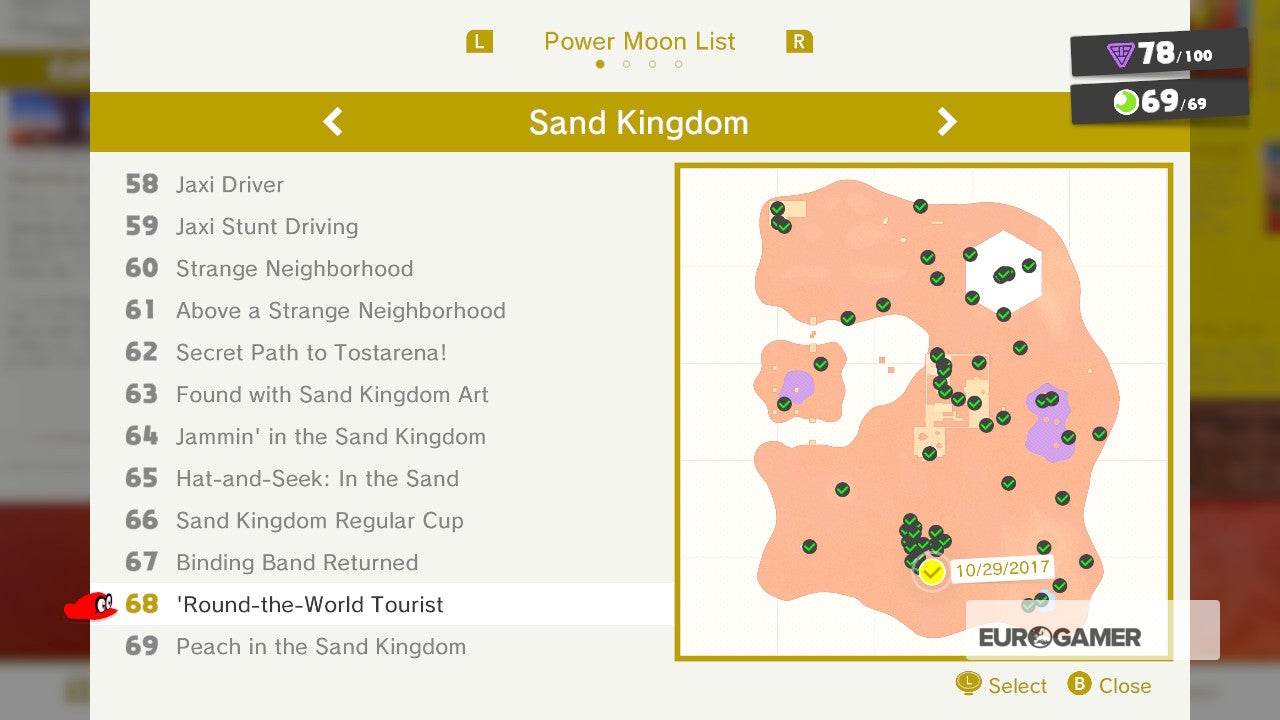
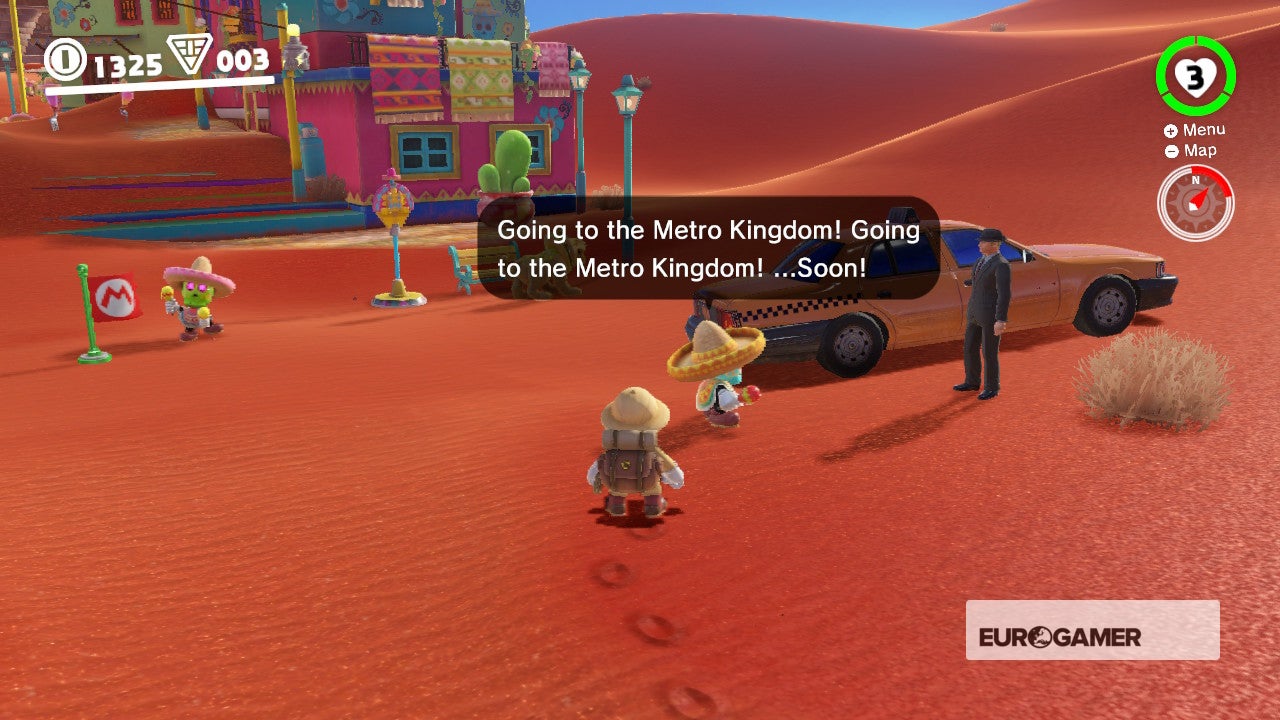
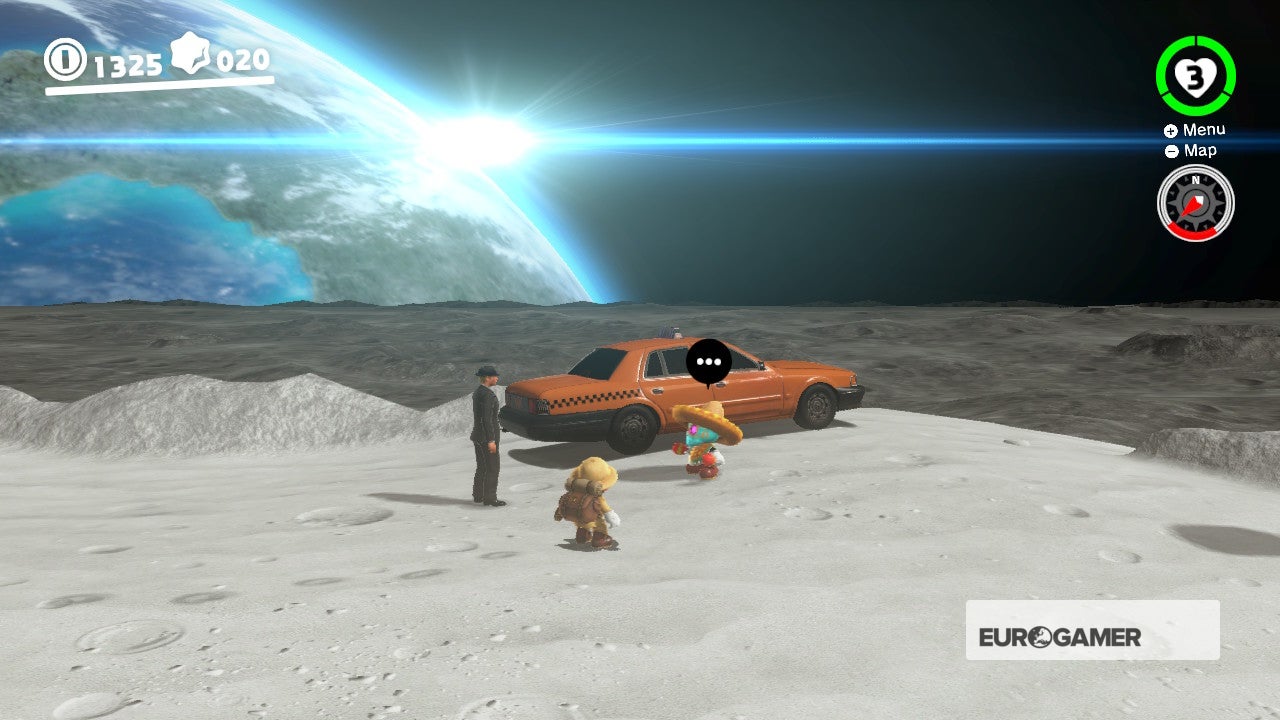
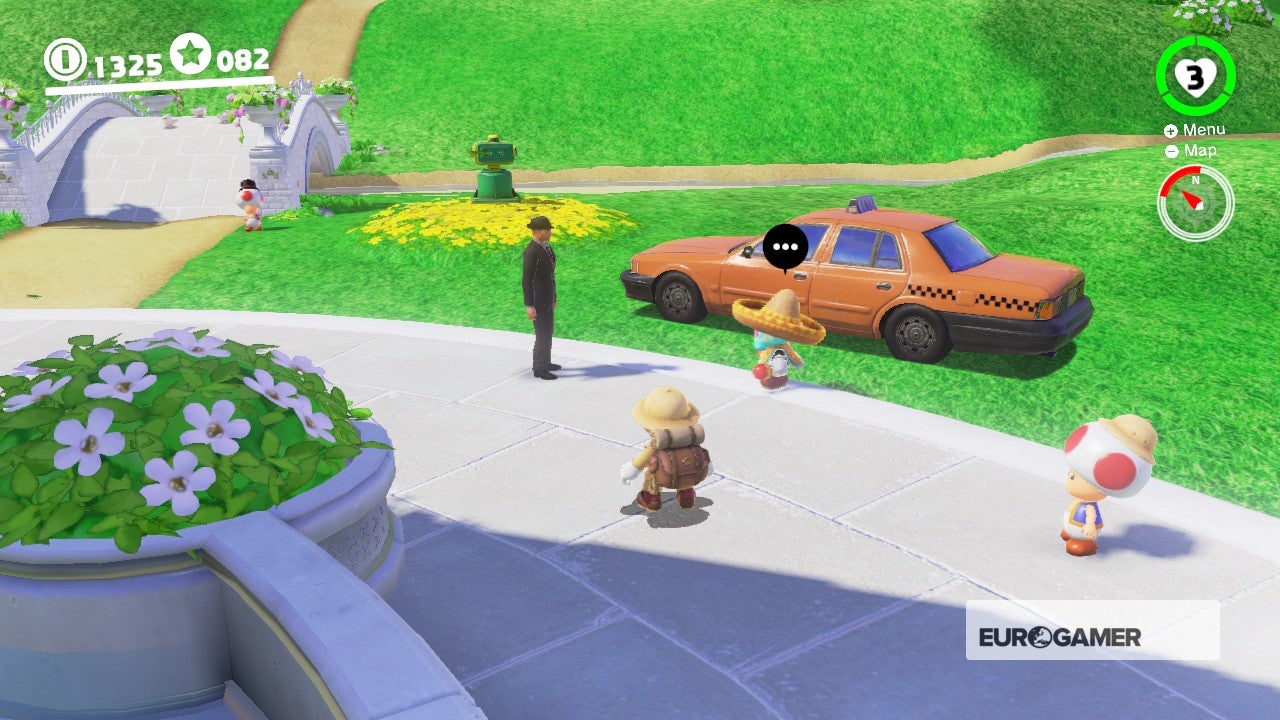
68. 'Round-the-World Tourist
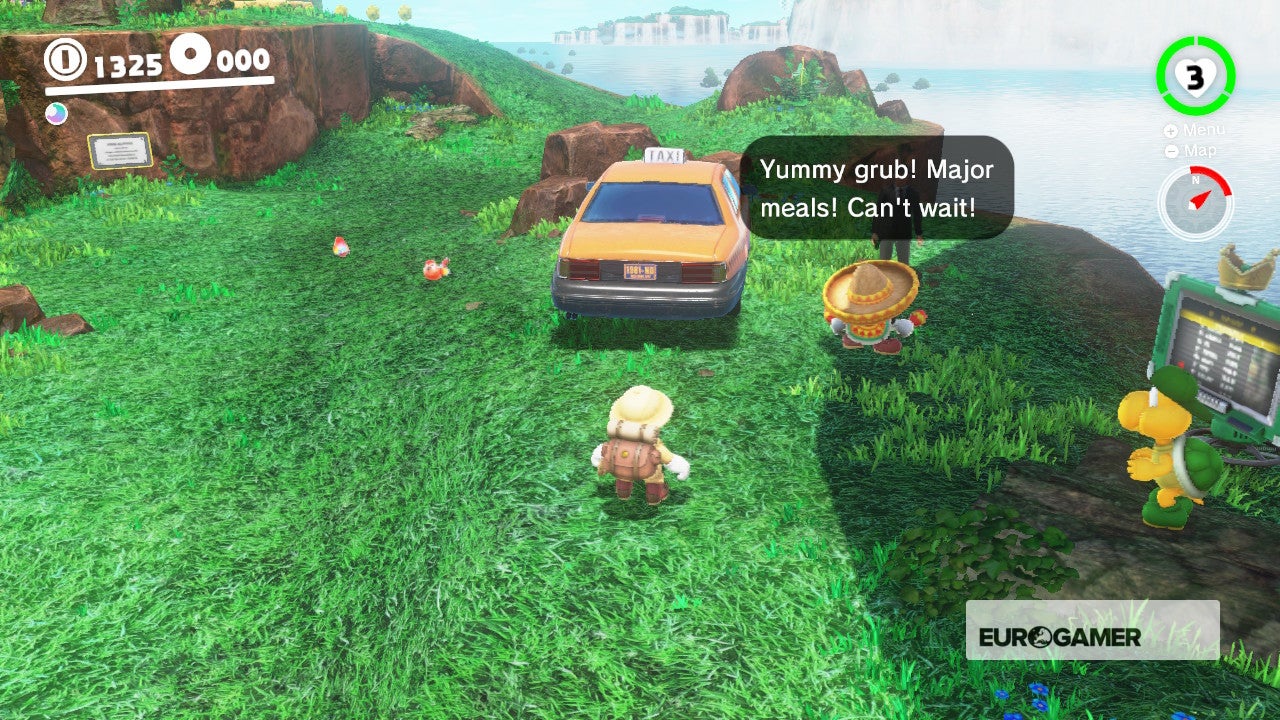
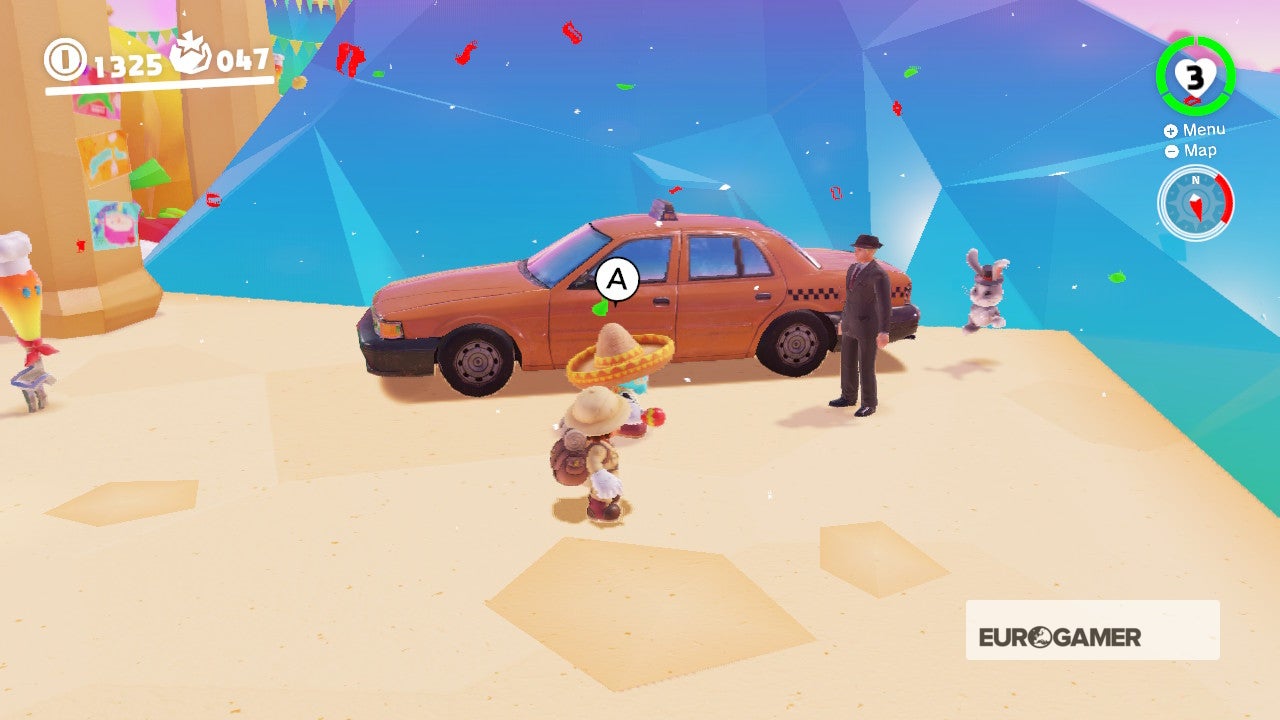
This Moon is a more of a claiming than the others in this kingdom. Speak to the Tostarenan standing next to the taxi outside Tostarena Town. He'll then head off to the Metro Kingdom, the Cascade Kingdom, the Luncheon Kingdom, the Moon Kingdom, the Mushroom Kingdom and back to the Sand Kingdom.
Bar your start encounter in the Sand Kingdom, each encounter volition unlock a Moon for that respective region. Return to the Sand Kingdom and speak to him again to earn this hard-fought Moon. This Moon can merely be completed afterwards the master story has been finished.


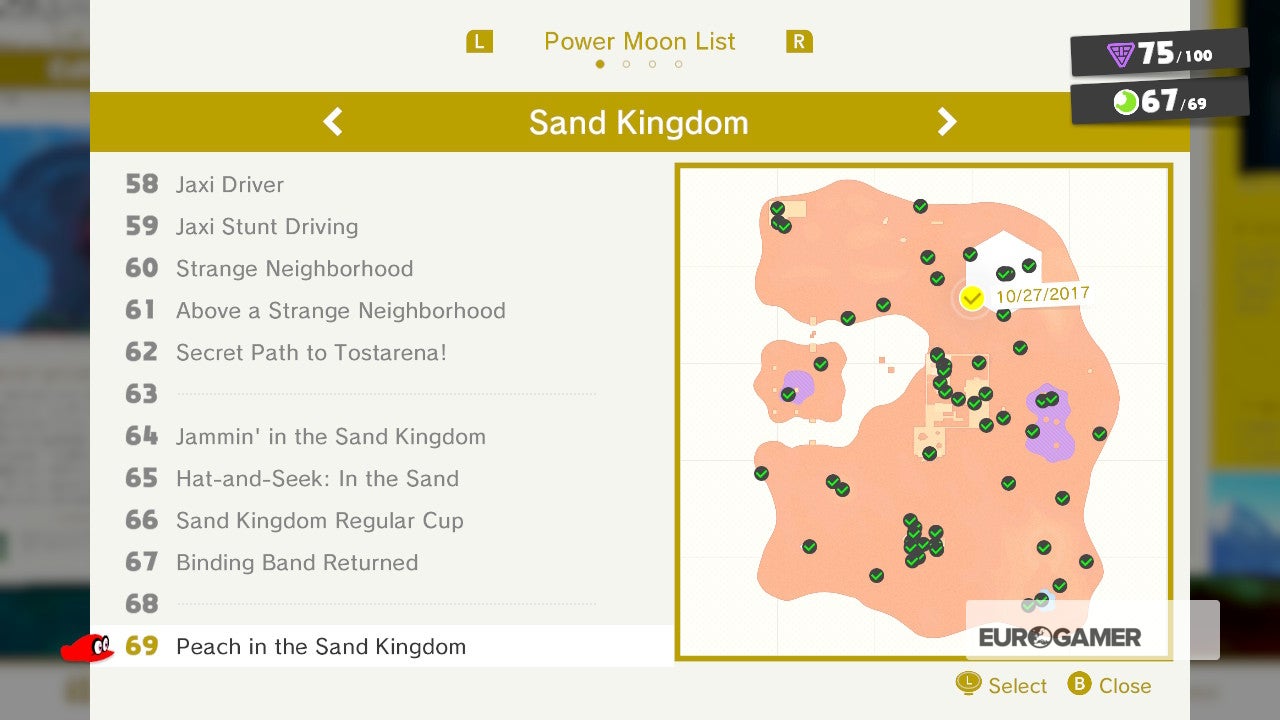
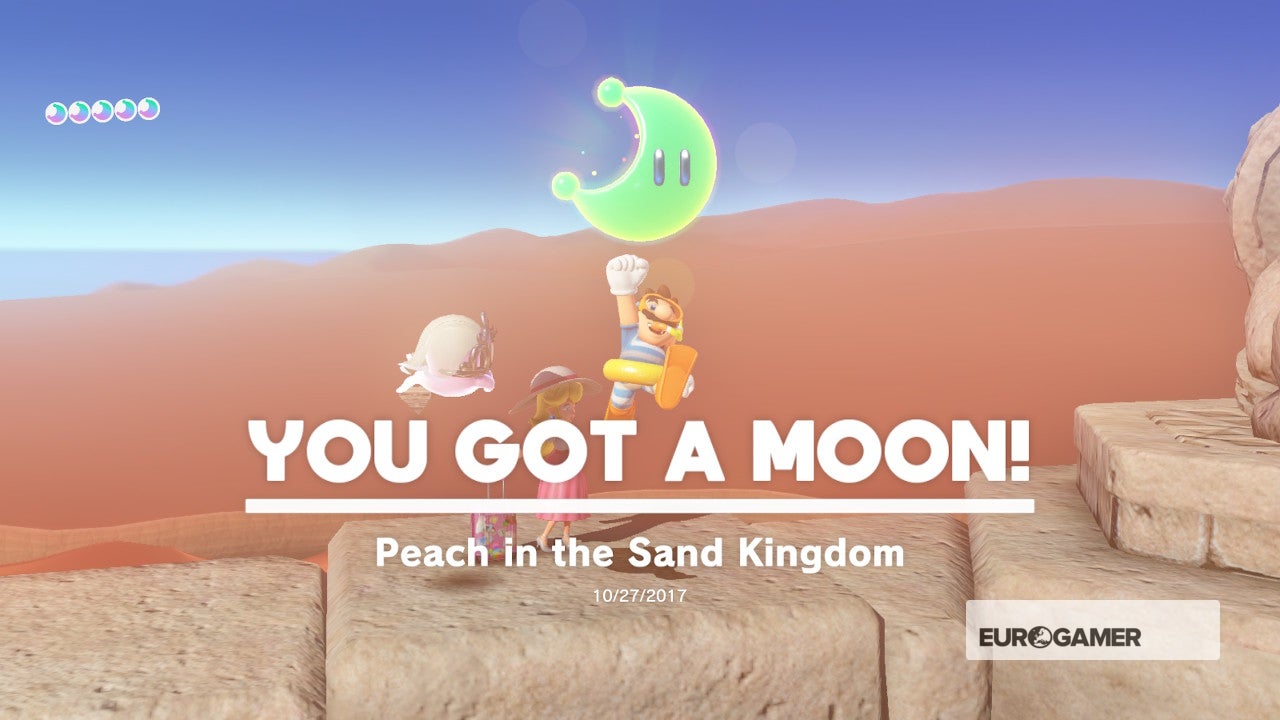
69. Peach in the Sand Kingdom
Afterward you've complete the game, warp to the Tostarena Ruins Round Belfry checkpoint, ride the Spark pylon upwards to the top of the Inverted Pyramid and speak to Peach to receive a Moon-shaped gift.
Other Sand Kingdom Power Moons you can unlock
As well equally the above Moons that announced when yous clear a Kingdom for the beginning time, at that place is yet another prepare that you can collect after in the game. Be warned the post-obit contains some light spoilers.
When exploring each Kingdom previously, you may have noticed a behemothic, greyness block that seemingly has no purpose. It's this object you must find once you have completed the game that'll give yous even more than things to do.
The higher up video by Nintendo Life explains this in more detail, but in curt - complete the game, find the block in any given Kingdom, and more Moons will be available for you to observe.
We won't detail these extra Moons here, just the number of these extra challenges available in each Kingdom varies - but like the amount of Moons you could find to brainstorm with. Expert luck!
Source: https://www.eurogamer.net/super-mario-odyssey-power-moon-locations-4847?page=4
Post a Comment for "Super Mario Odyssey Dog Thing in Hint Art for Lake Kingdom"